
Some time ago I had a giveaway that included A Farmer’s Daughter cookbook.
And let me tell you, this cookbook has quickly become one of my favorites! Each time I try a new recipe from there, I know it will be good. Because Dawn is just a fabulous cook, that’s why!
Here is a new favorite from there, called Farmer’s Skillet. It’s in the breakfast section of the cookbook, but I’ve made it for breakfast, for lunch, for supper… It’s filling and easy and delicious! So here is Dawn’s recipe, all credits to her.
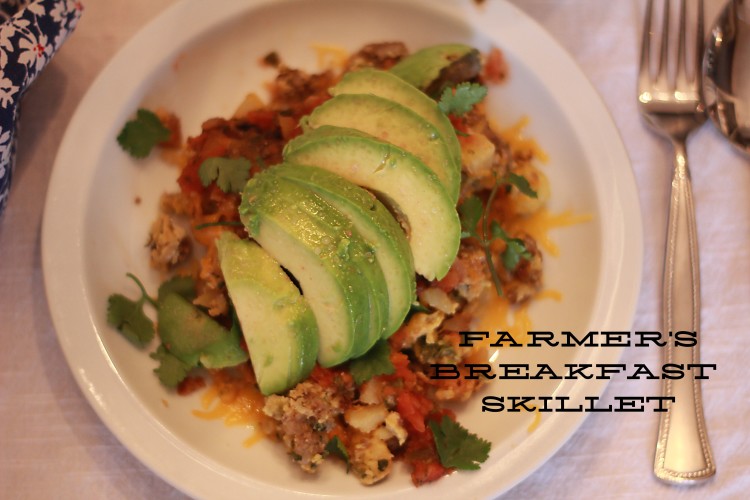
Farmer’s Breakfast Skillet
1 pound pork sausage
2 1/2 cups red potatoes, cubed
1 red bell pepper, diced
1 green bell pepper, diced
4 green onions, minced
1 garlic clove, minced
6-7 eggs, lightly beaten
1/2 teaspoon salt
1/2 teaspoon fresh cracked pepper
1/2 teaspoon paprika
2 teaspoons dried chives (or 1 Tablespoon fresh)
2 Tablespoons fresh parsley (or 1 Tablespoon dried)
1 cup cheddar cheese, shredded
Additional toppings:
Salsa
Sour Cream
Cilantro
Avacado
In a large skillet over medium heat, cook sausage and potatoes until potatoes are soft about 8-10 minutes. Drain most of the drippings from the skillet. Return skillet to the heat and add peppers, onions, and garlic. Cook for 5 minutes, stirring frequently. Lightly beat eggs with the salt, pepper, paprika, chives, and parsley. Pour the egg mixture into the skillet and reduce heat to low: cover and cook until the eggs are set. Sprinkle cheese on top. Garnish with additional parsley and toppings of salsa, sour cream, fresh cilantro, and slices of avocado.
Serves: 6
A few changes for healthier choices: turkey sausage could be substituted for pork sausage. And sweet potatoes can be substituted for white or red potatoes. My favorite was to use half the amount each of red potatoes and sweet potatoes – it had excellent flavor!
This cookbook is available in printed form, and also on a Kindle format! I just downloaded it to my iPad because I love having easy access to recipes on there!
And the Kindle download is on sale from February 19-28 for only $6.99 at this link! Here is a small sampling that Dawn says you will find in it:
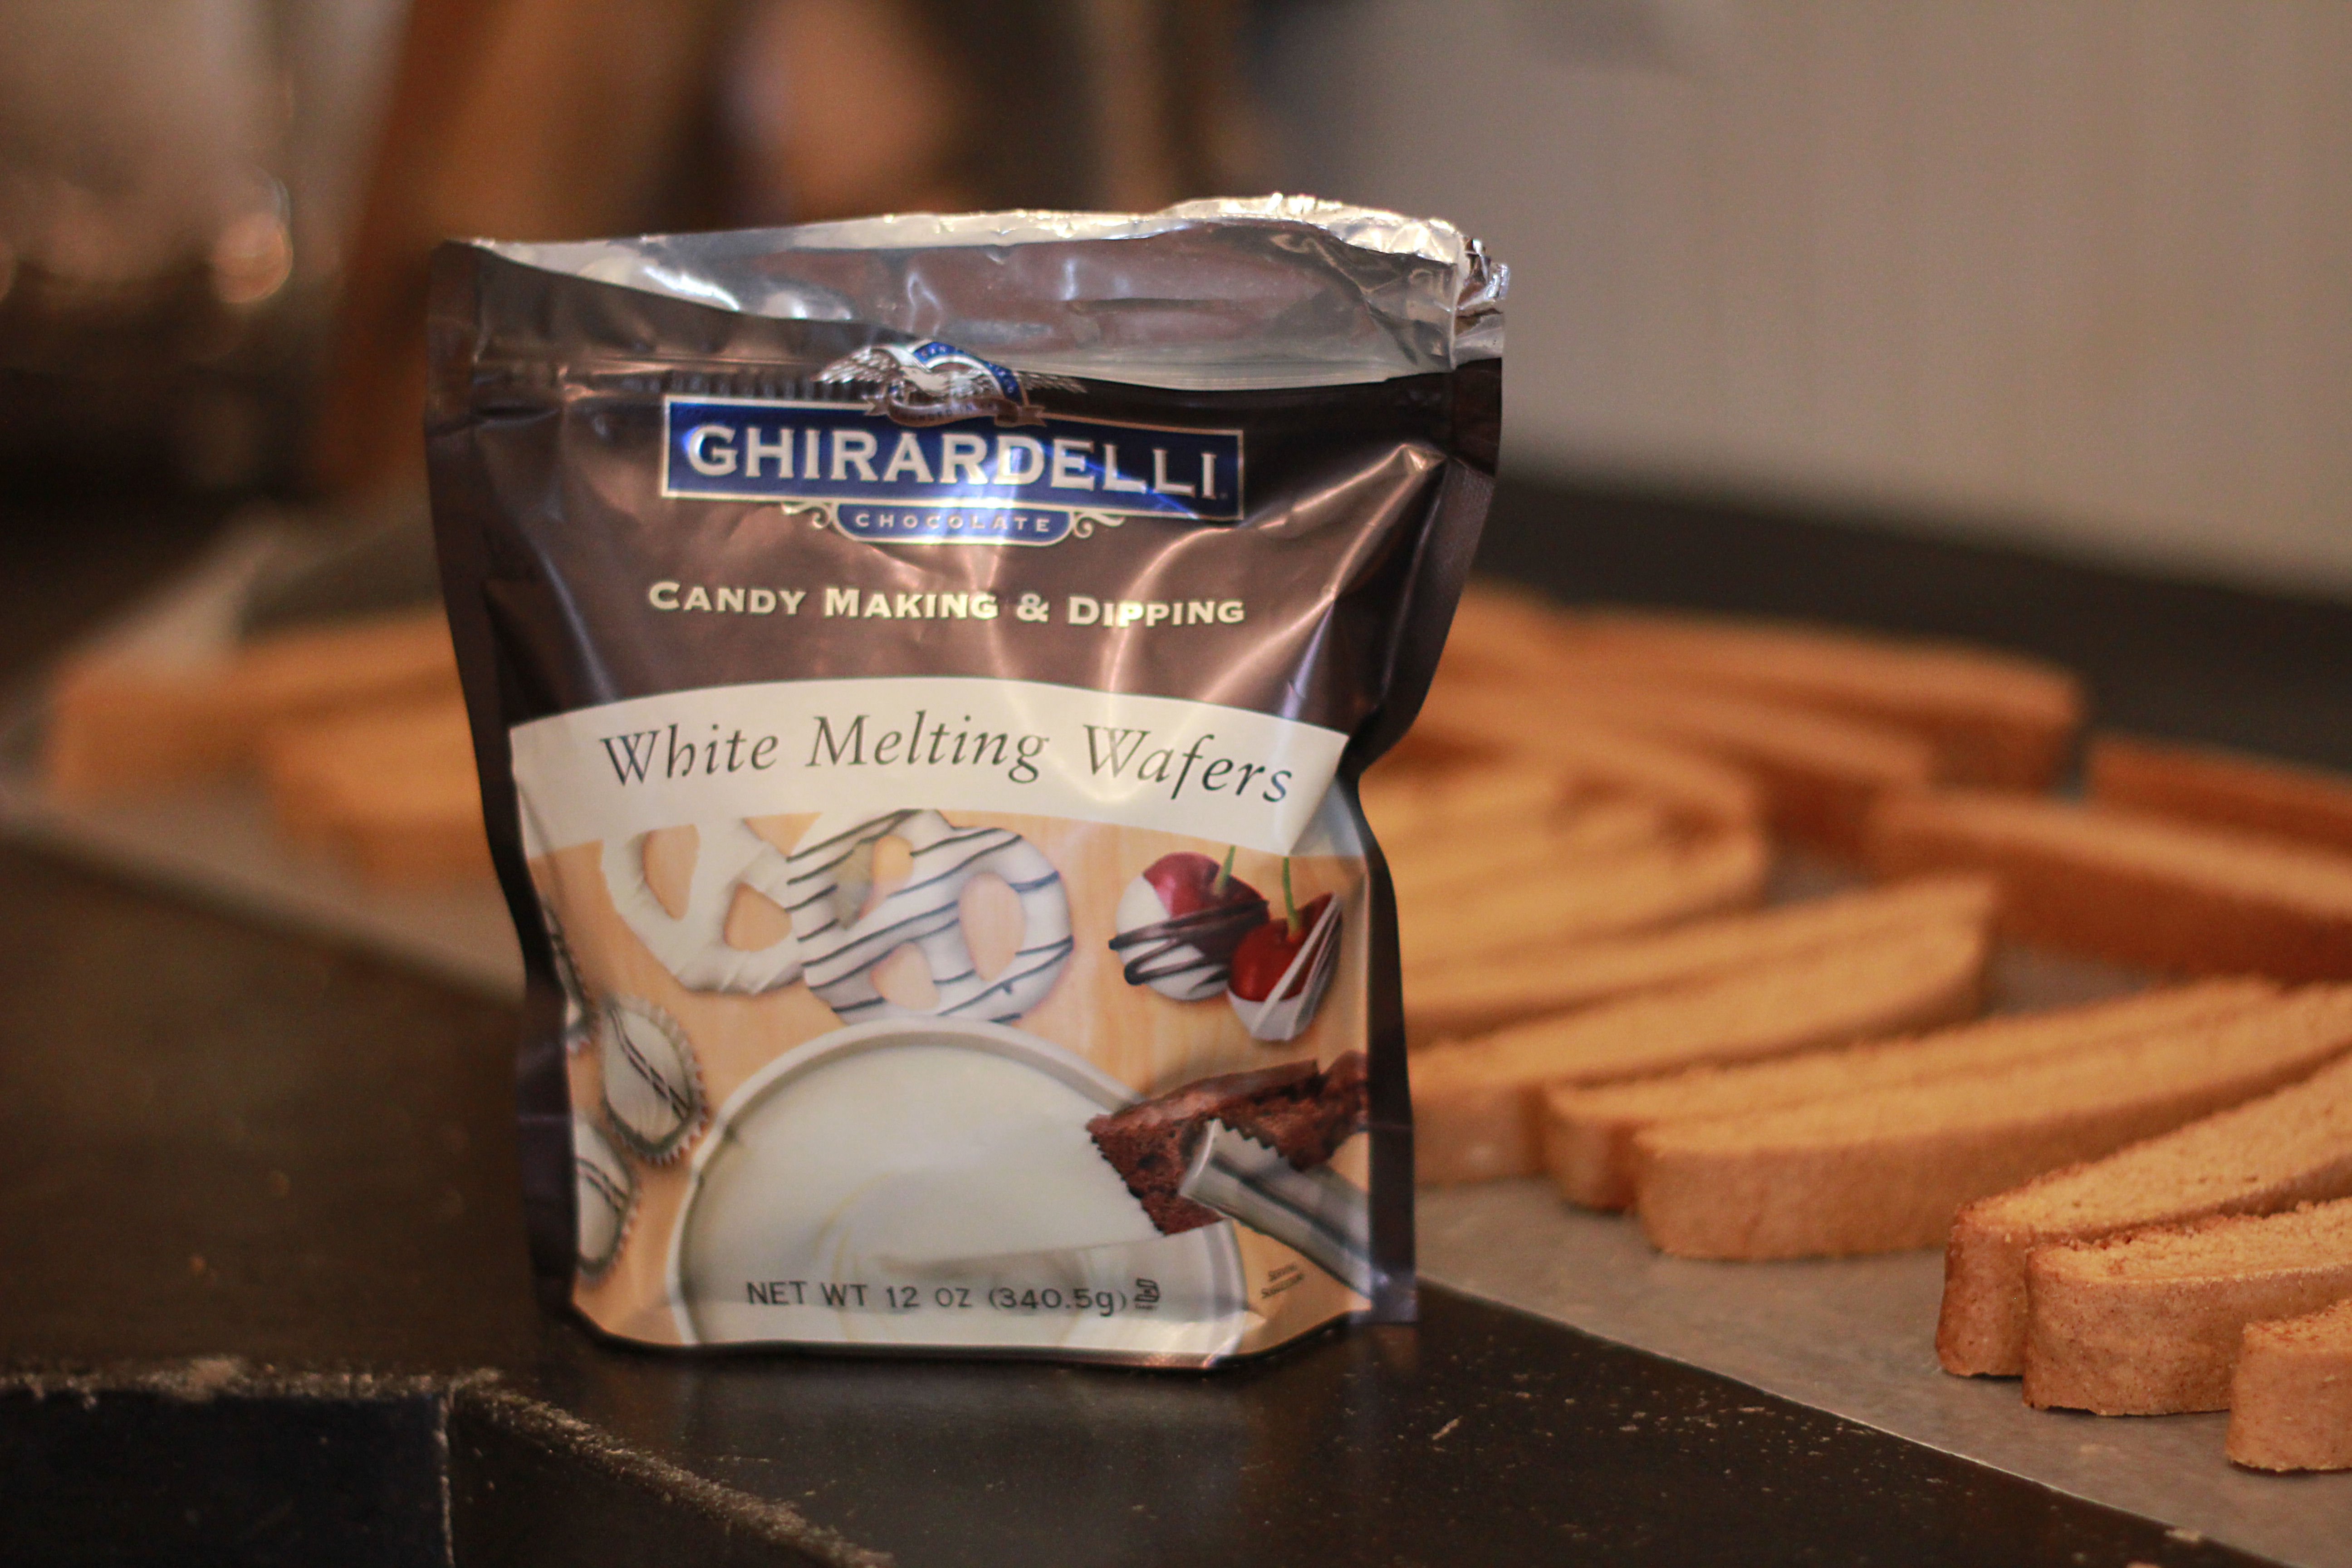
Wouldn’t it be fun to make Baked Peach French Toast for breakfast or French Puff Cinnamon Muffins? For lunch, Santa Fe Chicken Soup or Apple Pecan Salad with Sweet and Sour Dressing would make your innards happy! Dinner could be as simple as Baked Rosemary Chicken and Whipping Cream Potatoes. There are also some fun recipes for Pumpkin Spice Latte, Swiss Cheese Quiche, Homemade Bread with Wheat Flakes (you can always sub oatmeal for the wheat flakes) and Chocolate Meringue Bars. Some of these items you will have on hand if you’re snowed in. Some of them you will not. It’s ok, substitute. You really can’t hurt these recipes. They are very simple with basic ingredients!
So, that is the perfect answer for what in the world am I going to cook?? this weekend! :)


