
The Project Bug has bit me.
I hear other women happily say that they’ve just finished their spring cleaning, and I think, “Oh goodness! I forgot all about that!”
I’m just crafting. Priorities, priorities. I’ll at least try to fall clean. :)
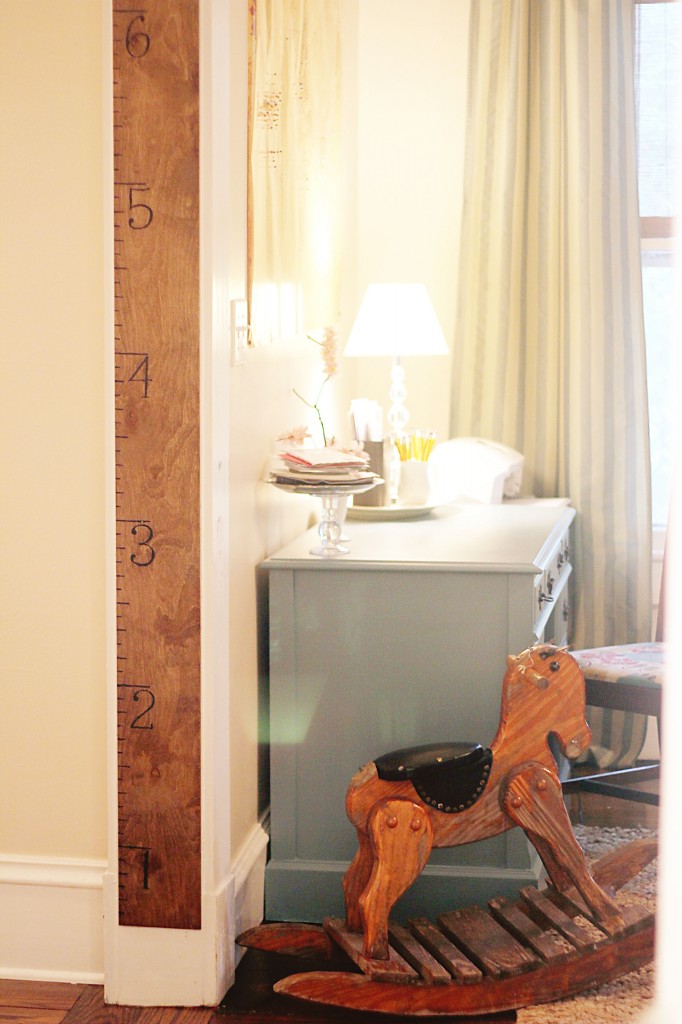
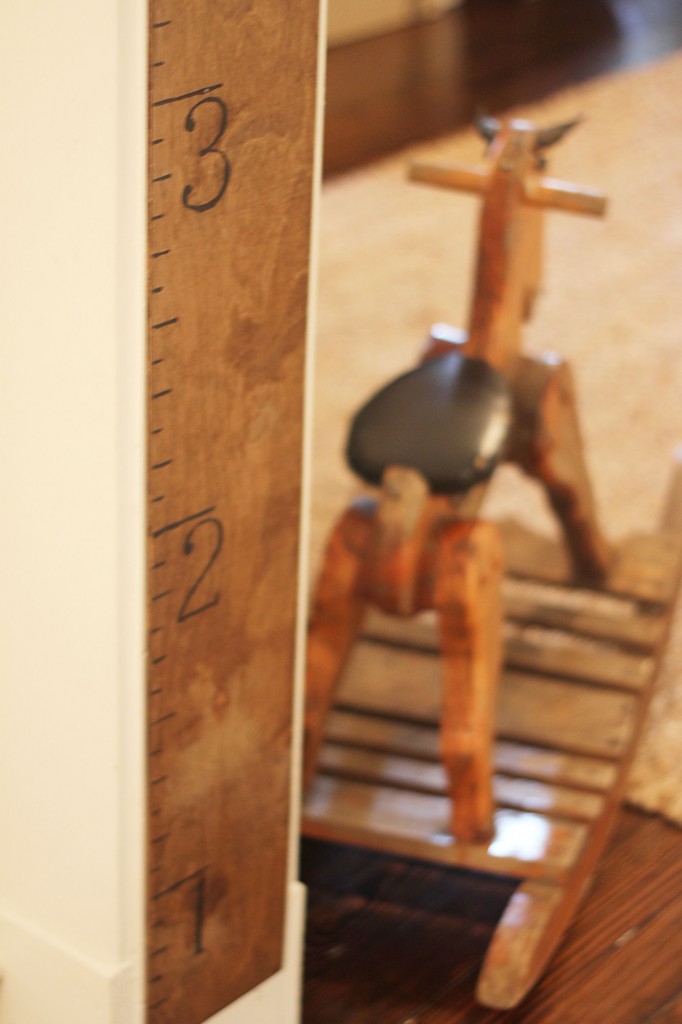
One of the latest projects has been an oversized measuring stick. To measure the children’s growth and all that. We’ve just been pencil-marking on a wall, and that doesn’t look so great, so this is something that {maybe} will even be a family heirloom. Ha! :)
I just realized that I have a lot of oversized or large objects in my home. I’m not sure why I have such a fascination with them, but I know a few reasons why I like them…
One: we have very high ceilings, ten foot I think, and small objects are lost on walls around here.
Two: I am not a minimalist by a long shot, but larger objects also mean lesser objects, which I do like. It’s décor without as much clutter.
Three: I find them fun and whimsical, and I like unexpected things.
So, here’s a little tutorial if you’d like to make one of these Kiddo Measuring Sticks. :)
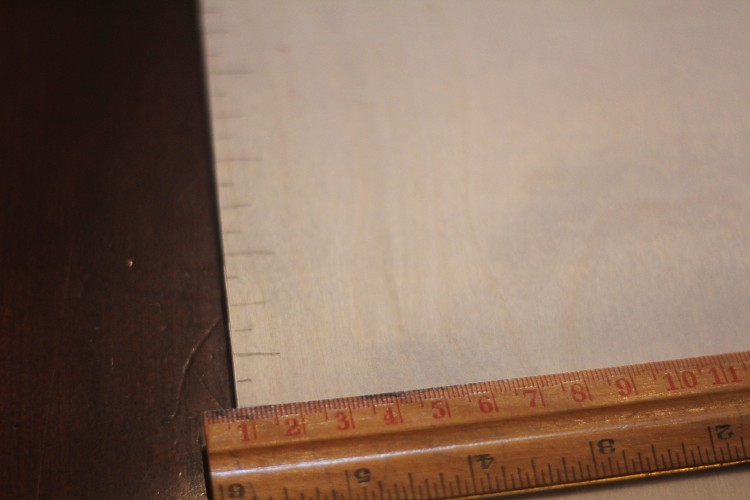
1. Begin with a LONG BOARD. Ours was a piece of luan board (yes, I had to google that spelling!), which is a very thin piece of board. You can also use a 1 X 8 or something, which would be thicker and hang well from a saw-tooth hanger. Our dimensions are 6 inches wide and 6 feet tall.
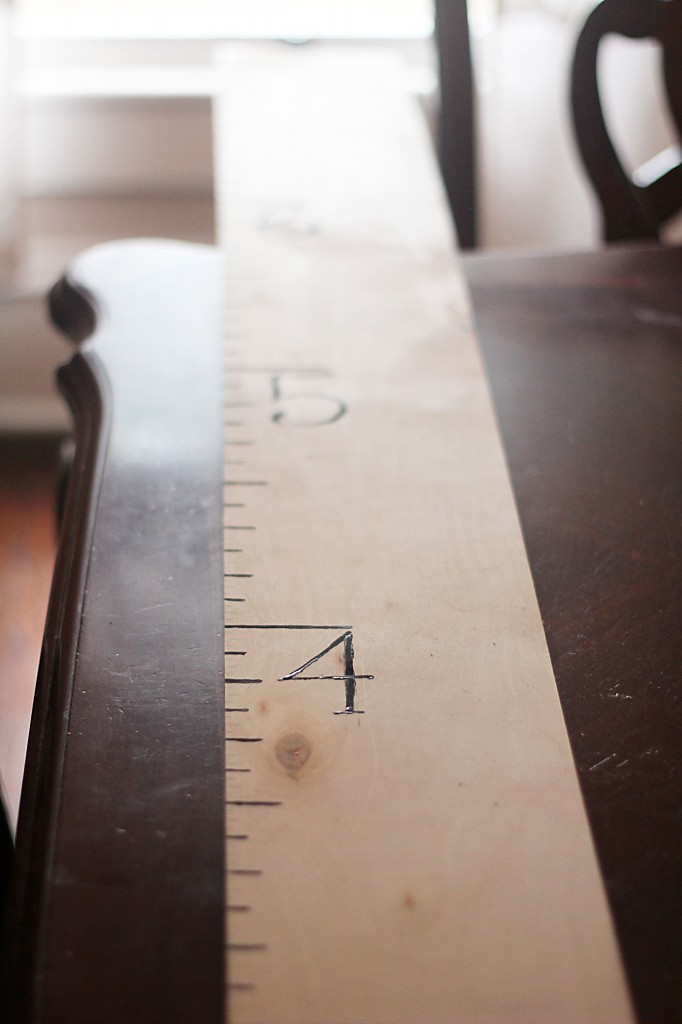
2. MARK THE INCHES with a pencil on the left side. We first marked all the quarter inches too, but it’s just too many markings. I began at 6 inches (because I didn’t want it directly on the floor), marked every inch, and went up to 6 and a half feet. I’d recommend a measuring tape for this rather than a ruler; if you use a ruler, in the end the dimensions will be slightly off.
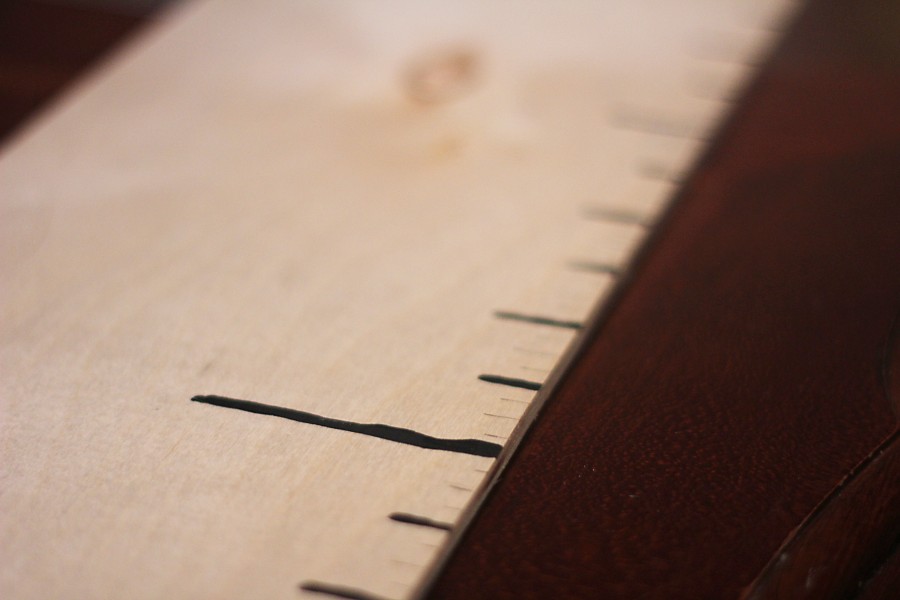
3. Take a FINE BRUSH and PAINT and paint over the markings.

I made the even marks just a bit longer than the odd, and the six-inch marks even longer. The foot-long marks were about 3 inches long.
4. Look down and smile at the little man cheesing up at me.

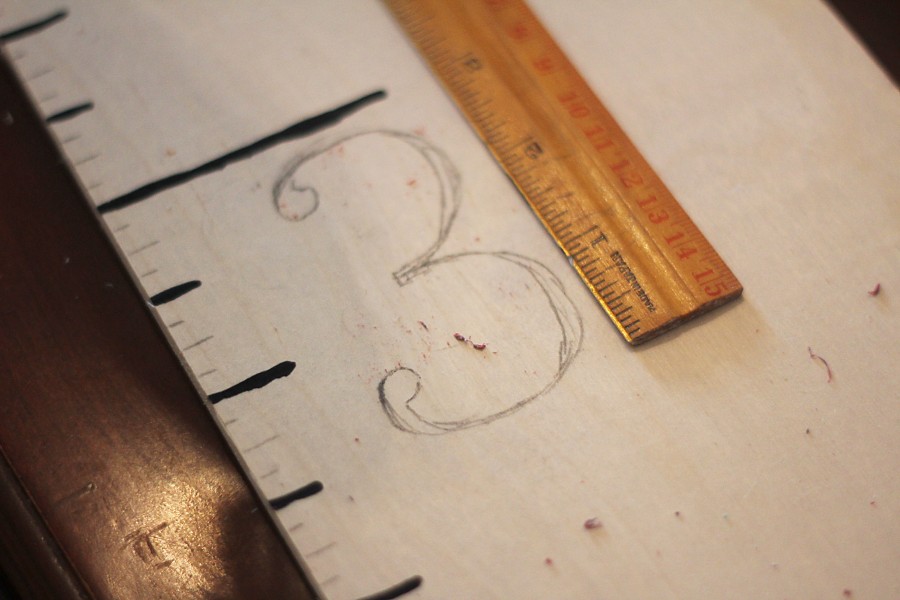
5. ADD THE NUMBERS. You can do this freehand, if you enjoy drawing, or you could trace a stencil, or buy numbers at a craft store or hardware store for a wide variation of looks. I made my numbers 3 inches long and drew them vertically. You could also make them horizontal with the big line and that would be fun too.
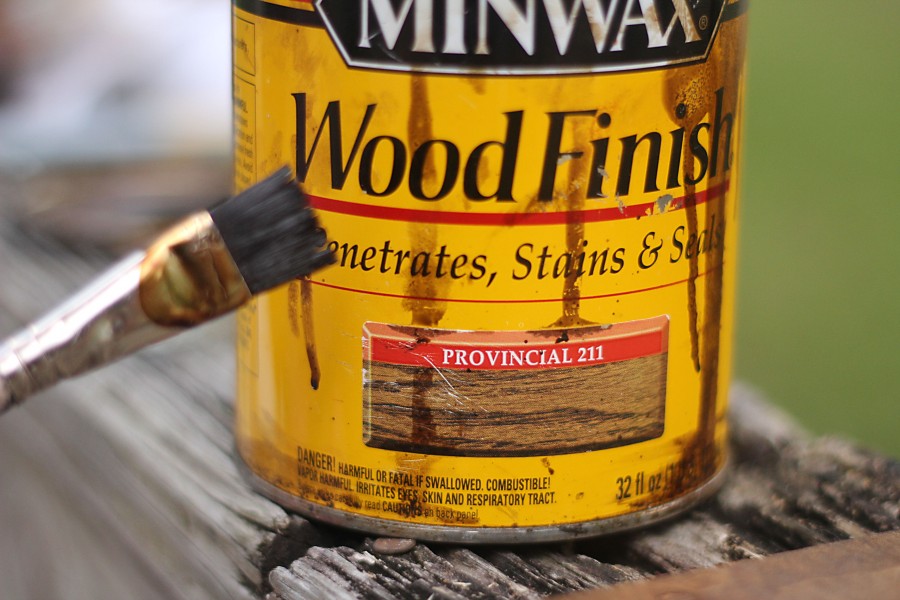
6. Finish with WOOD STAIN. You could do any color: I found this one in the shed and used it. Provincial by Minwax.
This was a bit darker than what I really wanted, so I wiped it down immediately with a paper towel after brushing it.
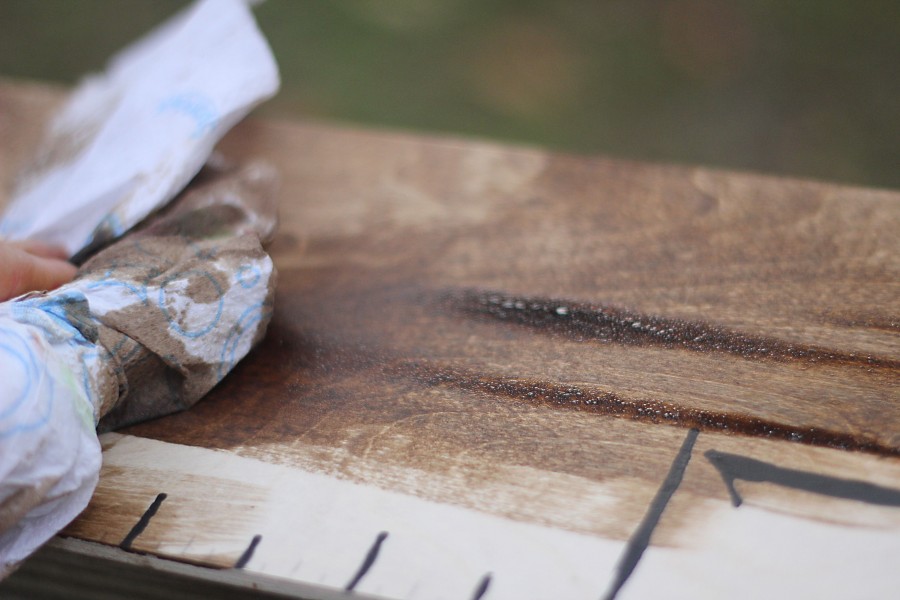
You could put a sealer on it, but we will write/pencil directly onto the board and I didn’t want the sealer.
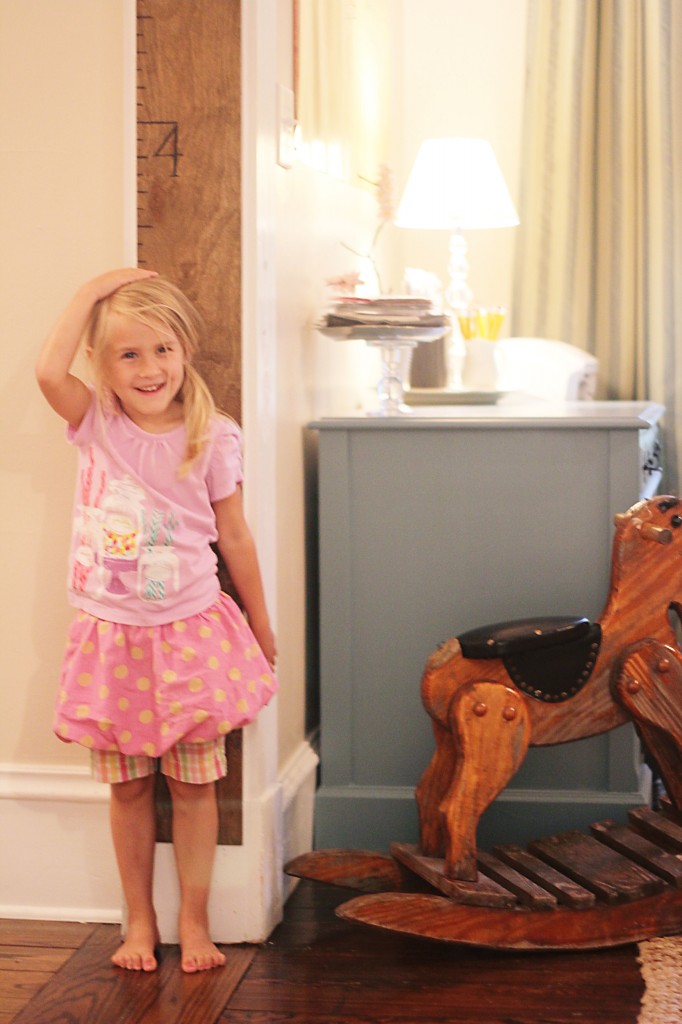
7. To HANG: you can nail directly on your wall (it makes it a bit more child-proof if it’s in a hot spot) or hang with a saw-tooth hanger to make it easily removable.
And there ya have it – a dapper measuring stick, to be enjoyed by kids of all ages!
Olivia was the most thrilled, and got to be in the picture in all her I-like-dressing-myself-in-a-rainbow glory. :)
___________________________________________________________________________
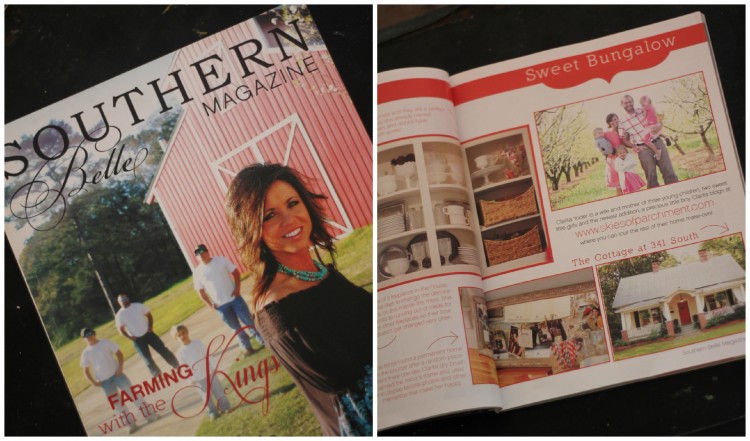
I’m super honored to have a few pictures from our kitchen featured in the first issue debut of the Southern Belle Magazine! You can’t even imagine how flabbergasted I was when they asked. You can see the first page in the online preview, but I ordered the magazine to have a for-real copy. :) It was a little funny to read the article – they wrote it up based on my kitchen post from nearly 3 years ago, so I didn’t know what was going to be written! :)
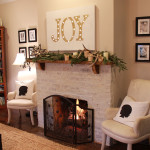
Also, Heather of Life Made Lovely is featuring our home on her lovely blog. I was super honored. If you haven’t seen her weekly series, Home Made Lovely, you should. I only recently learned of her blog, and there is great inspiration found there, and so many fun styles and ideas and homes! Many of them on a budget too, which I like. ;)
Here is where I answered the question on this post, “What does a lovely home mean to you?” I LOVED reading all your responses… and your hearts for your homes! I am inspired and challenged and blessed by so many of you!
Have a lovely weekend!


LOVE IT! :) Yea… what you said about spring cleaning. Well let’s just say… a mom who does it twice a year (or maybe even once a year) really LOVES to clean. :)
Love you cheesy little man. Mine is doing the cheesy thing alot lately. The other morning after he had woke up too early and ended up with me in bed, I tried to sneak away from him. Well as I edged away he just kept rolling toward me. His sleepy eyes peeked open and he looked at me with the most adorable cheesy grin I ever saw. :) I think he was thinking… “ha ha mommy… I caught you!” Love little cheesy boys. :)
Oooh, I want one. I need one! We kept all our children’s growth markings on a door jam at the trailer, so before we moved we copied everything over to a piece of lumber just to bring with us, but a beautiful oversized yardstick would be so great for all those precious bits of info and all ready to move with us again if we ever should!
And how much fun to see your house and family and pictures in print in a real live magazine!! Is Southern Belle sold on any northern stands?! :)
I LOVE your measuring stick..I will be copying. ;)
We have kept track since Tyler first stood almost 16 years ago! (I can’t believe how fast that went….) We lived in my parents carriage house when the boys were really small. Jeff marked their heights in a doorway. Well, when we moved out, we had planned on remarking them onto a piece of wood and transferring to our new house. Well…as we were moving out, my brother and sister in law were moving in. Before we remembered to transfer…my sister in law painted over the doorway!!! :( I was so sad about it. But, we restarted in our new house and we have 10 years worth of height measurements now. It’s fun to see who was taller than who at what age. :)
Love your growth chart….I was going to order one from Dear Lillie before my twins were born, but never did because hubby kept saying he’d make me one much cheaper than buying. Too many other projects got in front of that one. This post makes me want to do it! :) Also, I didn’t know Southern Belle magazine existed until this week and now you’re in it! How awesome that is!! Congrats!
I keep hearing people mention growth charts from Dear Lillie – I want to go check them out! I haven’t seen those yet, but I know these growth charts are a lot different places. And yes, making is way cheaper than buying. :) But with twins? I’d say you’re working with the very best kind of project. :)
Loverly! We absolutely have the same taste! If only I could be your neighbor. Well, then I’d also want to move more of my friends into the same neighborhood. Or at least, the same town! I hope you post often. For my own selfish reasons… I’ll be needing the happy lovelies to look at.
I’d love to catch a peek into your home and world too! :) Thanks so much for your kind words!
I will be ever so sneaky and also share in the steal of this darling heirloom in the making. My baby girl has just turned 1 so this is a MUST do. I know right where it will find a home in my abode and I promise to link your post up as well. Thank you for the inspiration.
Cheers~
e
I’m so happy to be of inspiration! :) This was such a fun project and it is precious in a home!
Just now seeing this post–Love the oversized yardstick! I’ve done pretty bad at keeping track of the boys measurements. (even with a growth chart hanging in the closet) Also may need to order me a copy of the magazine you’re featured in–that is just too cool!! (:
that is such a neat idea. Something I have done very little of….keeping track of their heights. I guess that won’t leave any major scars as they grow older. whew! ;-)
You are becoming quite popular lady. It’s no wonder. =) Lovely kitchen indeed.
Nope, no scars indeed. :) Ha! And I’ve done so poorly with keeping track of height – I’m hoping this will make a quick improvement on my end!
this is completely irrelevant to this post, but quite awhile ago I remember a picture from Ben’s birthday supper. I think it was taco salad and a most scrumptious looking pina coloda drink. I was just wondering if you would mind sharing directions for making the pina colodas? Thanks so much!
Hi Laura! Oooh, yes, I remember that post! I don’t really follow a recipe, but this is the basic gist of it: 1/2 ripe pineapple, cut into chunks/ 1/2 can cream of coconut (not coconut milk)/ a 10 or so ice cubes and milk. Throw in a blender and barely cover with milk. Blend. Add more milk to your desired thickness. It’s the best! :)
lovelovelove!!! and funny thing is.. i saw one of these somewhere and was going to message you and say, “hey, your cottage needs one of those giant rulers!” and wa-la, you read my mind. ;))
hope you had a great time home. xo
Now that is too funny! I must have indeed read your mind. ;) What else can you scout out for me?! xoxo
Seriously how awesome to be featured in a magaine!!!! and a blog! I’m cheering for you.
The measuring stick is so cute, and I really, really want to live in your house for awhile to see how you manage to accomplish so many projects. It’s quite impressive.