
It’s a bustling week over here at the Cottage, and we are still learning how to do life well amid busyness. :) Husband and I were away for a weekend getaway for our anniversary (or rather, the past three anniversaries, dated in June – ha! That’s how far behind we are, and how difficult it’s been to get away.) and had one of the best times together we’ve ever had! I can’t wait to go through my pictures of our time in lovely Savannah.
But for now, here’s a little DIY for you and your favorite little person.
Zoe and I did this project together back in November when she was sitting low and recovering from her tonsillectomy. She wasn’t well enough to run around and play, but the days got long just sitting on the sofa and looking at books.
While a movie can be a good idea sometimes, I do tend to be a little old-fashioned, and I want my daughters to know how to do things like cook and sew and some of the other lost homemaking arts of today. This was one of the first sewing projects we did together, and we both enjoyed it very much.
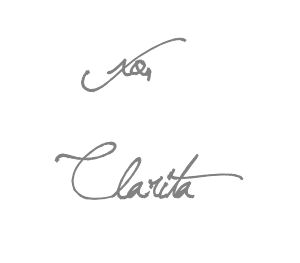
So, inspired from my sister Ervina, who did a similar thing for our sister Claudia’s wedding, we did a little Button Hoop Art.
The hoop arts that are trending right now are so fun, I think. So vintage, so clever, and such a unique art that can be so varied.
So one quiet day, this is what we did.
Supplied needed:
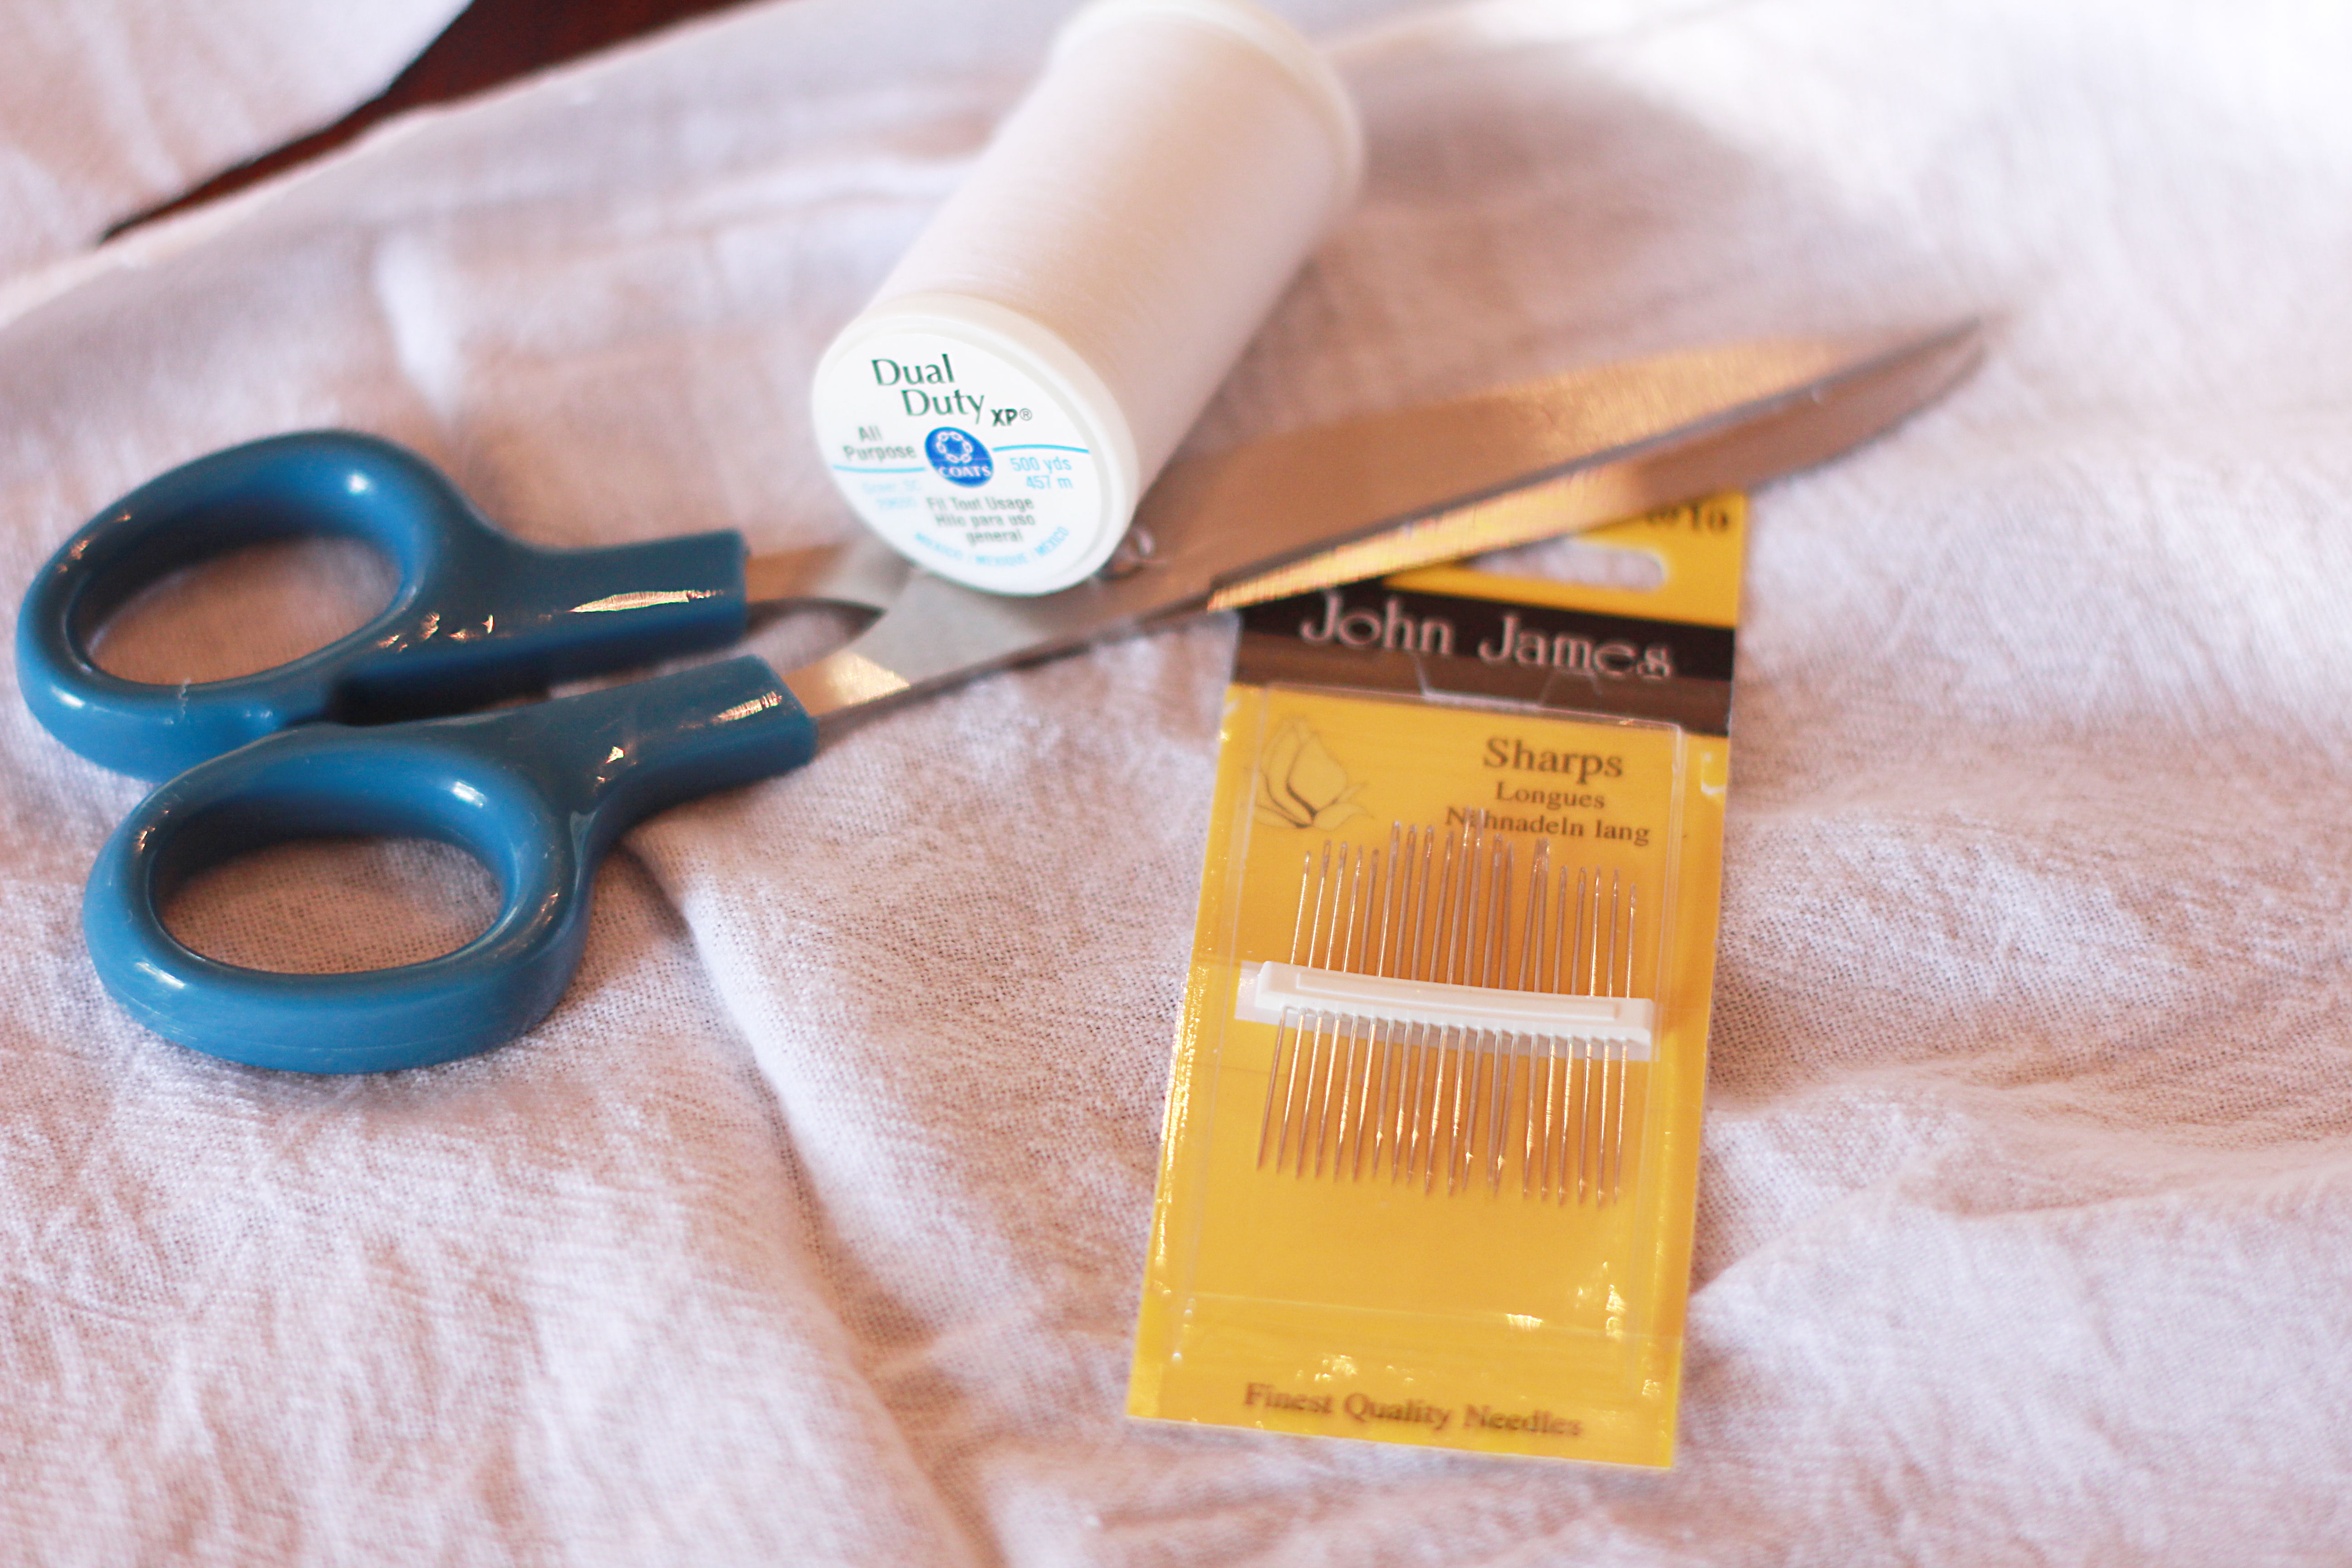
- wooden hoop (found in sewing departments of craft stores, size your choice)
- cotton or muslin fabric
- needles & thread
- scissors
- pencil for marking
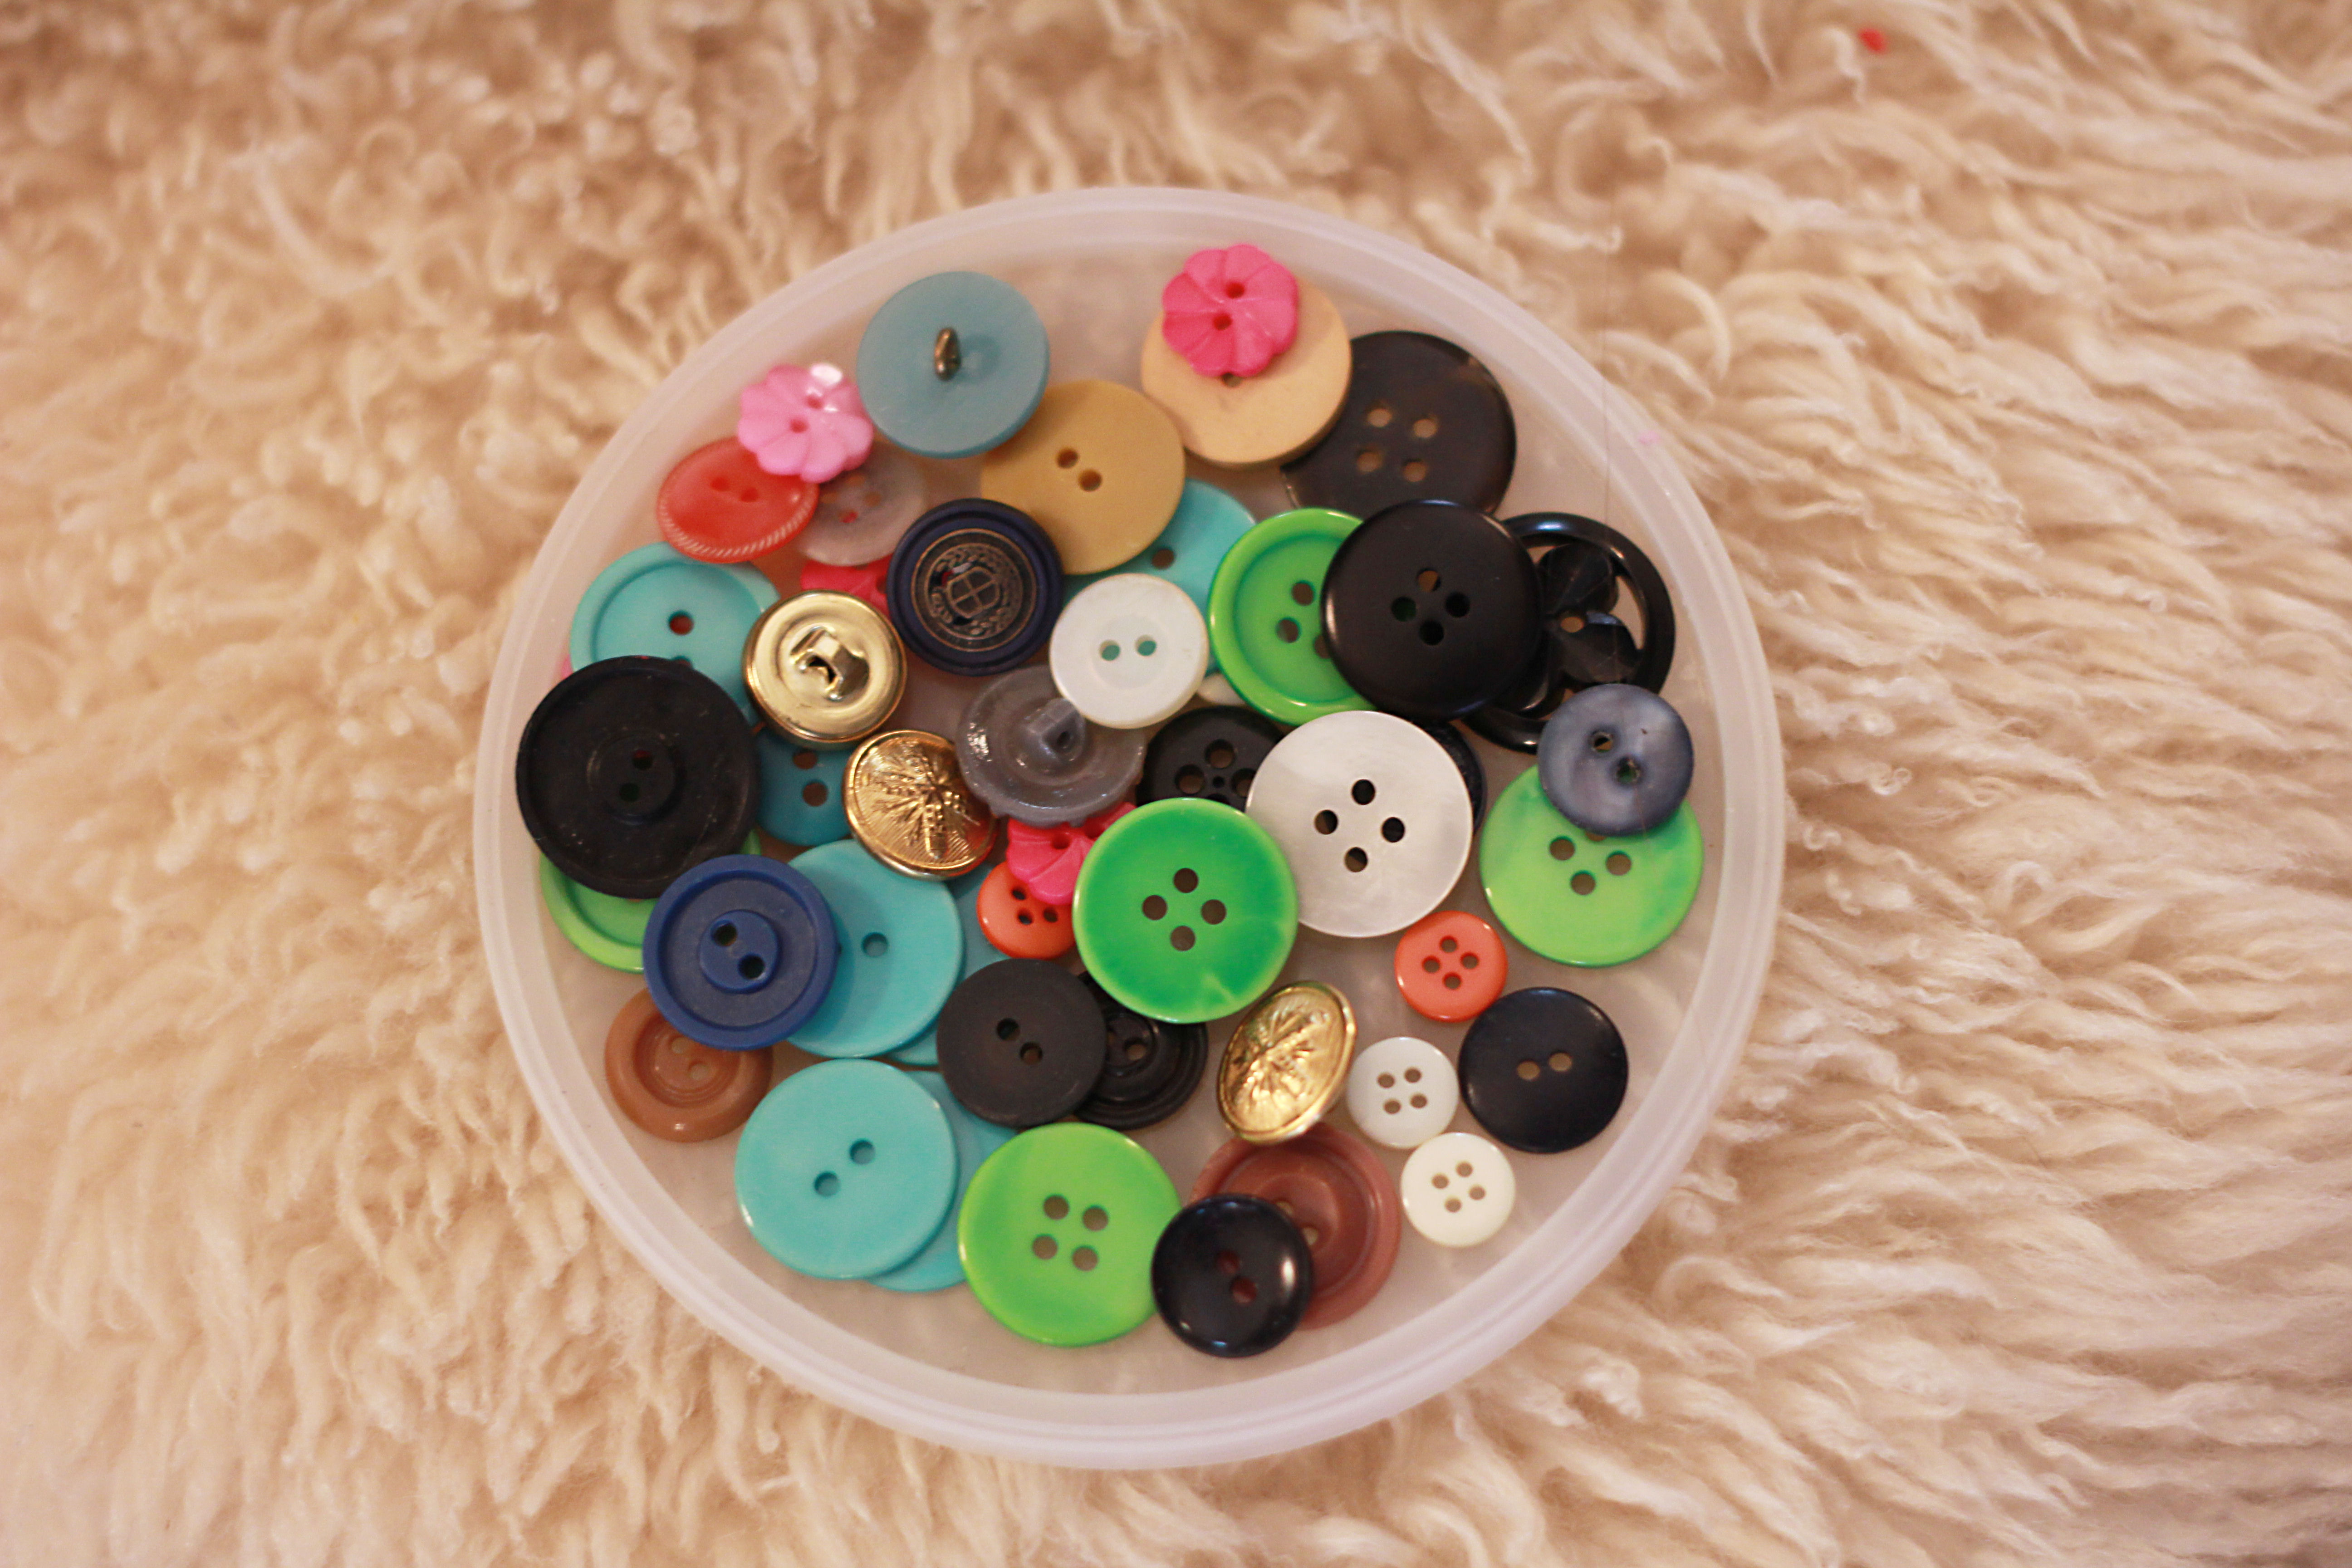
- assorted buttons of choice
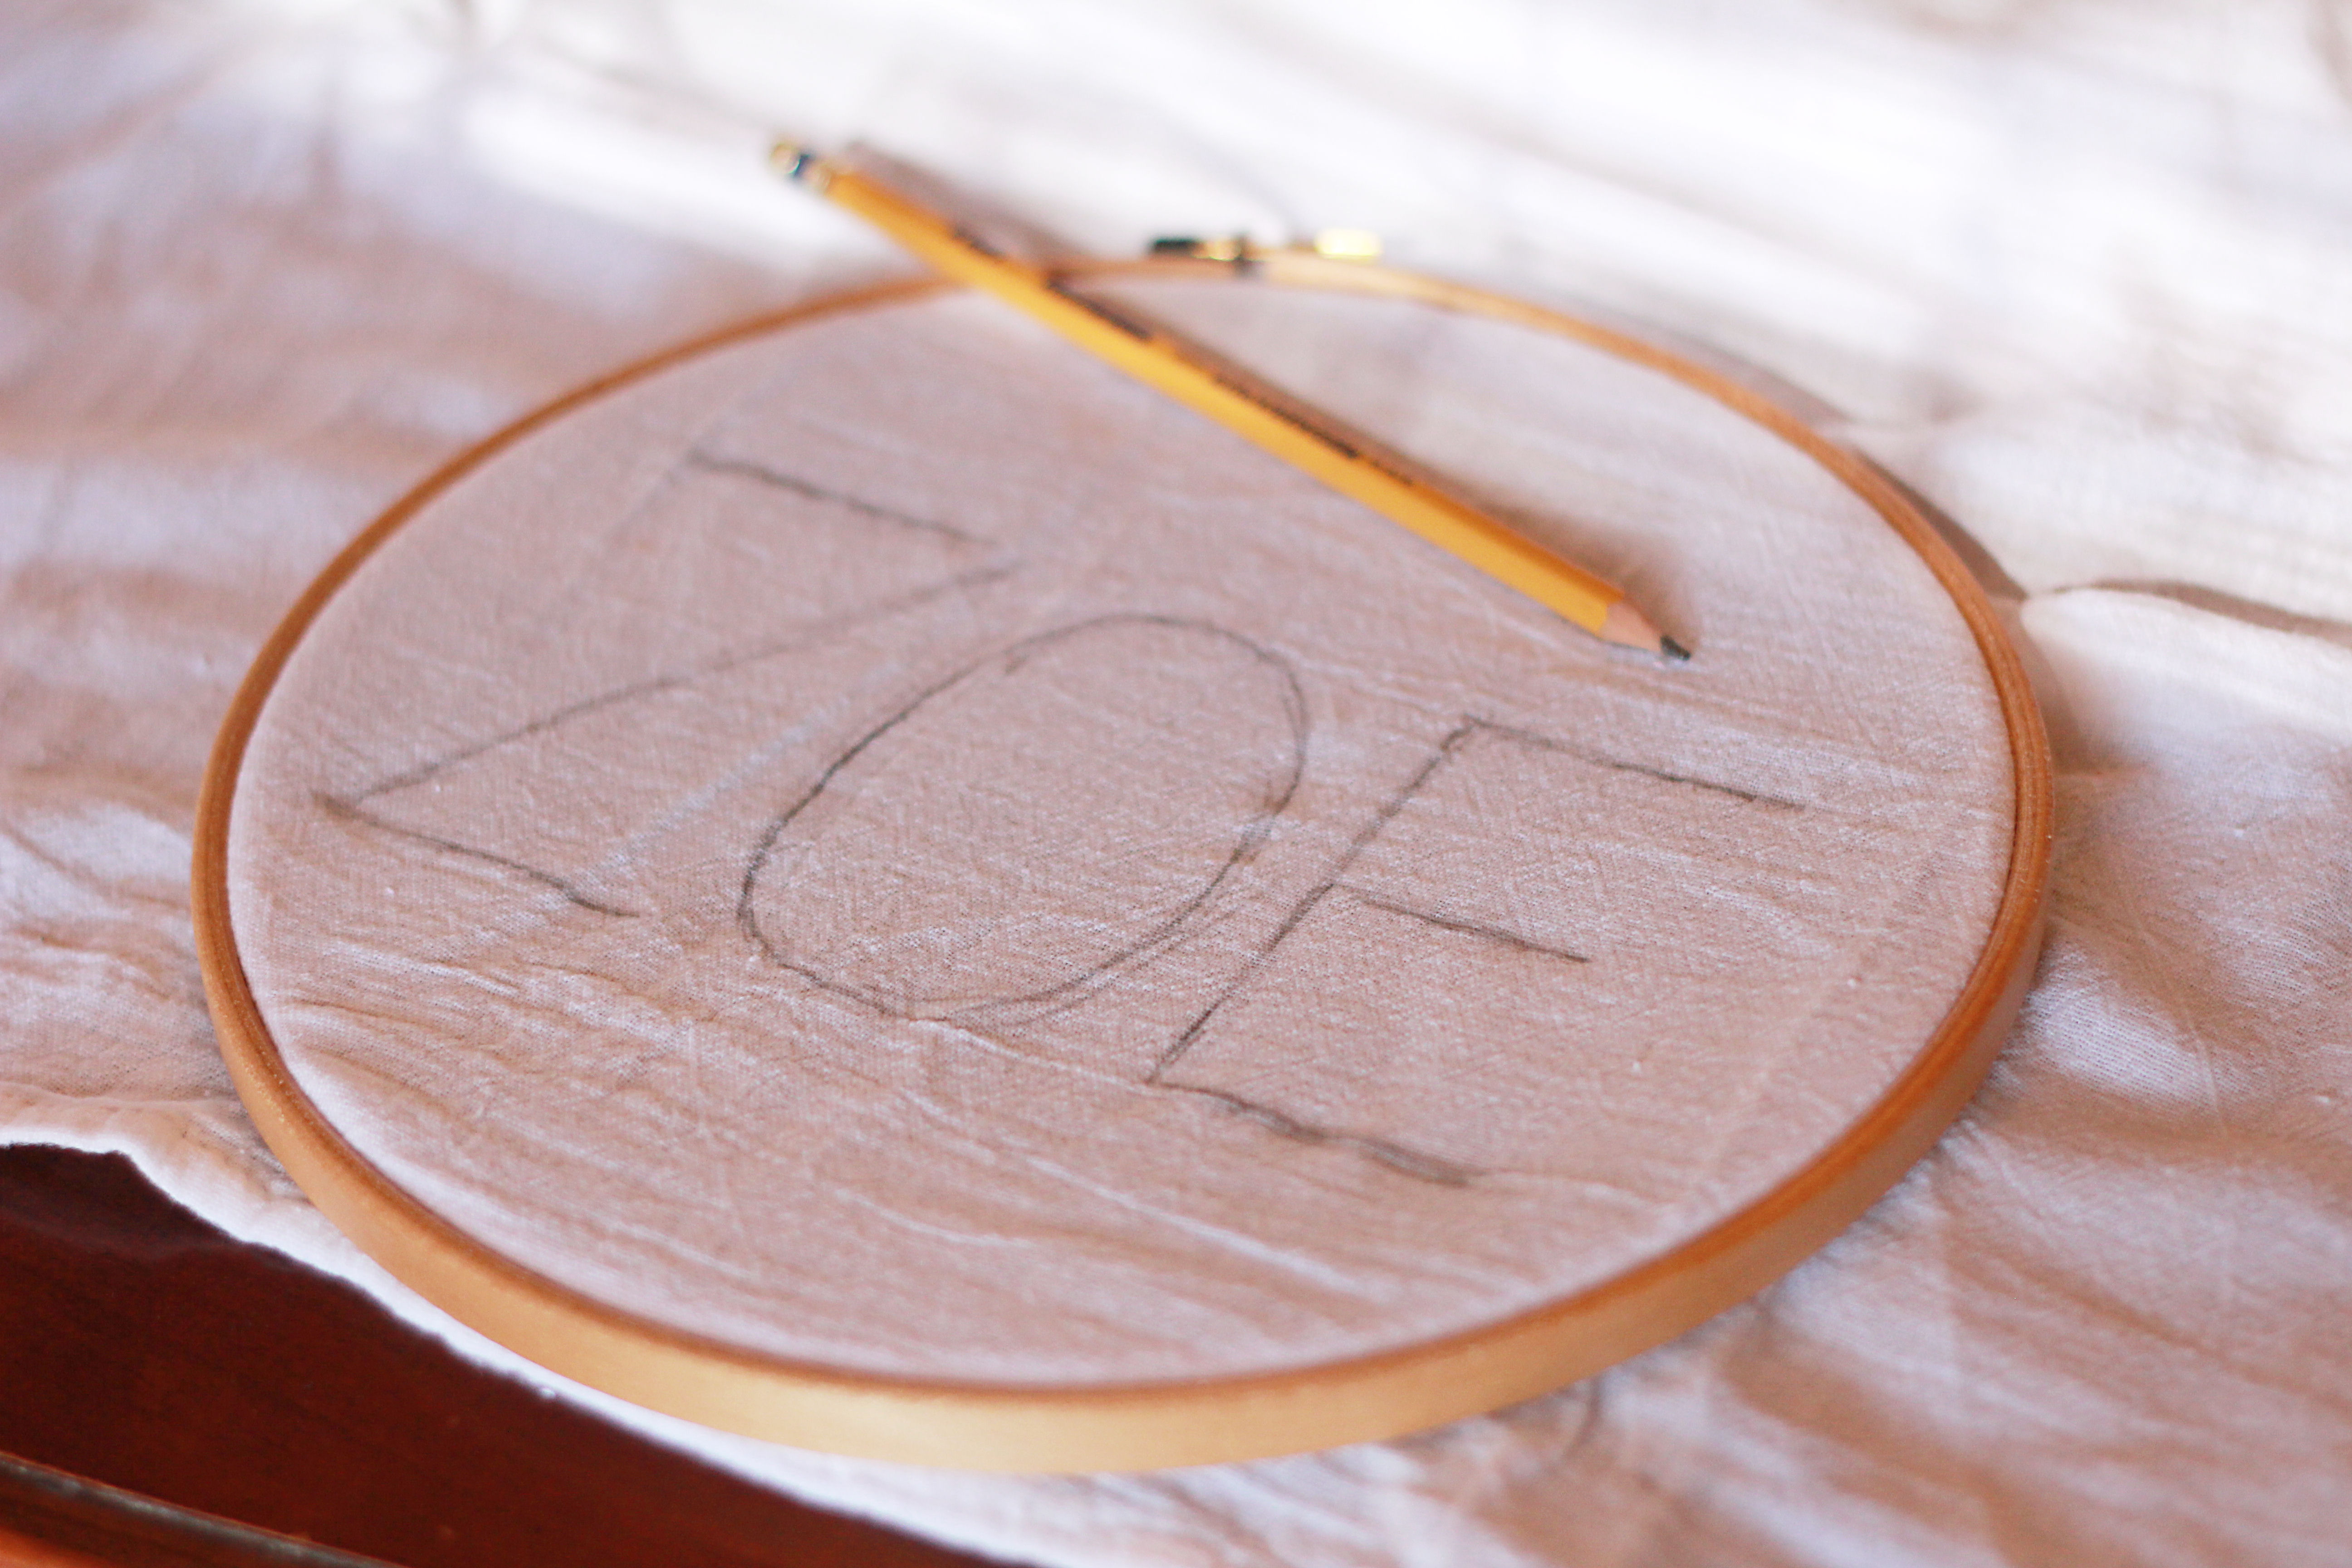
Because Zoe only has three letters in her name, we used her name instead of a monogram. Olivia wants me to do this with her too, and then I’ll do her initials.
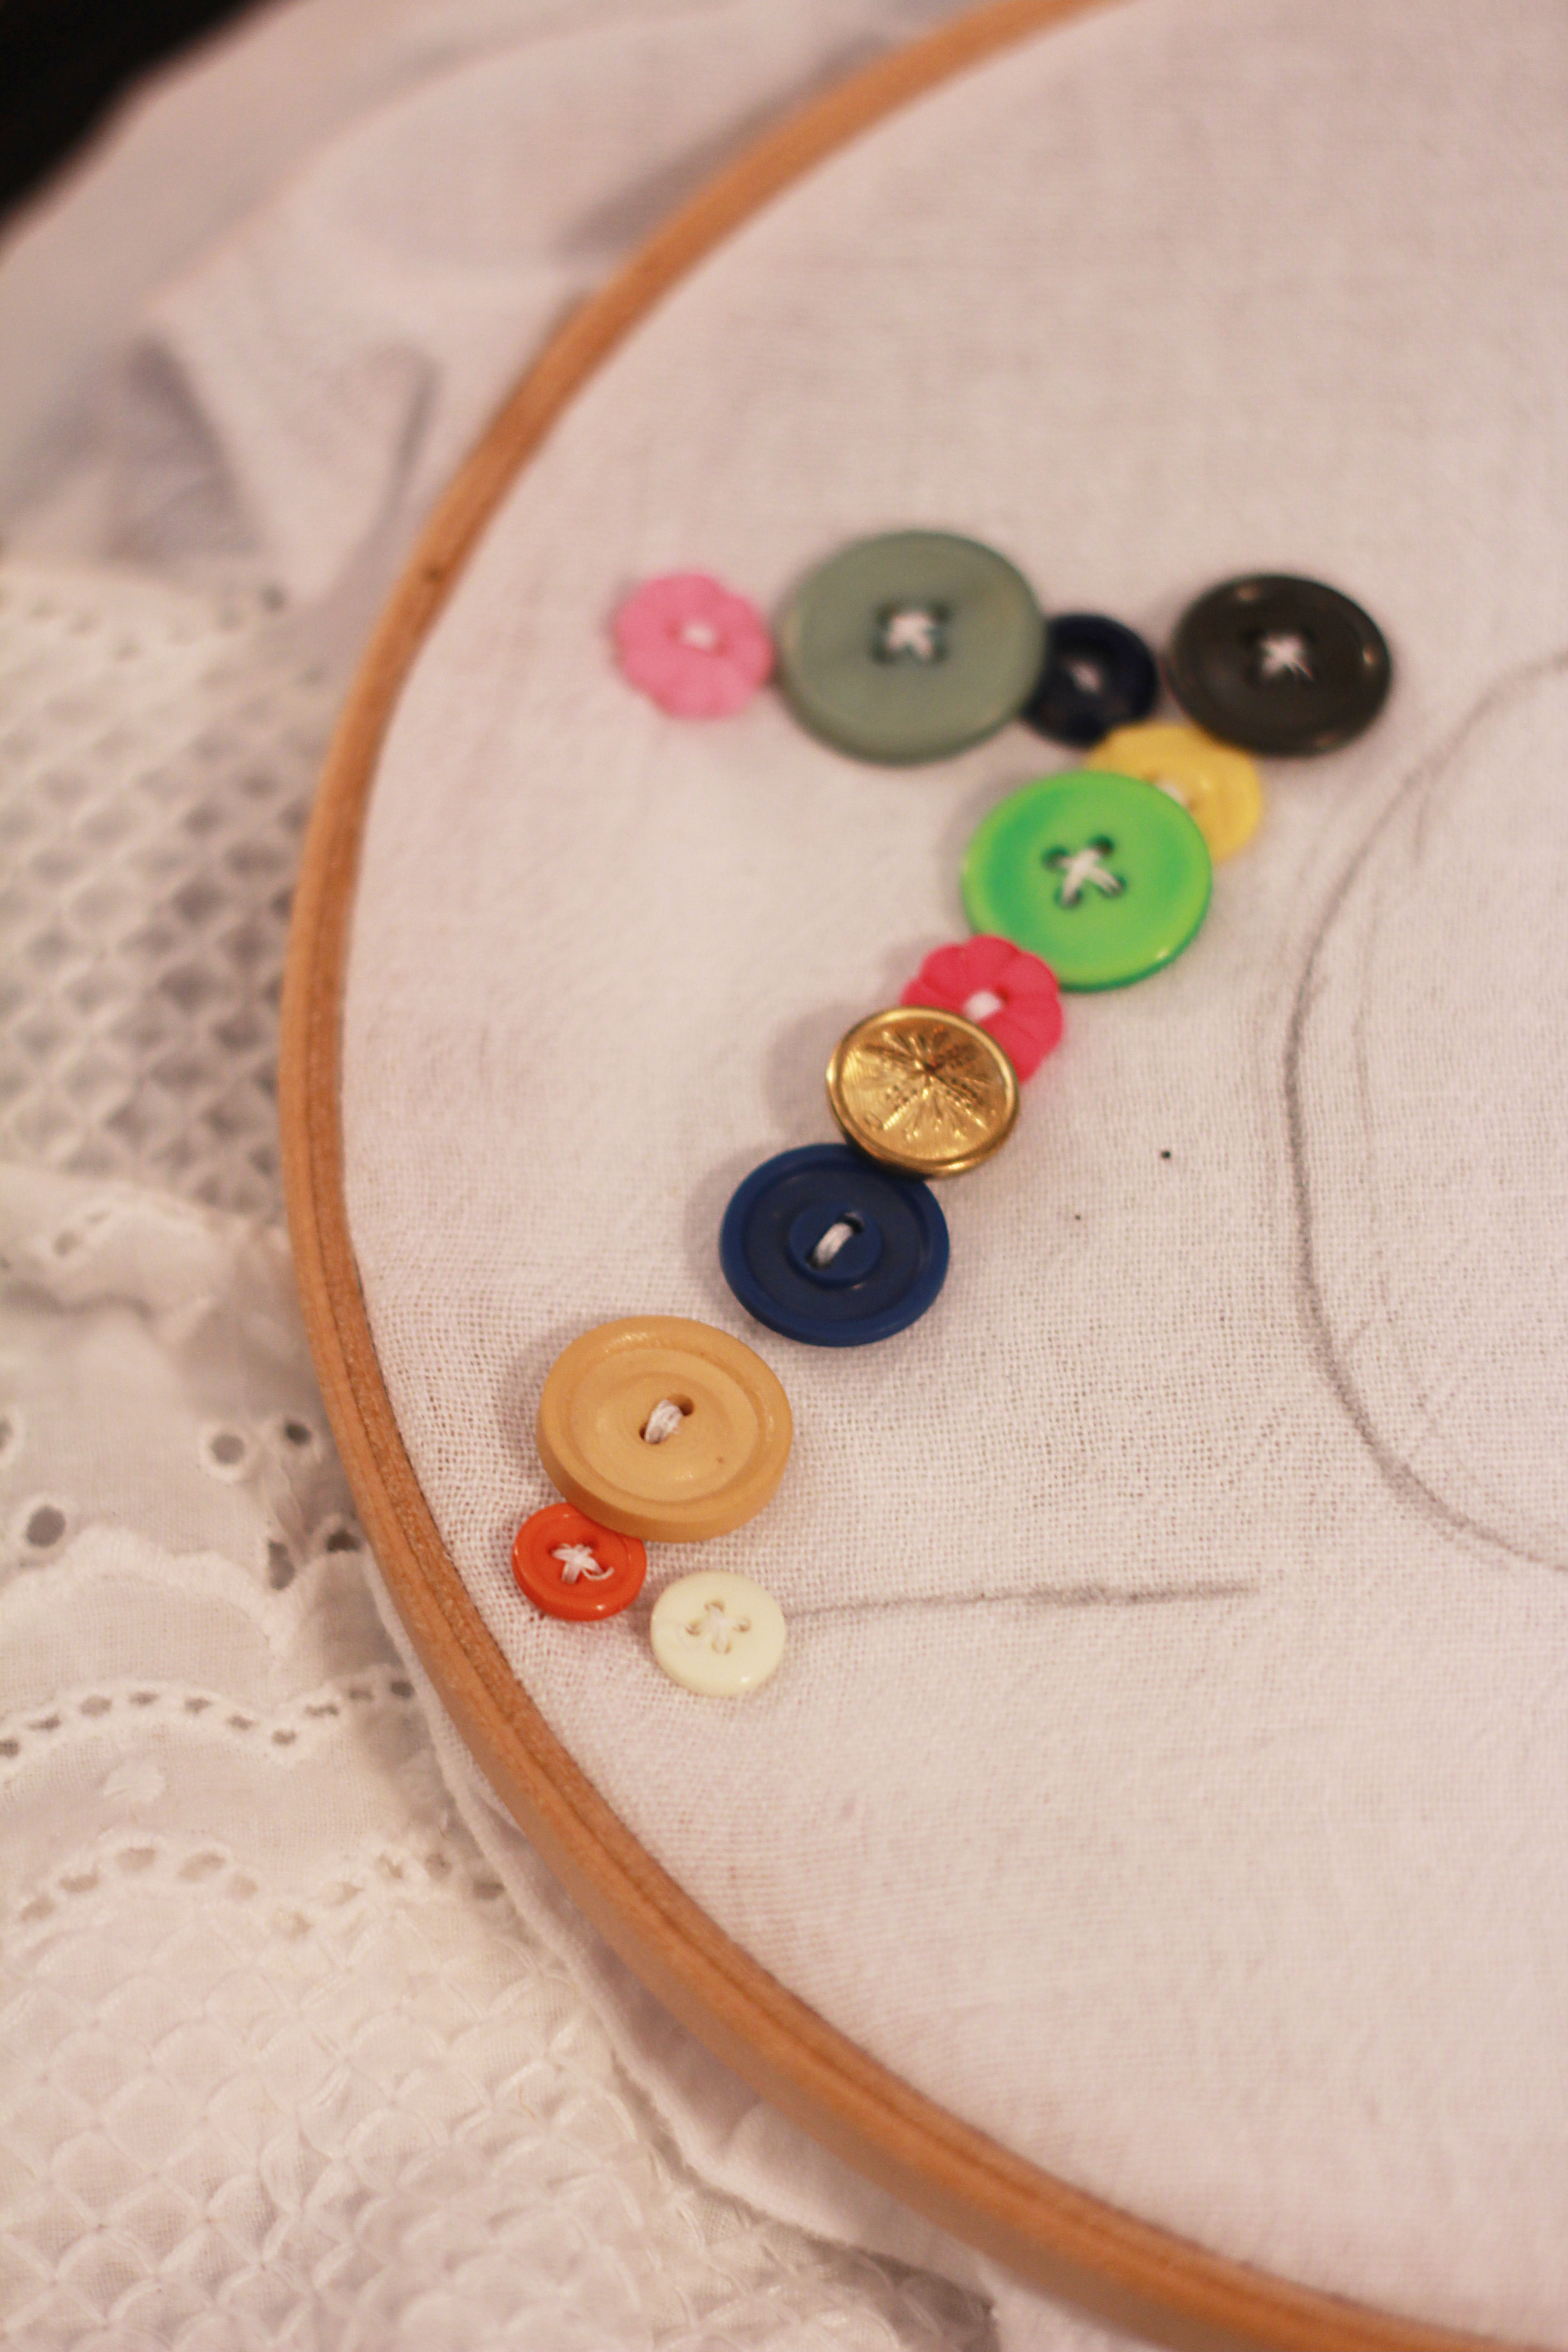
So, step one: write the name or monogram on the fabric, leaving allowance for the hoop. Be sure to stretch the fabric tightly in the hoop.
[Next time, I’d also leave more space between the letters. I used various sizes of buttons, and the letters of the name quickly crowded into each other.]
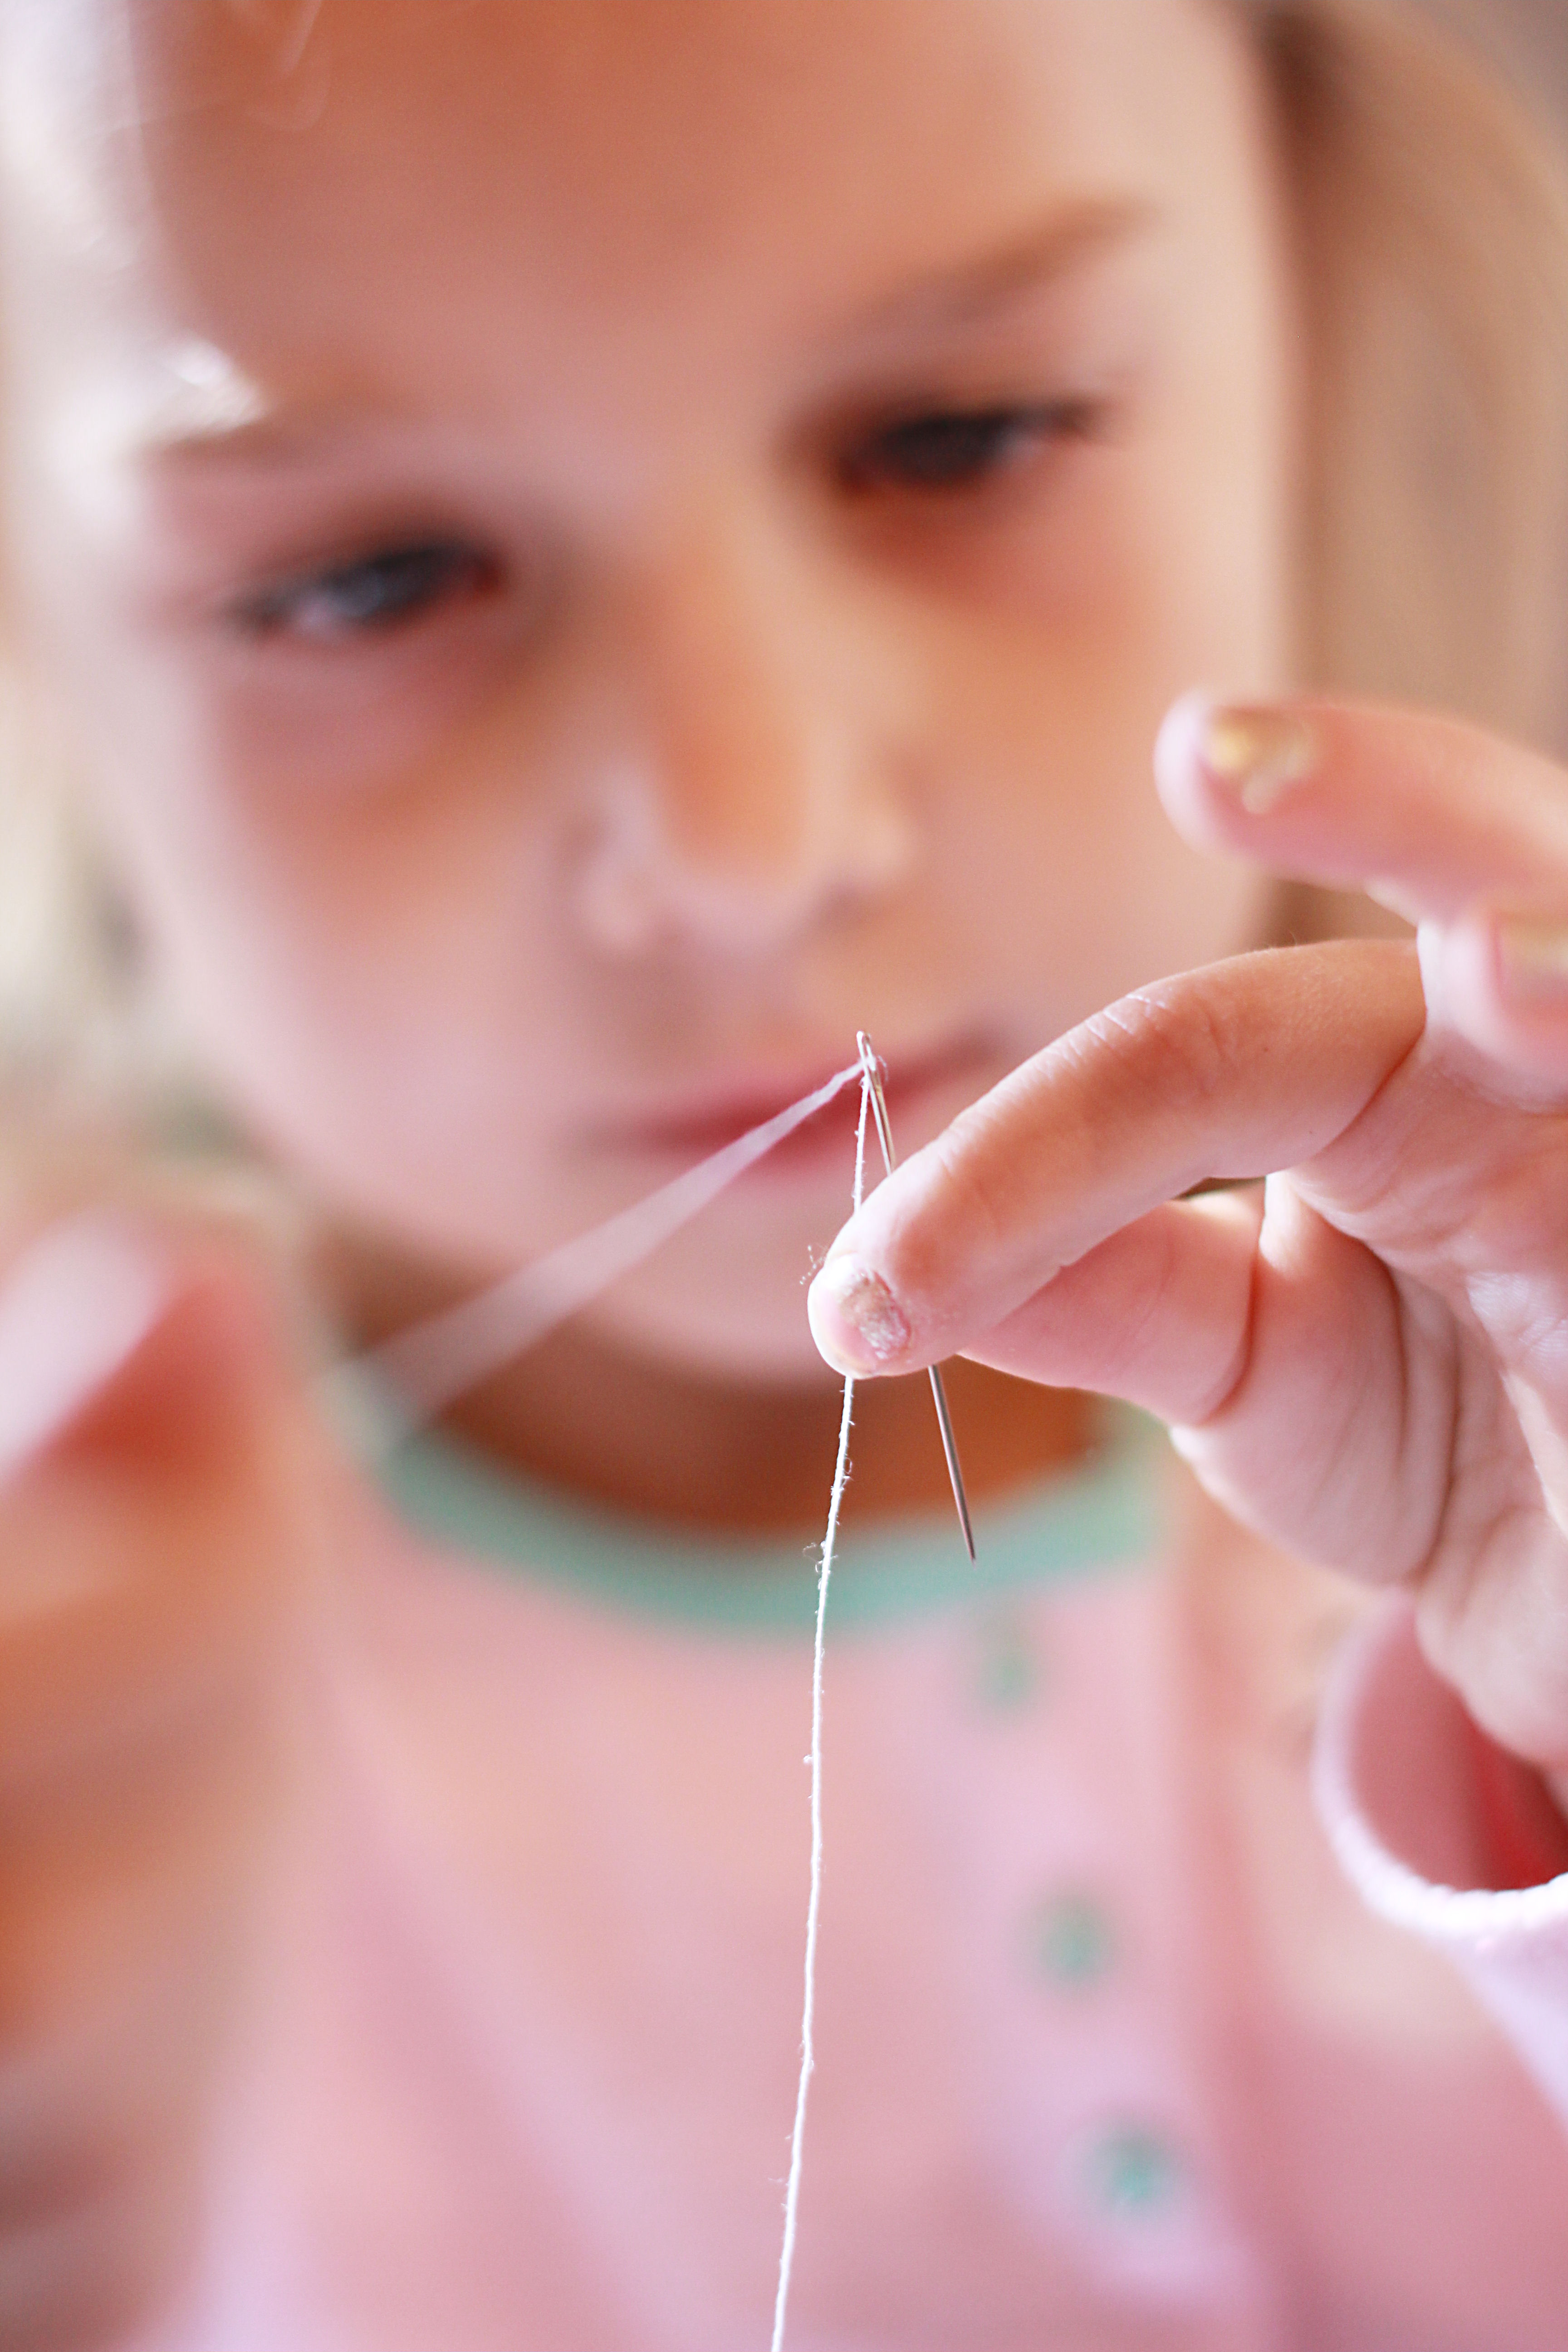
Step two: teach the favorite little person how to thread a needle.
Because this was her first time working with a needle and thread in a real project, I kept the thread fairly short so as to minimize the risk of tangling. :) That did result in many needles having to be threaded, so she and I did it together, trying to have 2-3 needles ready so we could keep going with the project.
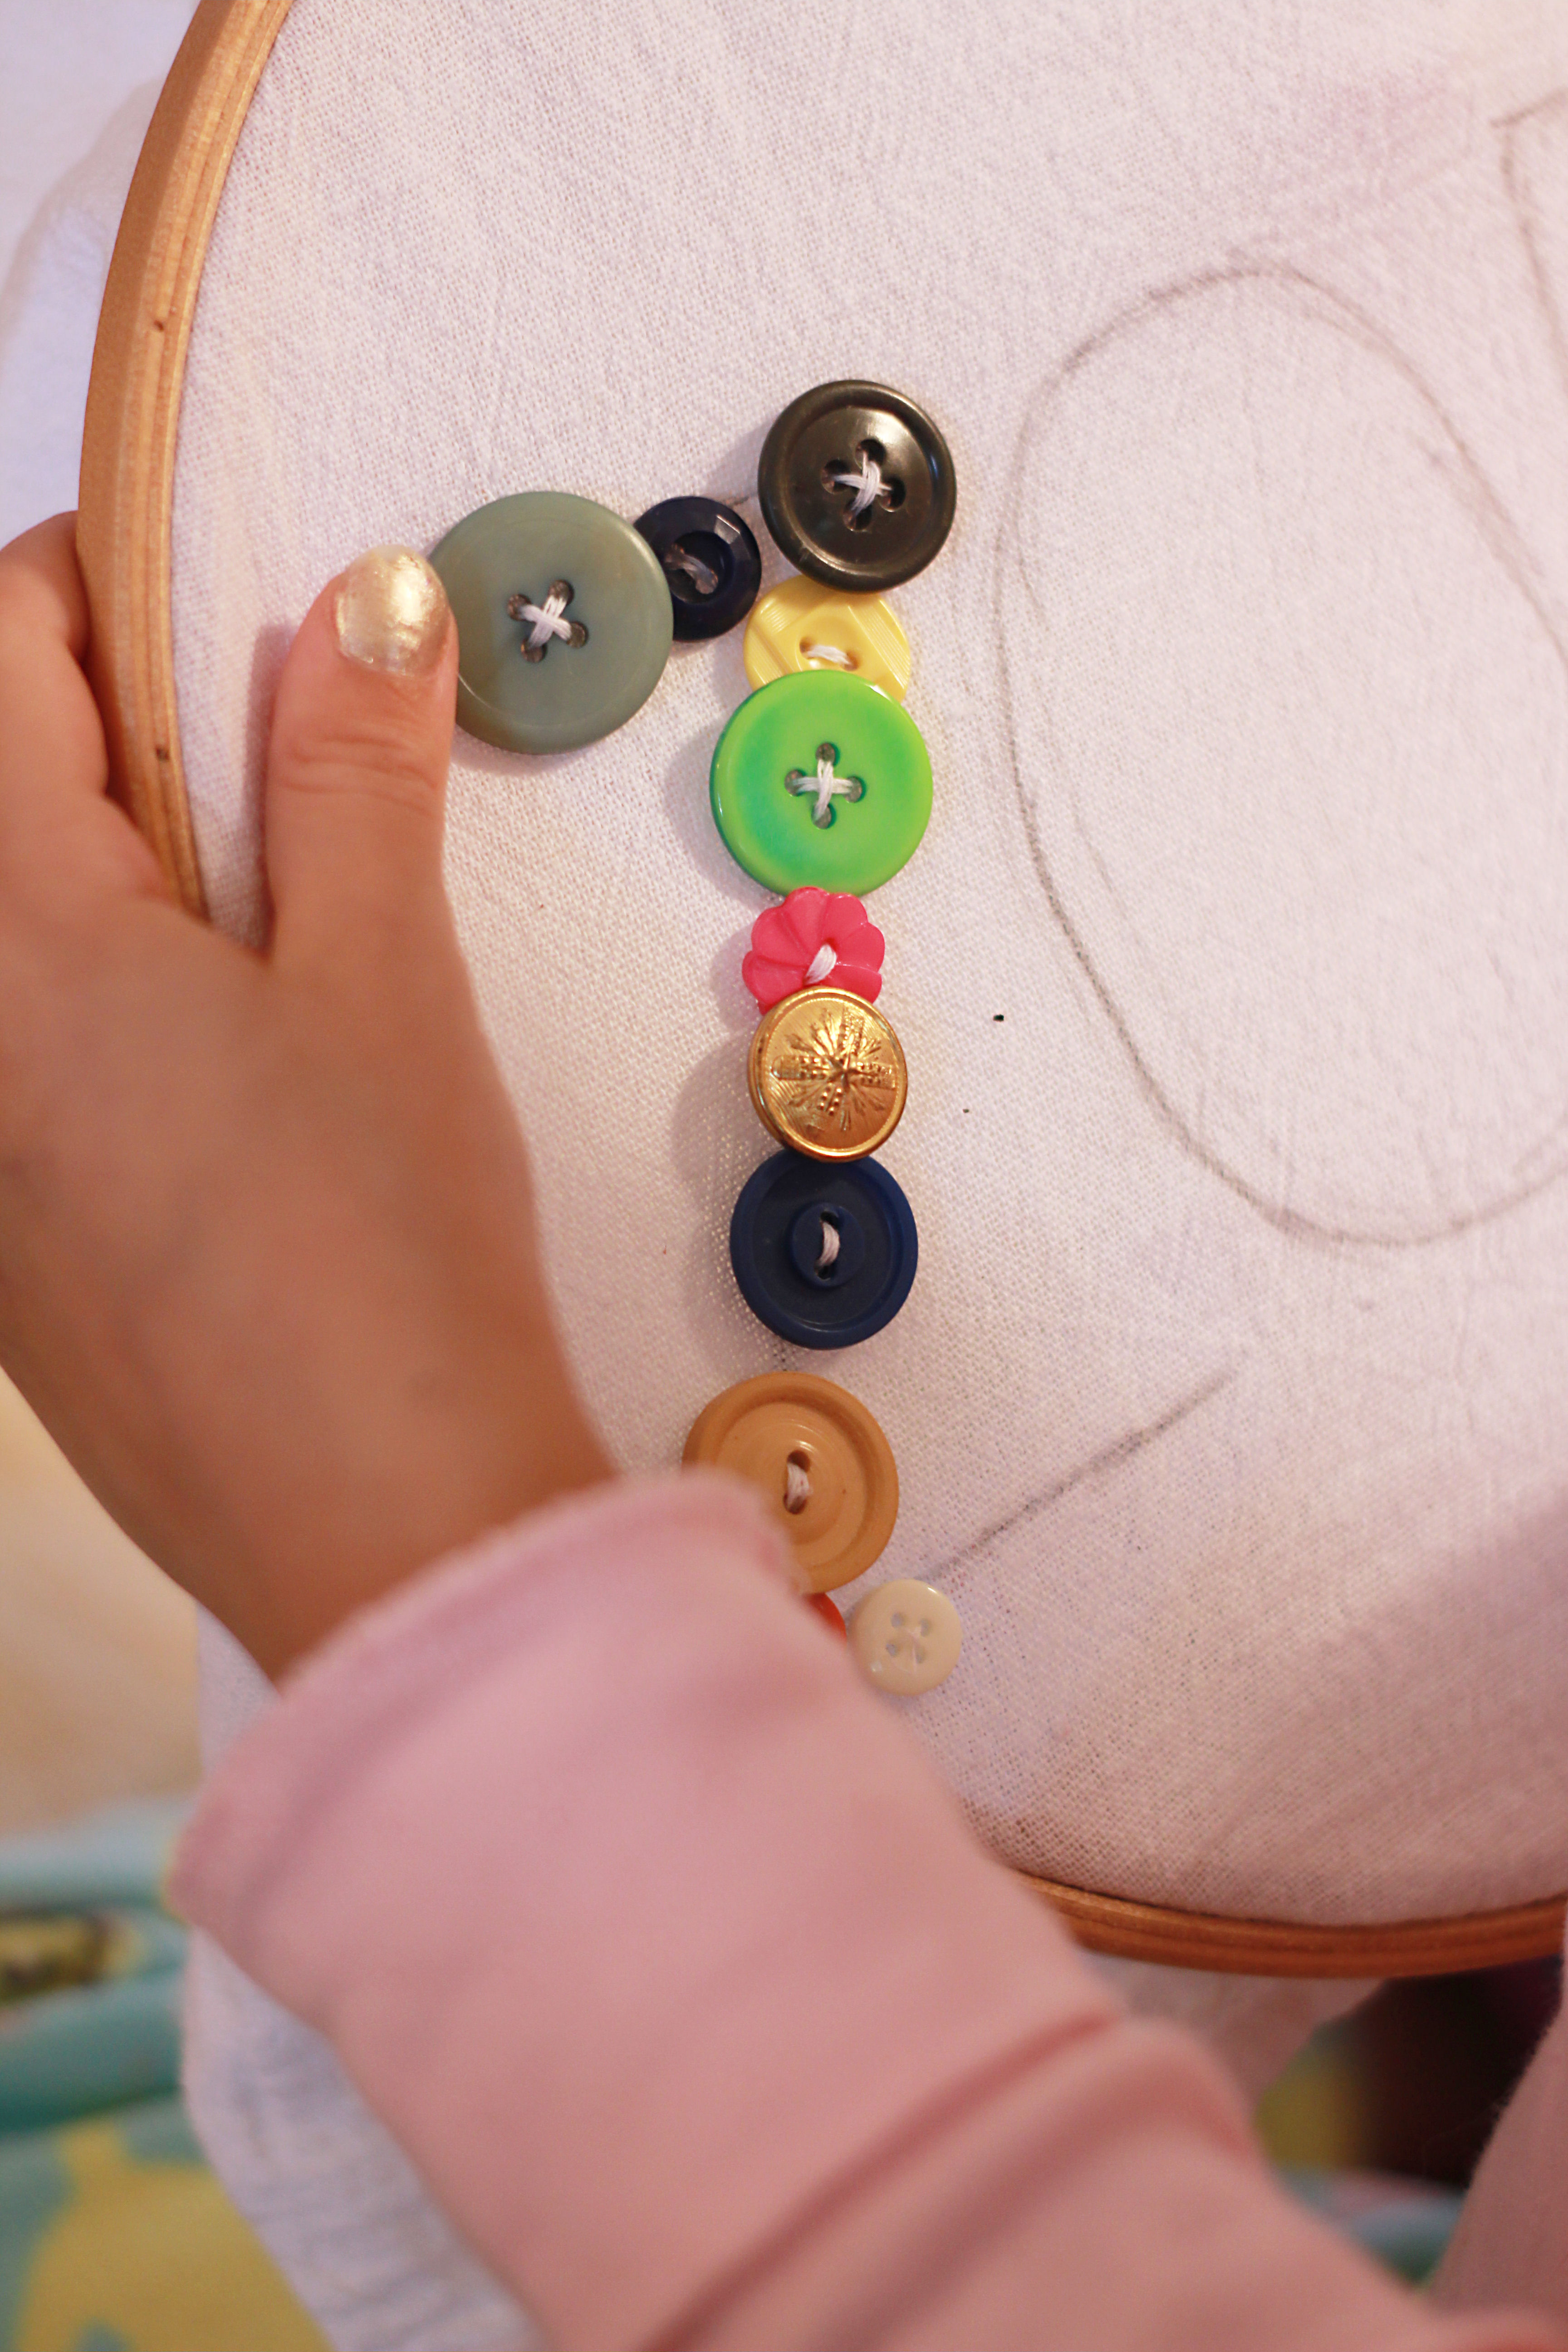
Step three: begin sewing buttons on the penciled pattern.
These buttons were an assortment of vintage & new buttons. Zoe’s Nana gave her the pink/blue/green ones that came from the dollar bins of Target, and they were the perfect pop of color!
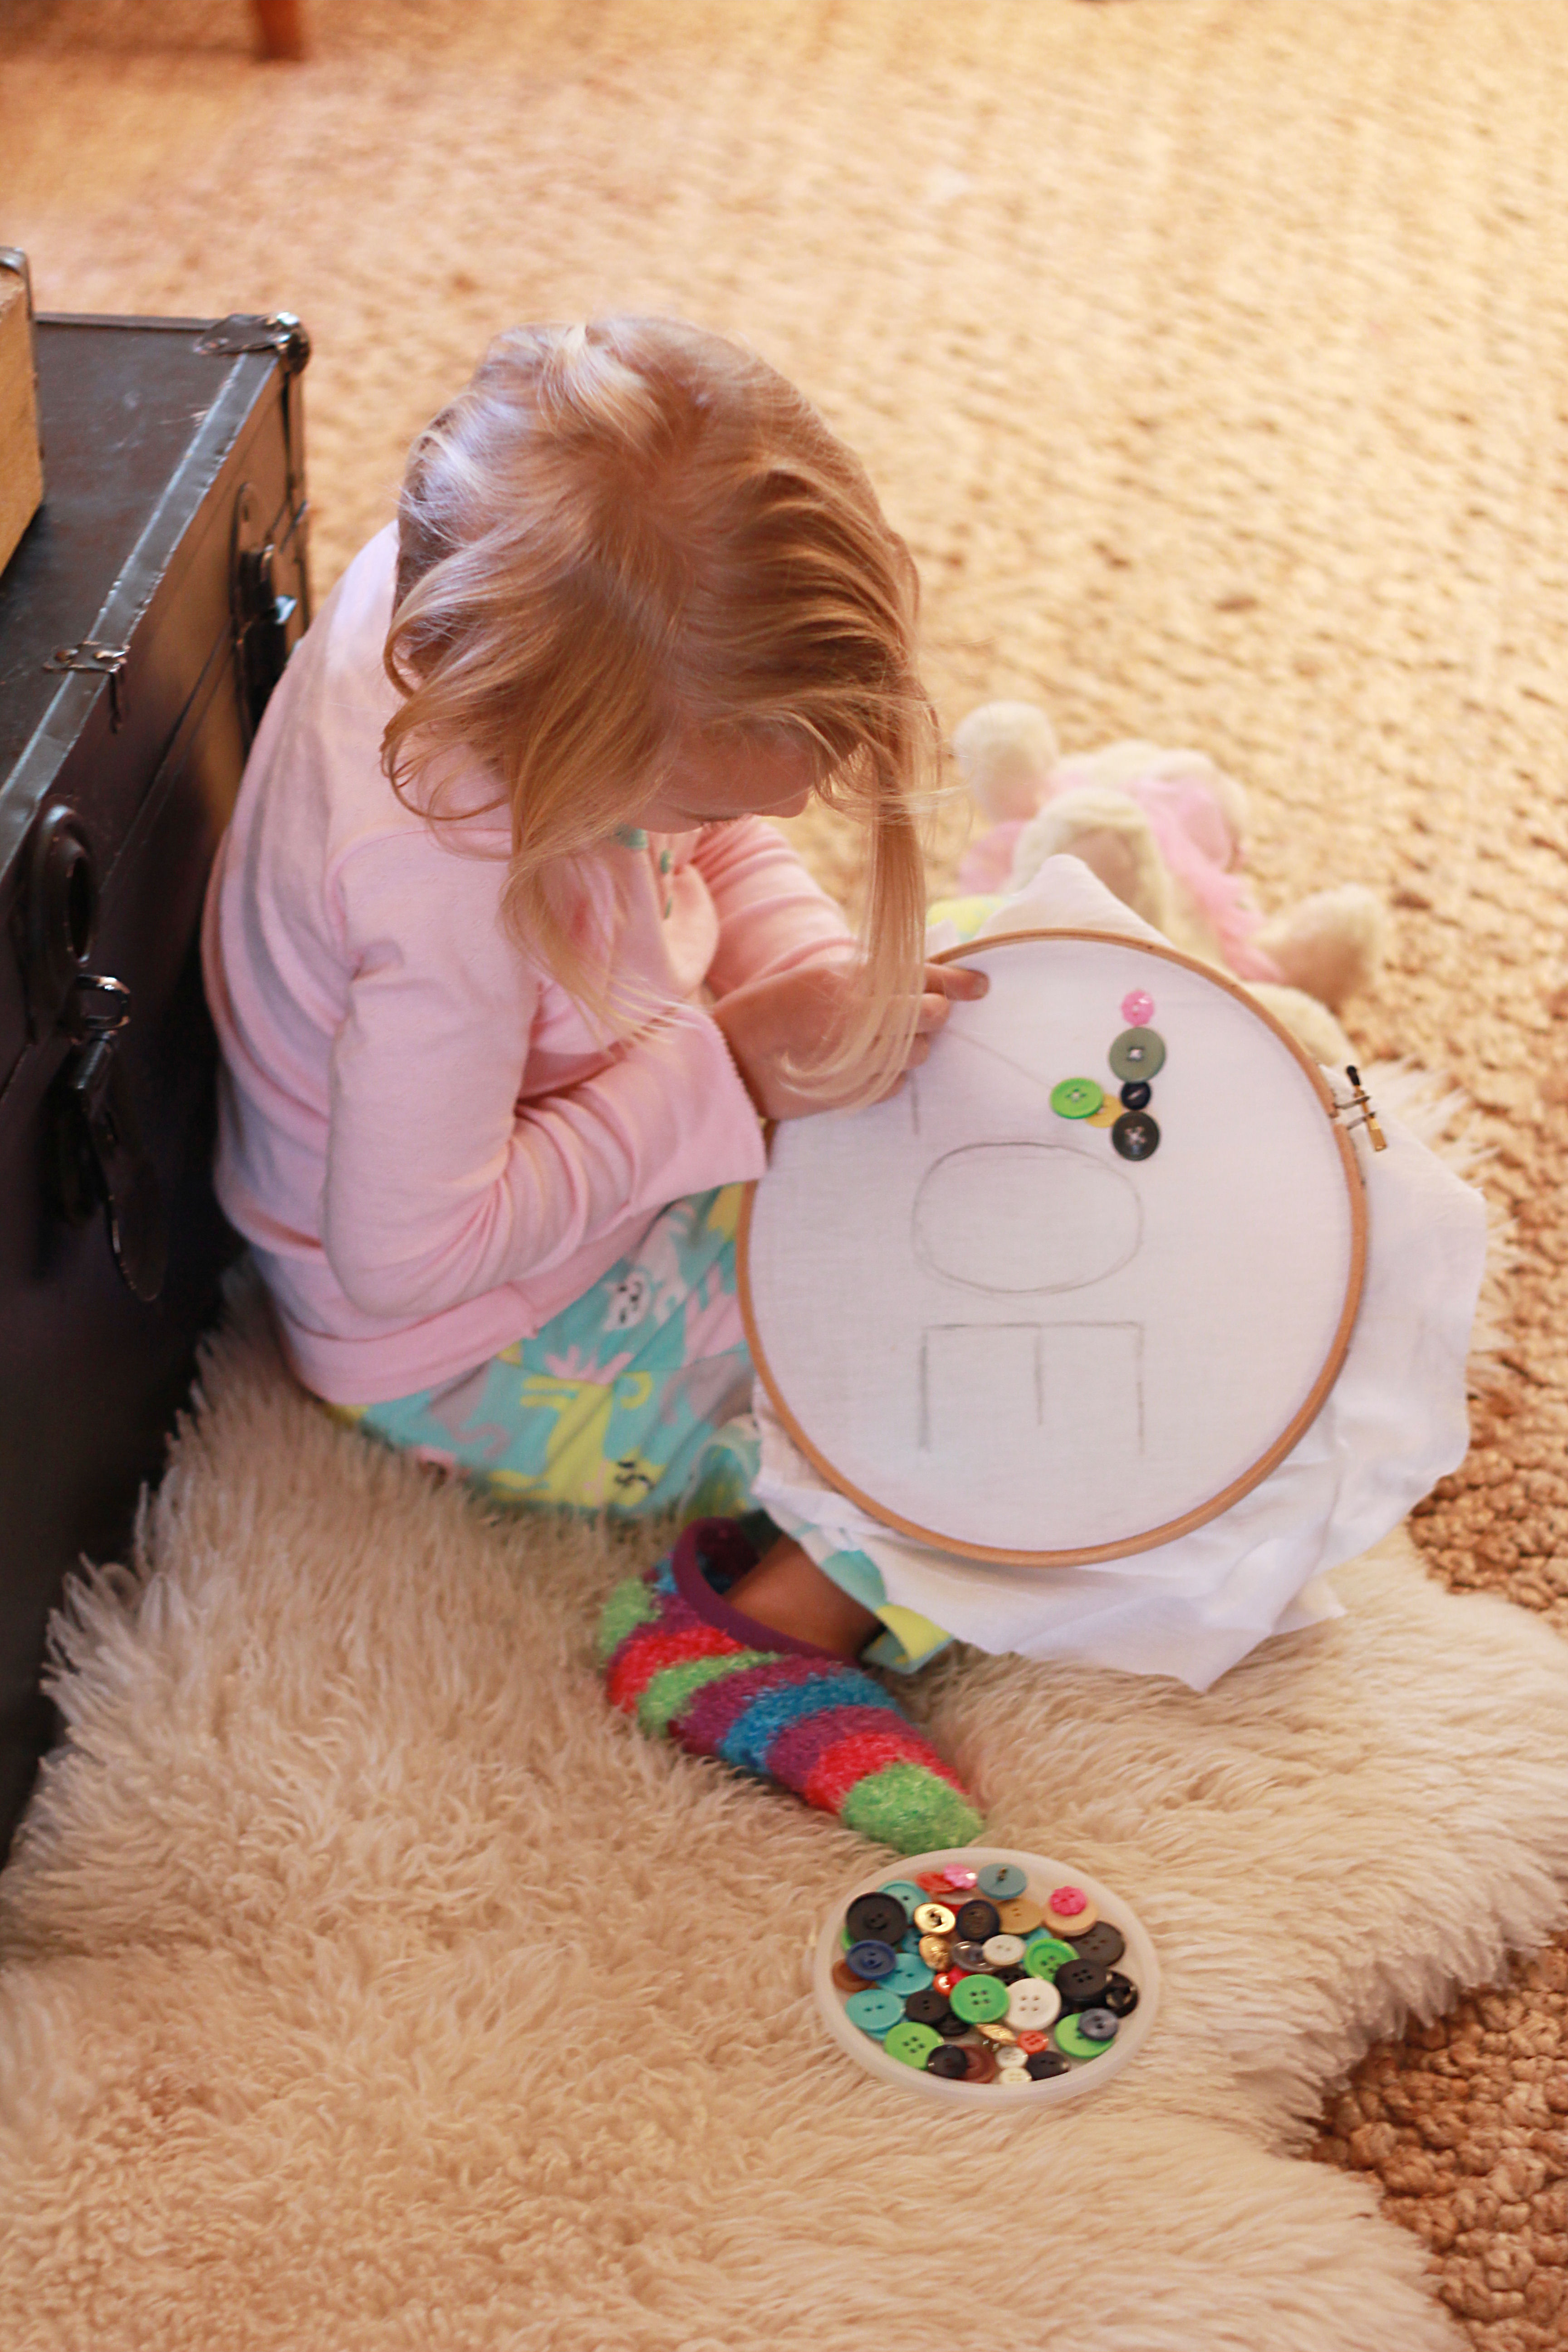
[yes, those are pajamas :) ]
Zoe and I took turns, each sewing a button at a time. Doing the whole project by herself would have been too overwhelming for her (she’s six), but if we kept trading then she really enjoyed it. It took probably two hours or so, but it was a special time together.
After the buttons were all sewed on, I took off the hoop and spray painted it, just for fun.
This is the finished product that now hangs in her bedroom, along with her one-year canvas photo and the lovely “Happy Girls” canvas from Aimee Weaver Designs.

Other options with this:
- When I do this project with Olivia, who is 4, I may make this a hot-glue gun project instead of a needle & thread project. :) Her patience levels aren’t quite long enough for this, but the glue gun (one of the low temp kinds) would still be fun for her and teach her how to follow patterns and have the pleasure of a completed project.
- At Christmas, draw the outline of a Christmas tree and use bright buttons for “ornaments.”
- Use a small floral patterned or colored fabric for the background, and solid color buttons for the monogram (i.e. aqua fabric with white buttons)
- Your ideas? :) I’m sure some of you have done similar projects, and I’d love to hear about it and see links!
Happy Hump Day!