
For quite some time I have thought to myself,
“I have GOT to learn how to make those pinwheels! But they seem really hard…”
Pinwheels look so fun and festive and happy,
but they seemed very tricky to me.
I had no idea how they worked, until one day, not very long ago, I went online and researched all the pinwheel-making sites I could find.
And what do you know, but I thought to myself,
“That’s it?! I can make those!”
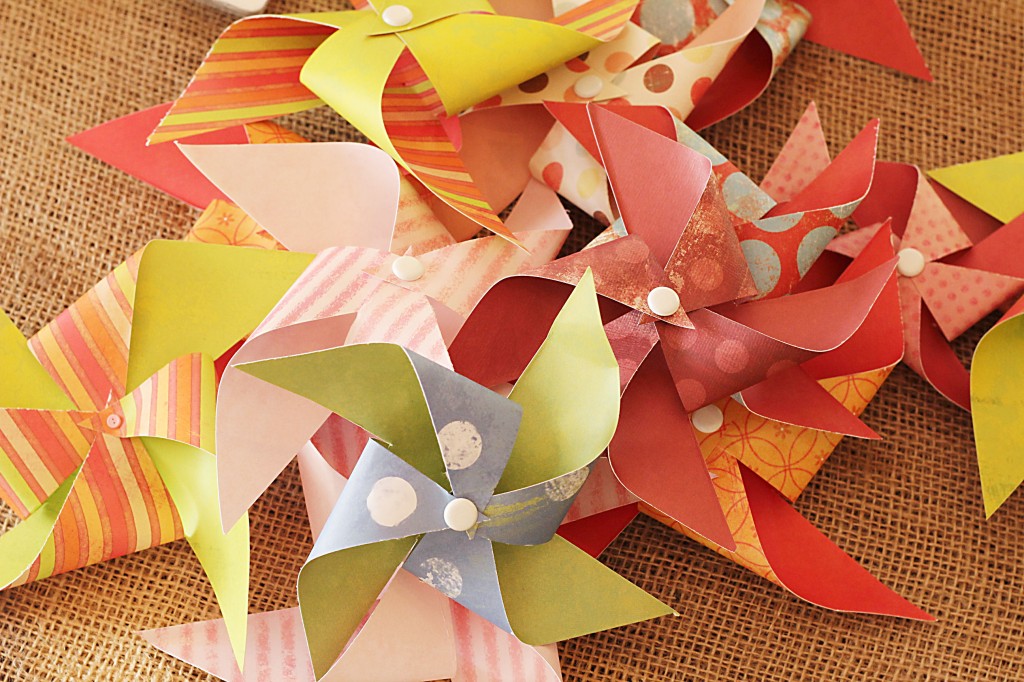
So I dug in the bottom of my old chest for scrapbooking paper (that has sat dormant for years) and whipped up a few. Was it ever fun! :)
And I was sooo excited that I thought someone else might like to make these too!
What follows is a little tutorial on
How to Make a Pinwheel.

Supplies Needed:
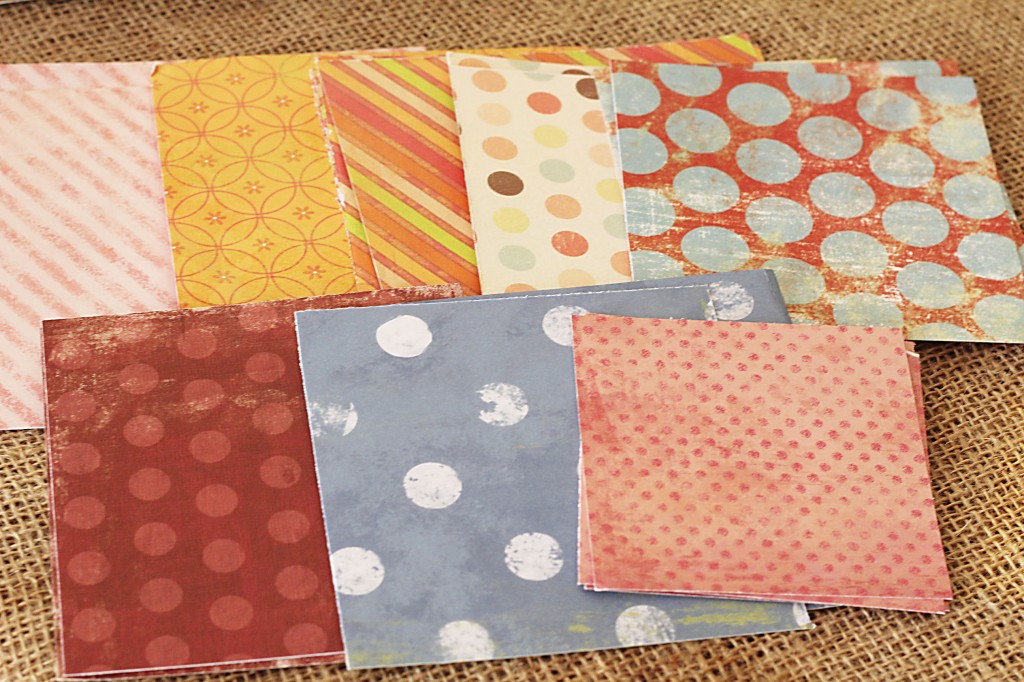
~ assorted paper (it’s pretty if it’s double-sided)
~ furniture nails or long pins with decorative ends or thumb tacks
~ scissors and/or cutter
~ ruler
~ pencil
~ dowel rods (I used the ones with the blue end from the hardware store, and cut them in thirds)
~ hammer
1. Select papers and colors of your choice, and cut them to the desired size. They must be square.
I used an assortment of sizes, anywhere from 3 inches to 12 inches, with most of them being around 5 inches.
Your finished width will be the largest diameter.
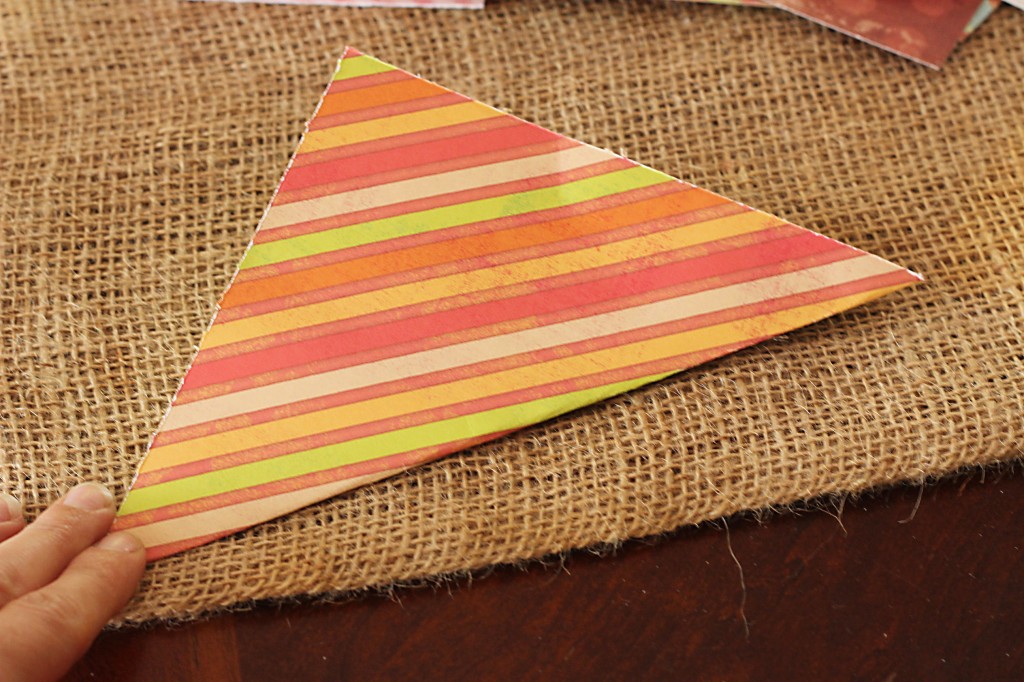
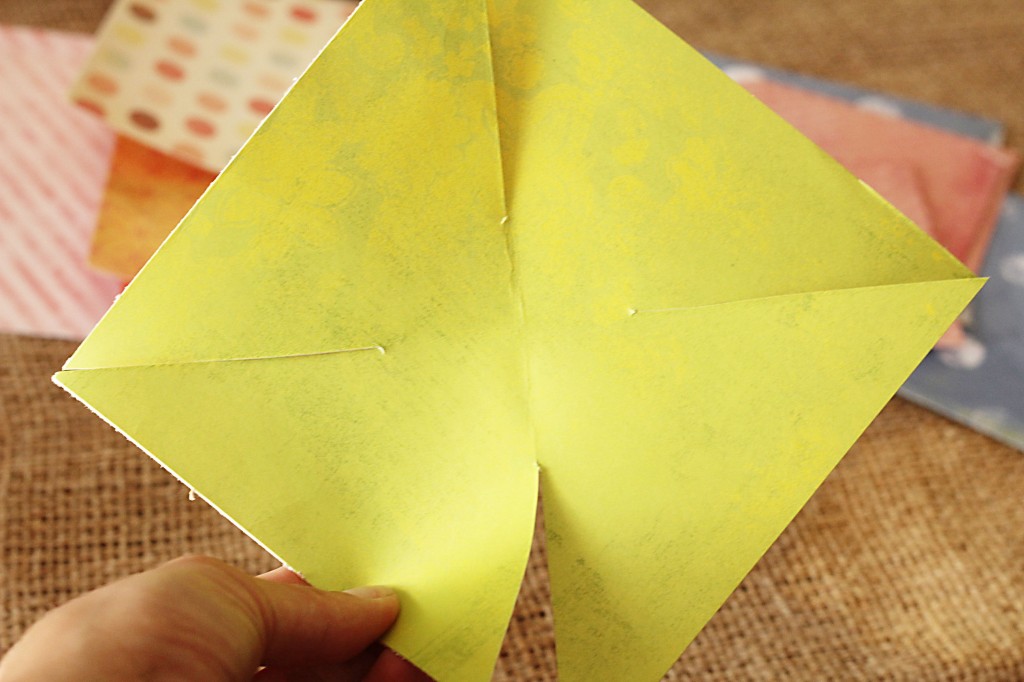
2. Fold squares into a triangle, open up, and fold the opposite corners. You want there to be a X crease in the center.
3. Take the scissors and cut along the X crease toward the center, leaving 1/3 uncut in the center.
4. Mark EVERY OTHER corner with a pencil dot.
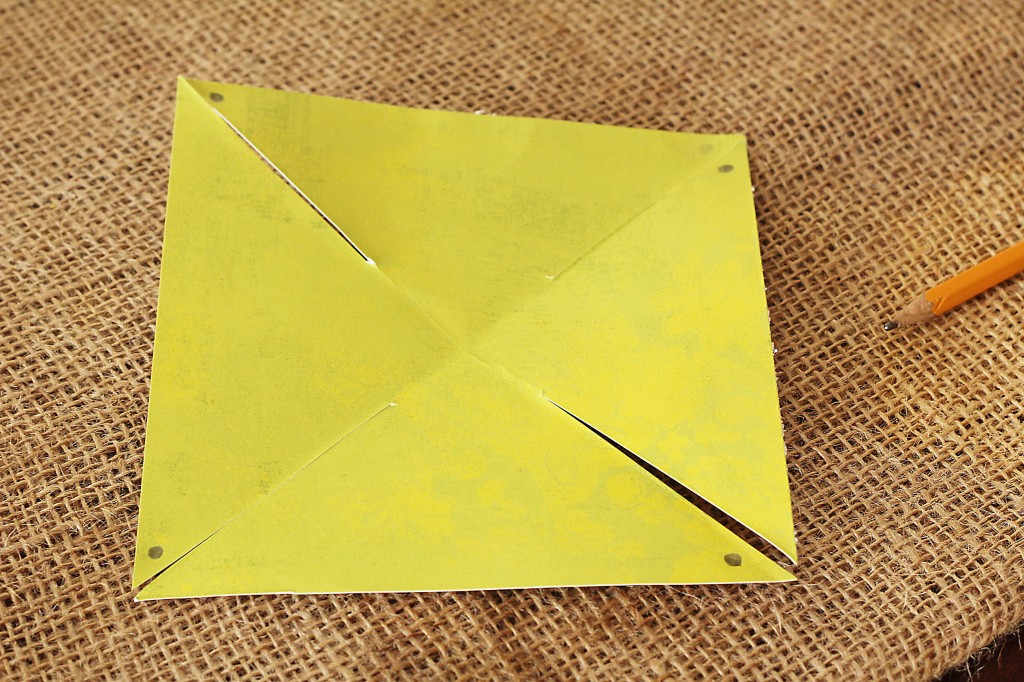
5. Pull only the marked dotted corners toward the center, overlapping generously, and push a pin [or furniture nail or brad] through all four points and through the back.
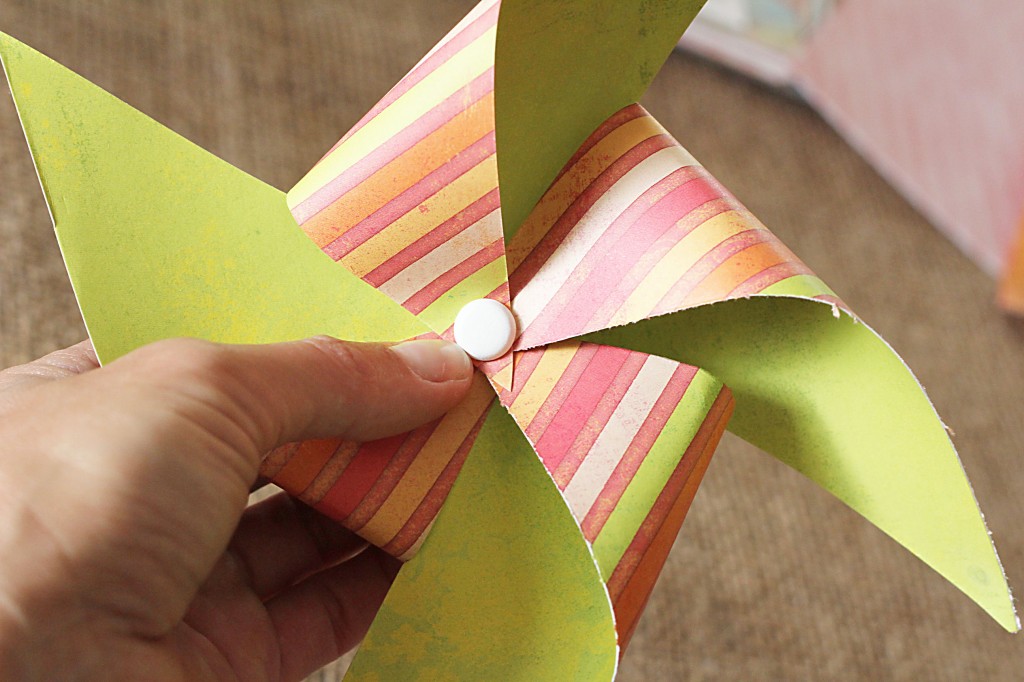
6. The trickiest part: fastening it onto the dowel rod.
The sewing pins with a ball on the end worked best, in my opinion, and it also allows enough of room for the pinwheel to spin when blown. Otherwise, it’s fastened securely but cannot spin well and is merely ornamental, which is fine too. The option is yours.
The furniture pins look pretty because of the wide head; however, they are more tricky to mount onto the dowel rod. A larger nail than this will cause the rod to split and splinter.
Which ever way you choose, tap the head gently with a hammer while holding it secure, or push in firmly with your thumb. The key is to hold the dowel rod tight so it doesn’t roll.
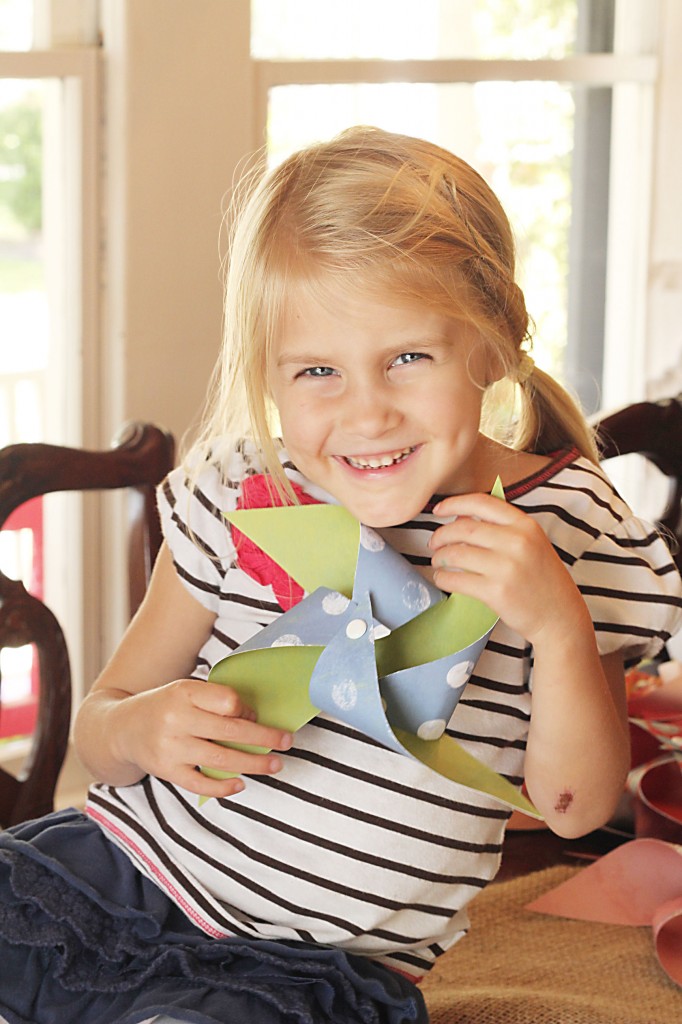
Even my little kiddos have fun with this.
Ta-da! You’re done!
Average cost: no more than 25- 50 cents per wheel, depending on paper
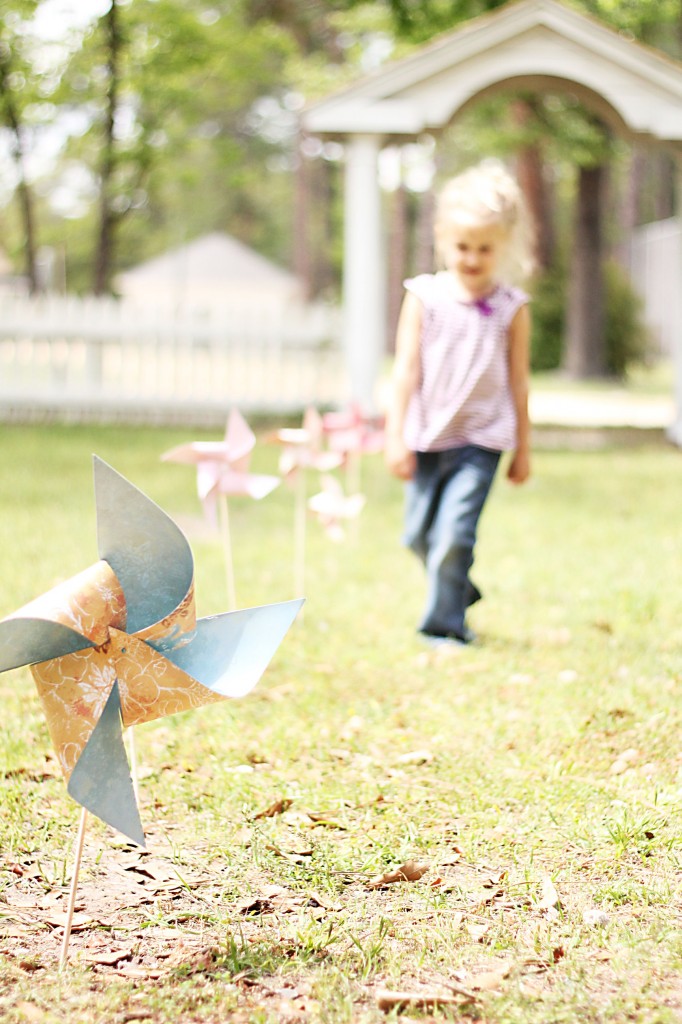
Now the other fun part ~ using them to decorate, letting kids play with them… They look so festive!
You can use them to create a pathway in your lawn…
… or to add a bright touch in your children’s bedroom…
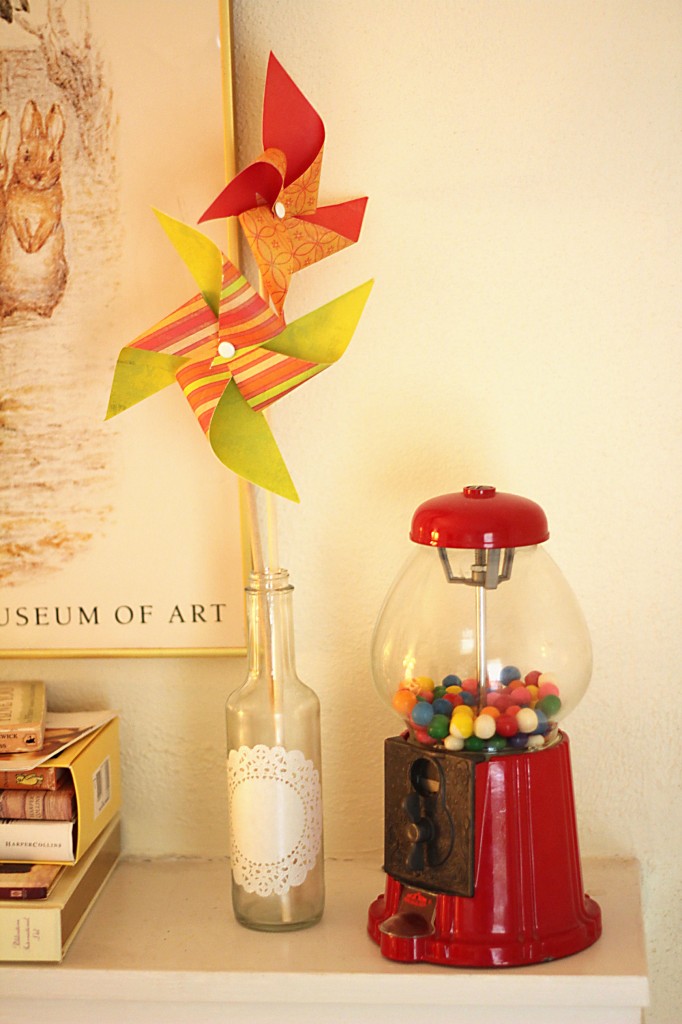
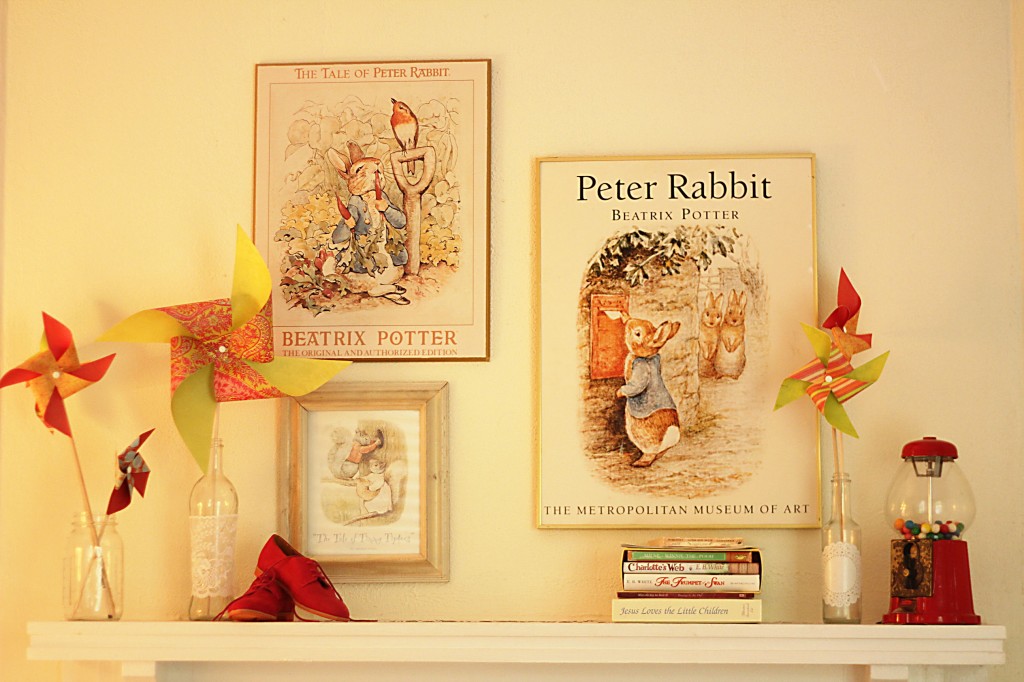
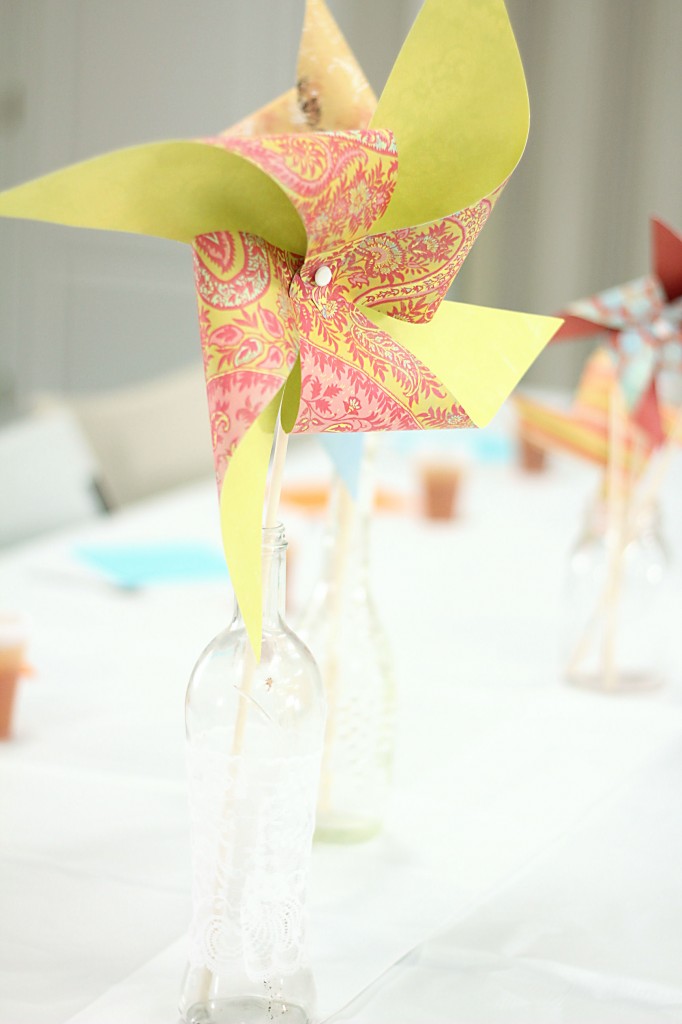
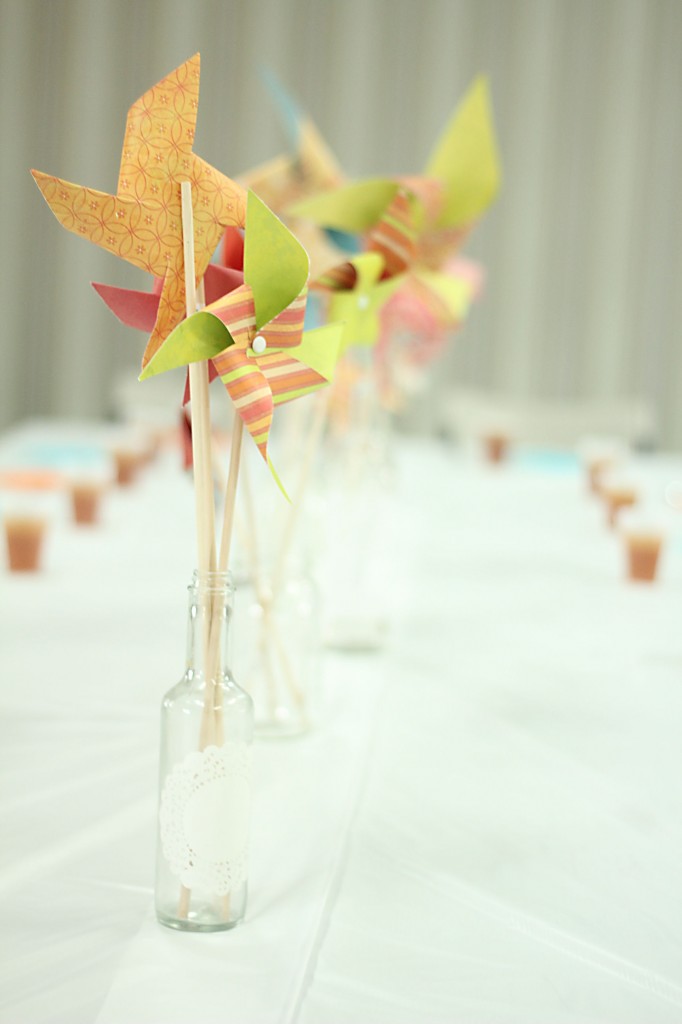
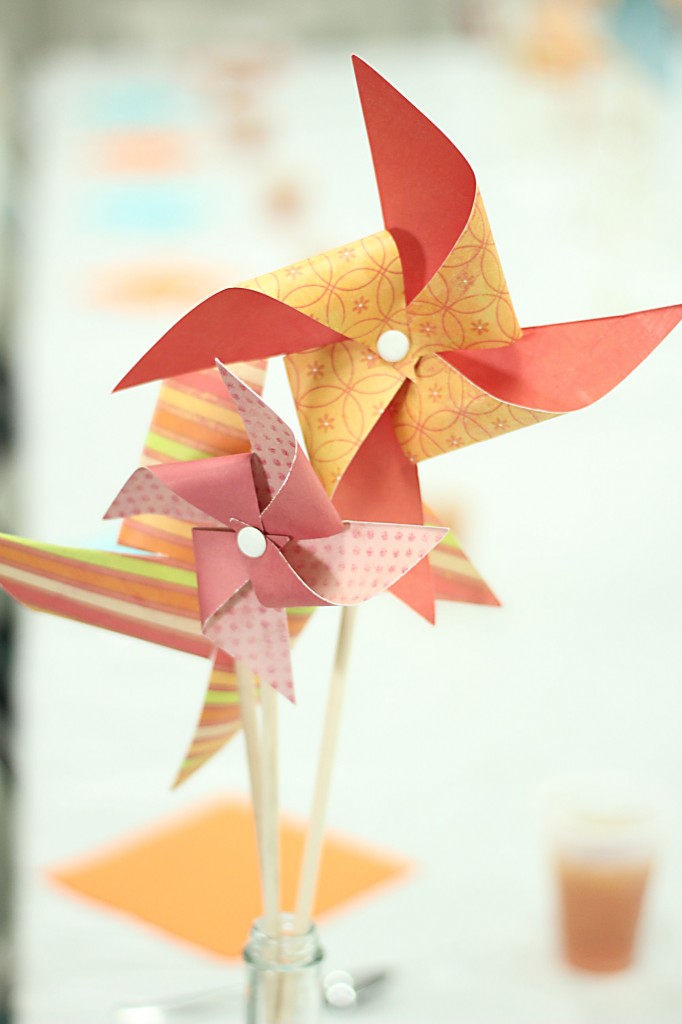
… or to create a happy centerpiece….
{it looks so pretty with a row of them in jars and bottles}
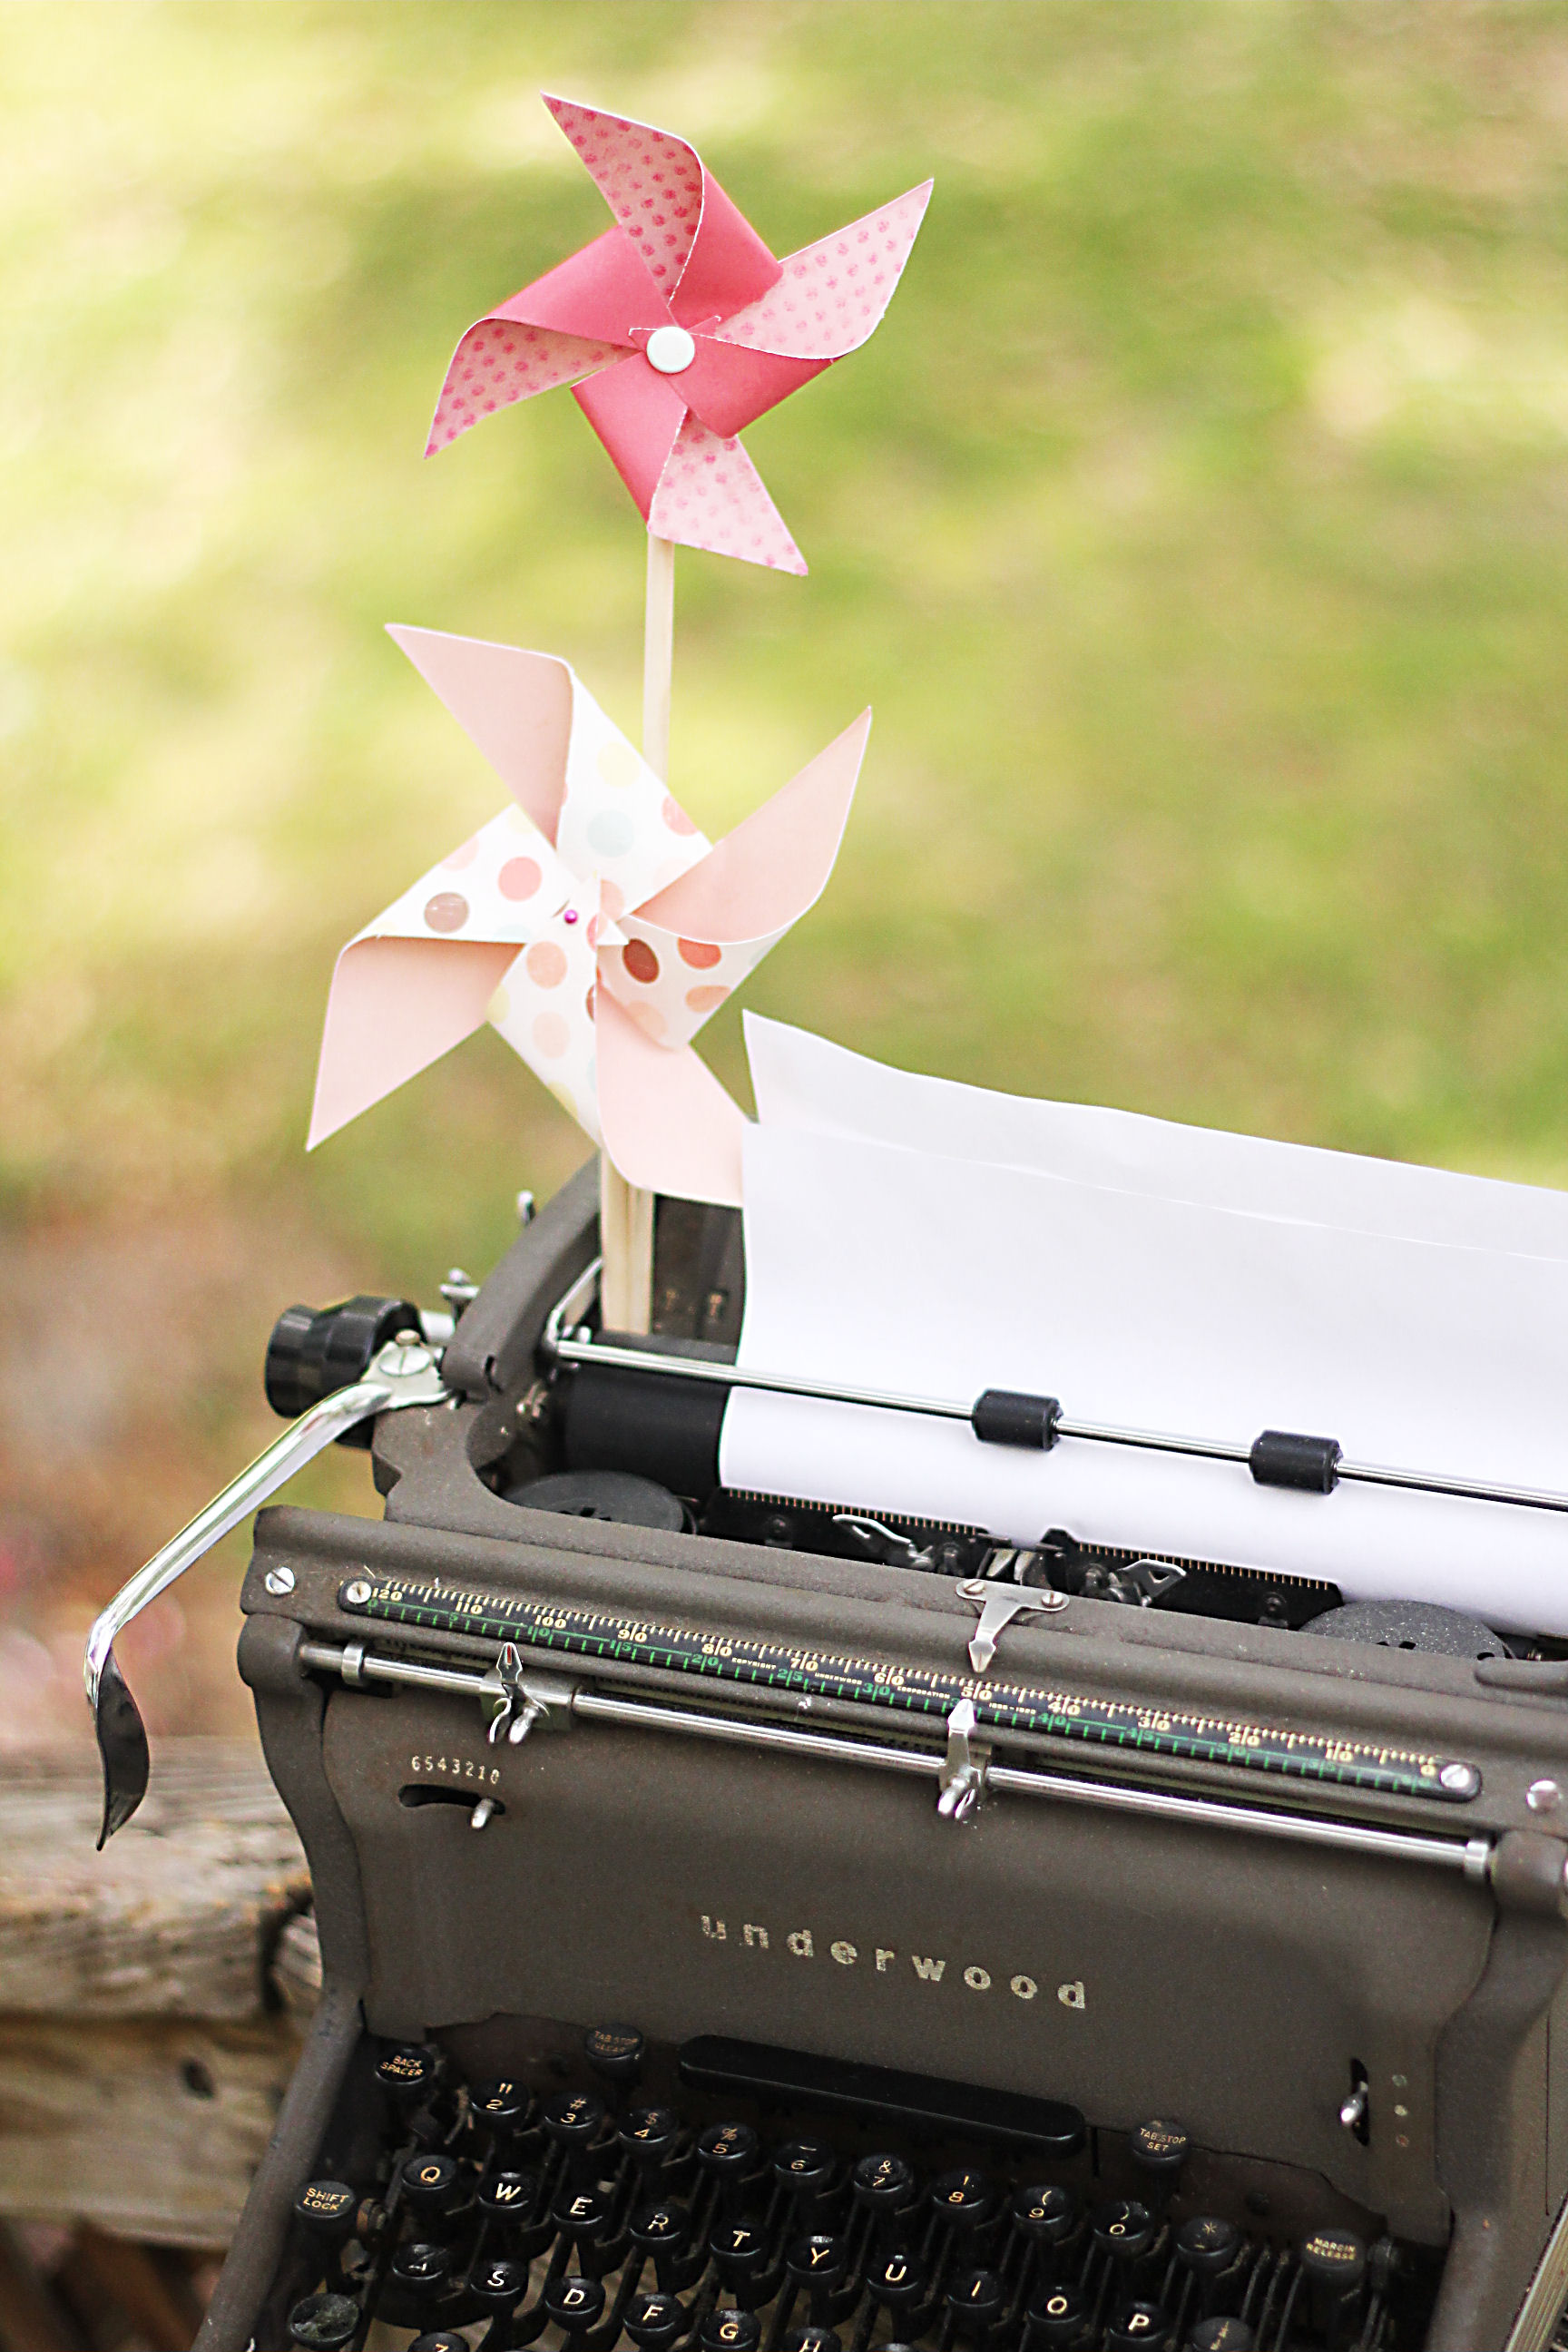
… or to have a photoshoot with your typewriter…

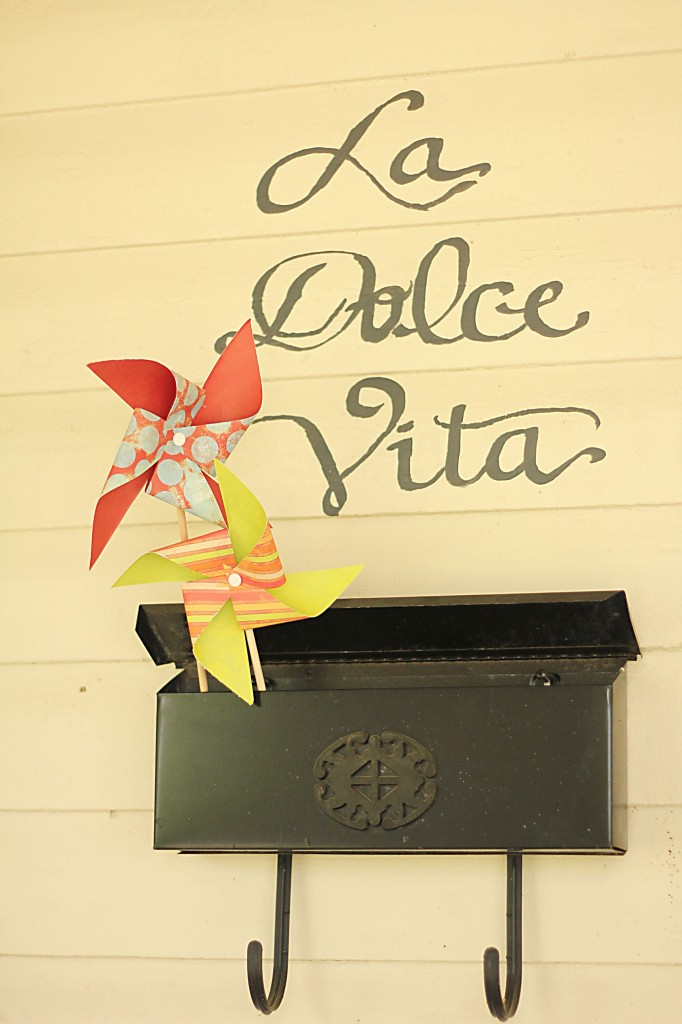
… or to place outside your door…
Other ideas:
~ Make tiny ones and use as cupcake toppers, using brads and striped straws instead of nails and dowel rods
~ Make large assorted sizes and use without the dowel rod to make a wall arrangement for a girls’ room
~ Give as party favors
~ Use glue instead of pins/nails
~ Use a pencil and use pin into the eraser
~ you give me ideas!
Create and enjoy!
~ Clarita
