Of Painting Pumpkins

A little thanksgiving 043


Yes, I DO realize that I’m about exactly two months behind the rest of the world in the festivities of painting autumnal pumpkins.

BUT, there is a reason for it! A very good reason.
You see, my sister Ervina was coming to visit and we wanted to wait until she was here with us. [It’s been a childhood dream of hers, never before accomplished, and we wanted to be there for the Big Day].

So, she arrived, we were having heaps of fun visiting our other sister Jana, missing our yet other sister Claudia [missing her not included in the ‘heaps of fun’], sitting and drinking coffee and eating quiche just like we’ve always dreamed of doing together [except 360 days of the year we’re too far apart from each other to do that].

And then, it was the

Day of Painting Pumpkins.

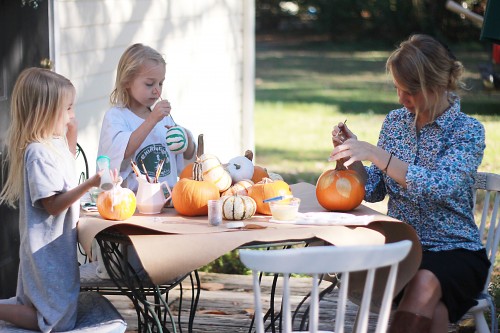
The children were so very excited, it’s true. And what even truer is that the big kids were even more excited. It’s a way of bringing out the inner artist you didn’t realize you had, and feeling extremely happy with the result.

The ‘Punkins,’ as Zoe says.
[Or is that ‘Pungkins’? Something along those lines. Definitely without the ‘Pump’ part.]

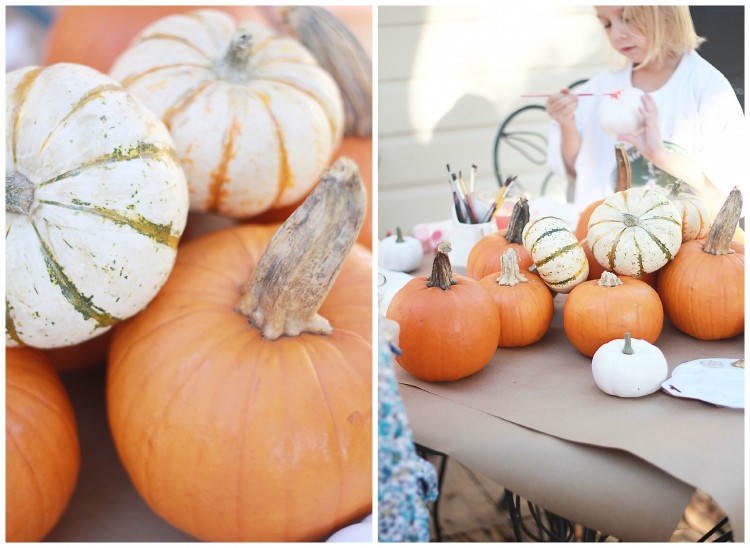
the pumpkins

Unfortunately, by the time I went to purchase some, everyone else around here had bought out nearly every single pumpkin. The result was a great scarcity, resulting in very cheap ones in those I could find, and of pulling out pretty much every plastic pumpkin I had around as well.

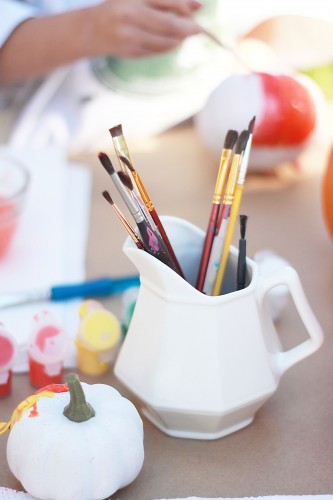
Let the painting begin!

When Ervina comes to visit 317

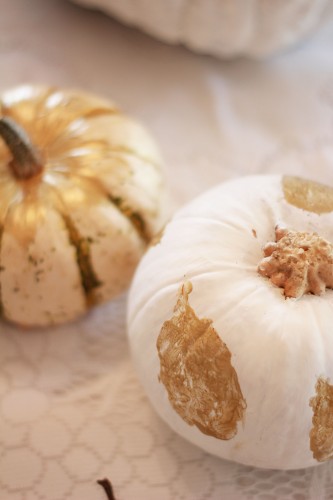
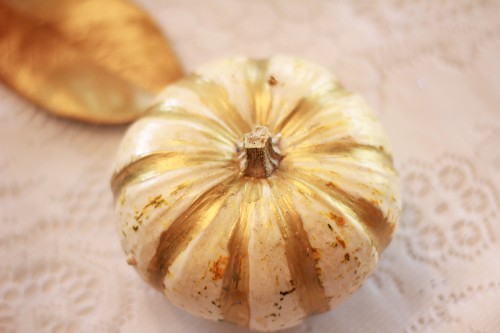
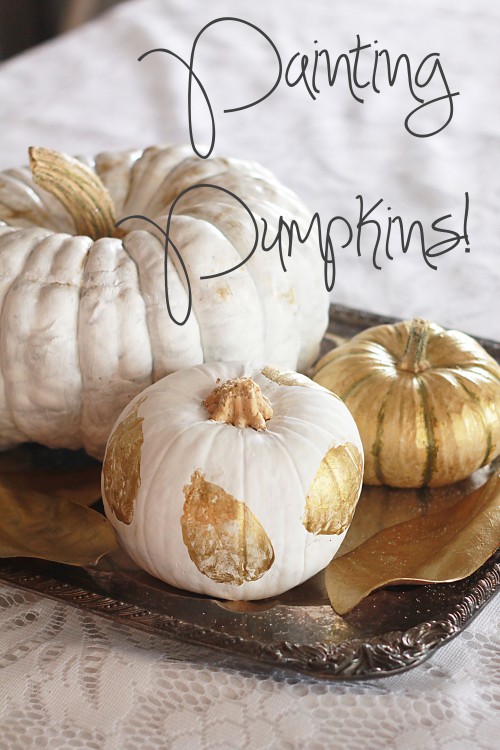
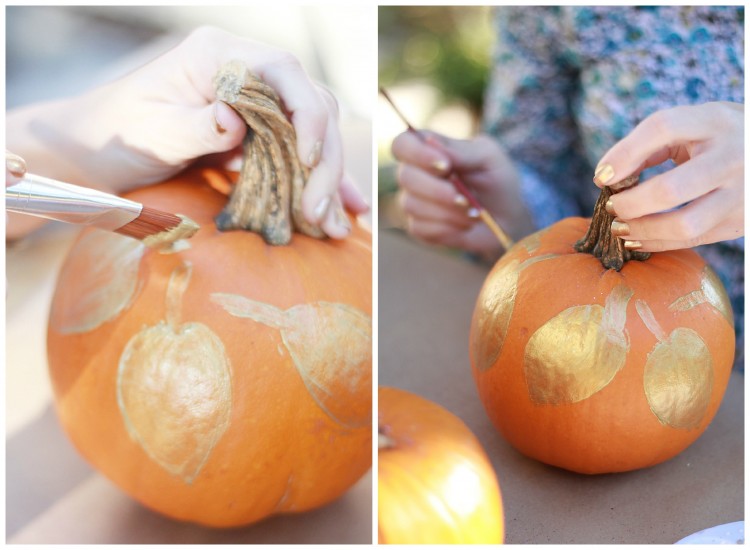
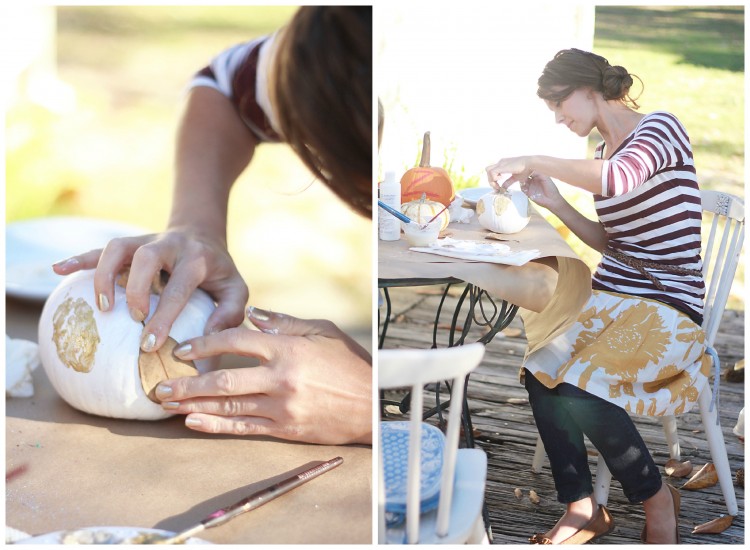
I’m on a gold fetish right now. [More on that another time.]
But I bought a gold and gold glitter paint in the craft section at Walmart,
and that was what we big kids used the most of.

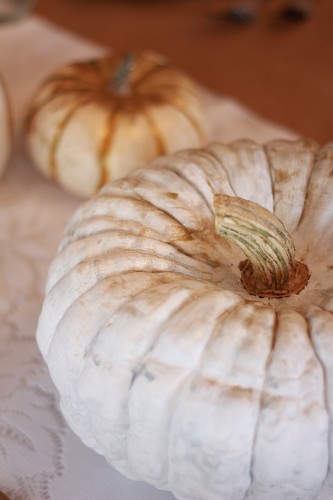
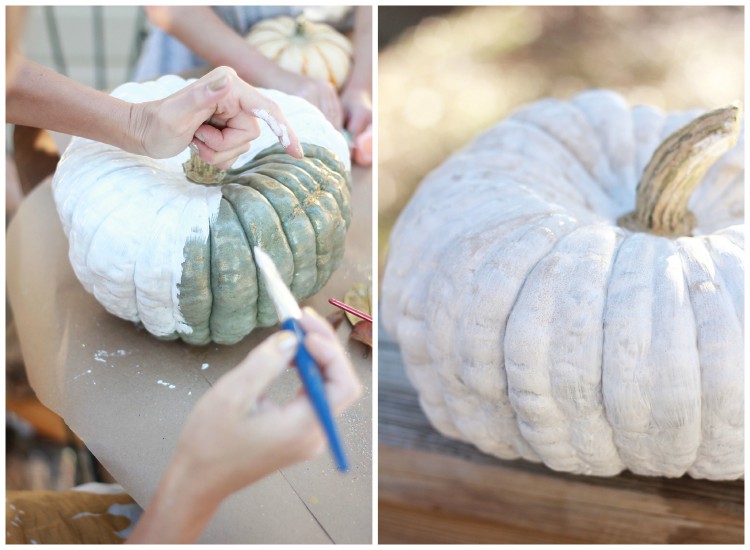
Also, we couldn’t find more than one white pumpkin, so we painted some of the orange ones white.

When Ervina comes to visit 281

There are just so many fun options!
Of course, you can’t expect children to stay with a neutral pallette. Oh no.
The rainbow assortment is the very best kind, of course. :)

kiddo painted pumpkins


The different styles we made…

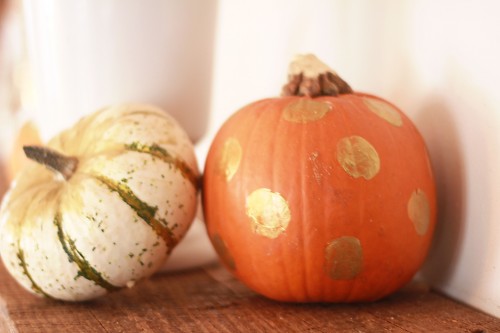
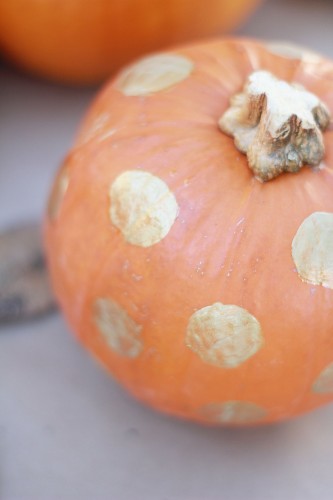
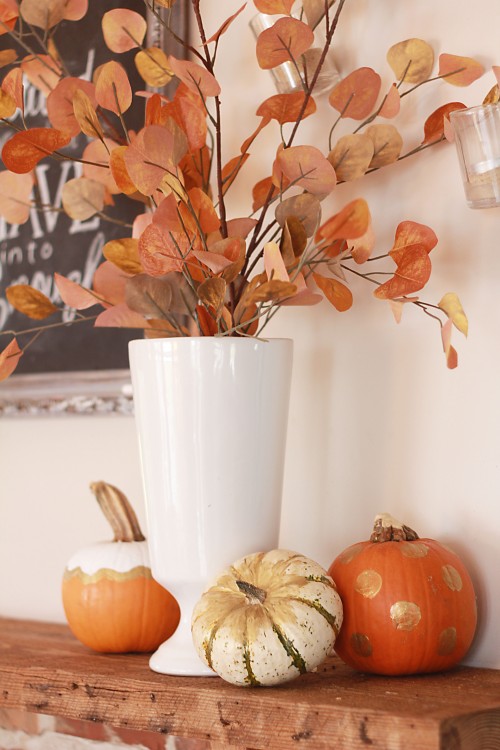
The polka dot.

This would also be so pretty on a white base…

When Ervina comes to visit 290

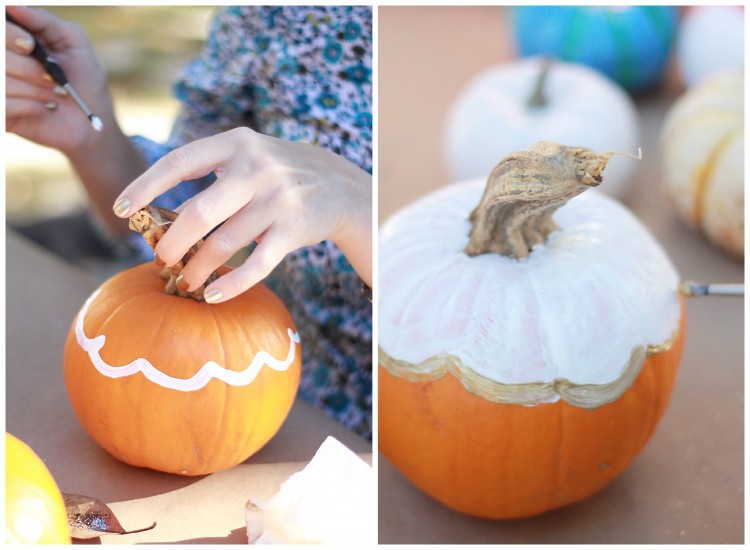
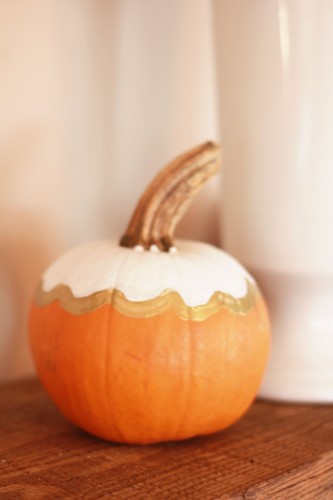
The scallop.

scallop pumpkin

The stripe.

When Ervina comes to visit 413

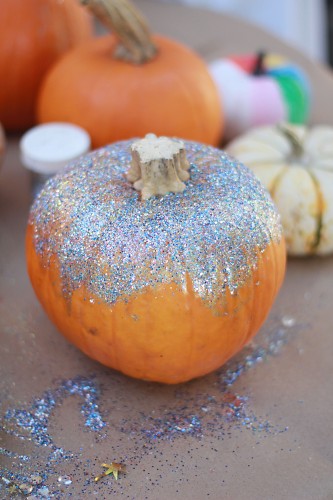
The glitter.

This was fun, but I think it would have turned out better if I would’ve painted the pumpkin white, and used gold glitter instead of silver.

When Ervina comes to visit 304

The leaf # 1.

leaves 1

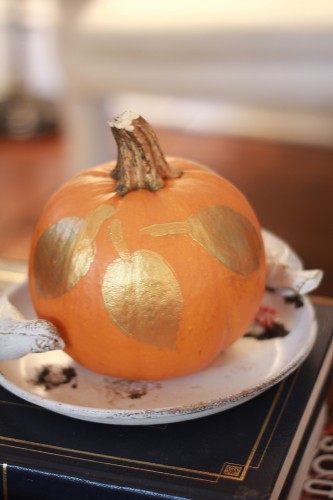
The leaf  #2.

leaves pumpkin 2

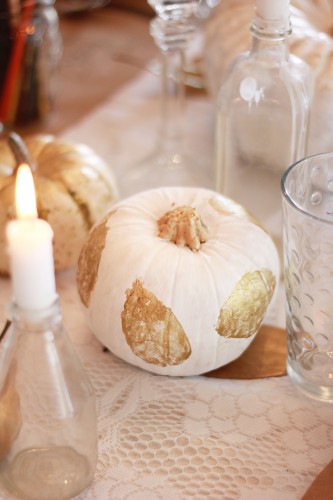
The white & glitter.

[yes, this was a green pumpkin!]

white & glitter pumpkin

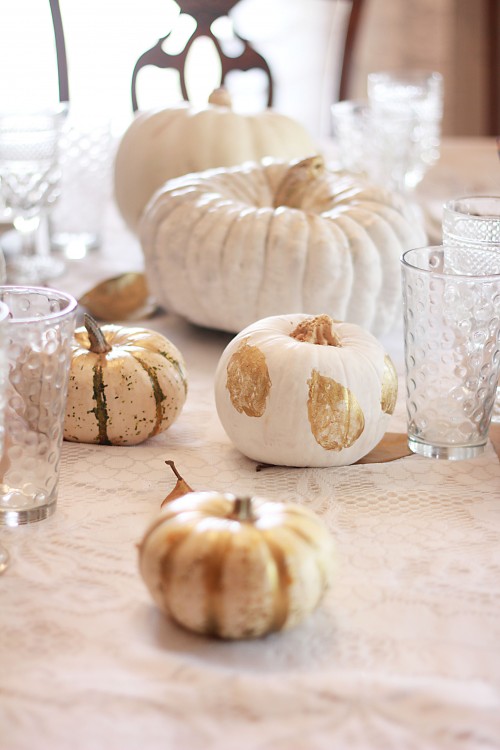
These now so festively adorn my home for a few more weeks!

A little thanksgiving 095

A little thanksgiving 057

A little thanksgiving 059

A little thanksgiving 064

A little thanksgiving 066A little thanksgiving 093

A little thanksgiving 096A little thanksgiving 109

A little thanksgiving 100

Image3

Delicious Autumn!

Will someone please tell me, what is it about this autumn that is absolutely intoxicating nearly everyone I know??

delicious autumn 1

[via pinterest]

I mean, autumn has always been a lovely season. But this year? People everywhere are crushing all over again on Autumn and its beauty.

Autumn is such a gloriously regal time. Sometimes showy and flashy and shockingly beautiful [at least, in the northern areas], and other times it’s the weather that is a great reprieve from the high temperatures of summer and we just want to live outdoors [here in the south].

We don’t have breathtaking maples or any leaf change, for that matter, and I really do miss that part of living in the north. But there are still pumpkin things to make and bake and eat, and decor that I putter around with and arrange, and we can at least pretend it’s cold!
I adore this season, more than ever before.

Our little cottage has been in autumn attire for about a month now, but just put on the final accessories. She’ll remain like this until after Thanksgiving, and I don’t think I’ve ever enjoyed seasonal touches like I have this year. It ranks up there real close to Christmas decor, which is saying a lot, folks!

In decorating I am passionate about homemaking – not to be confused with housekeeping. I want to create an atmosphere of warmth, of love, of rest. I want anyone to be able to walk into our home and know that Jesus is Lord here, by the beauty and purity that reflect Him.

So here’s a little look into the cottage.

the kitchen

The kitchen gets just a little touch, next to my faaaaavorite sign by Aimee Weaver.

autumn kitchen

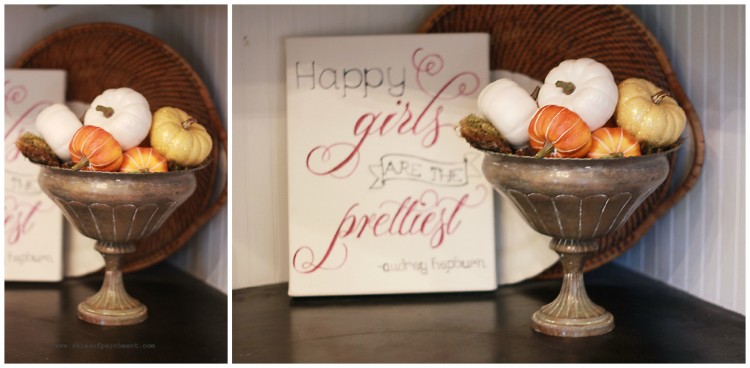
[silver urn: thrifted]

dining room

The dining room gets a simple display as well.

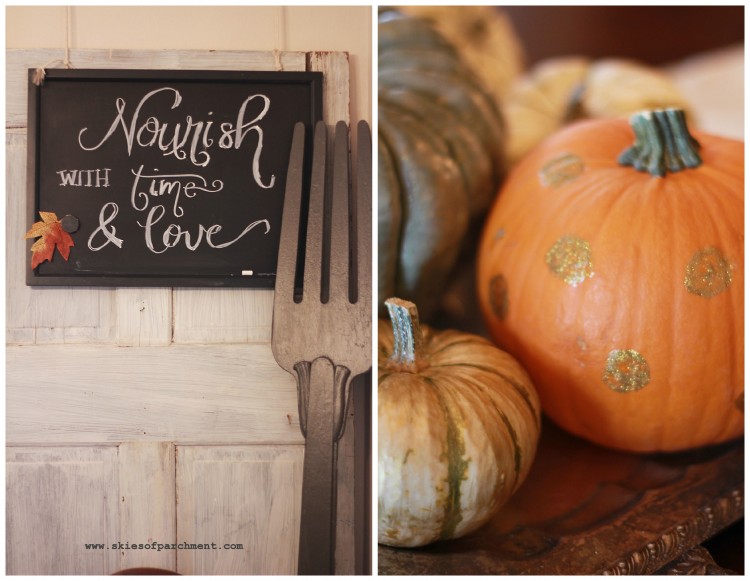
This quote came from Sally Clarkson’s blog, I’m quite certain.
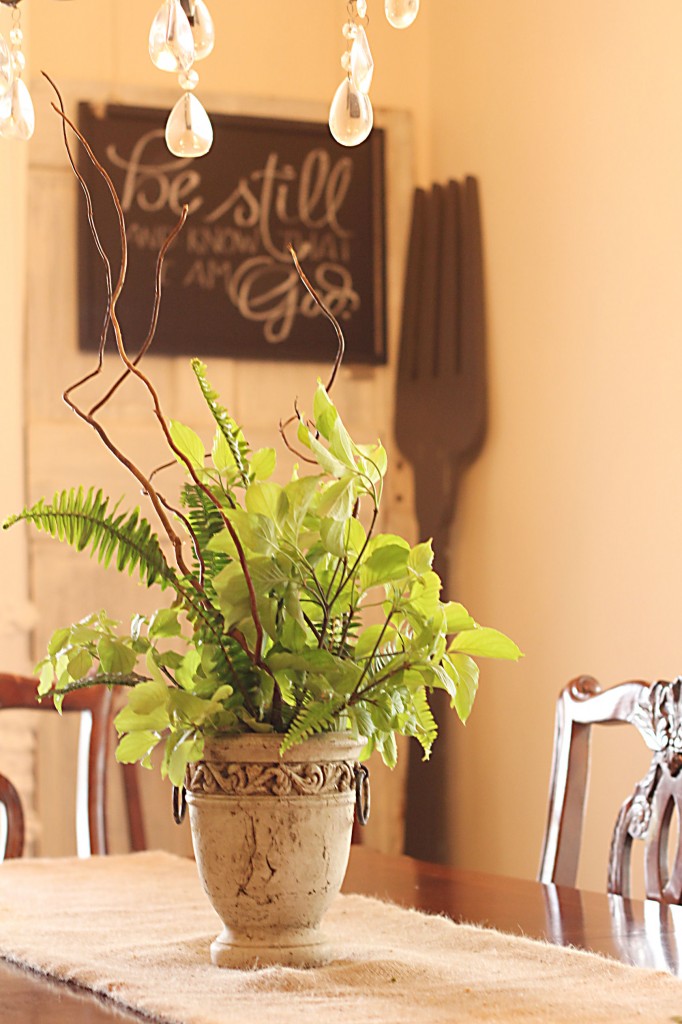
I love having this written in my dining room chalkboard, with the giant fork beside it :)
~ reminding me that nourishing my family is more than just with food.

autumn chalkboard

[a little fyi i recently learned: if you dip your chalk in water before writing, the finished product is a brilliant white, not a muted chalky look. i like both looks, but it’s nice to know different ways]

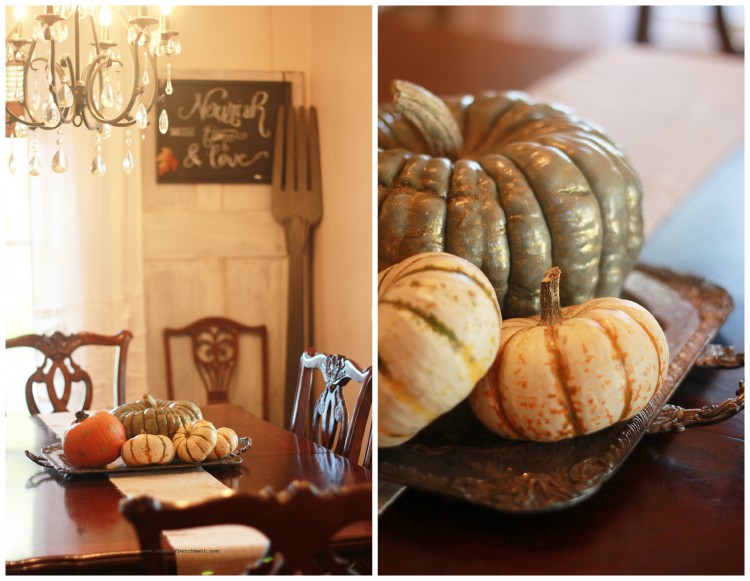
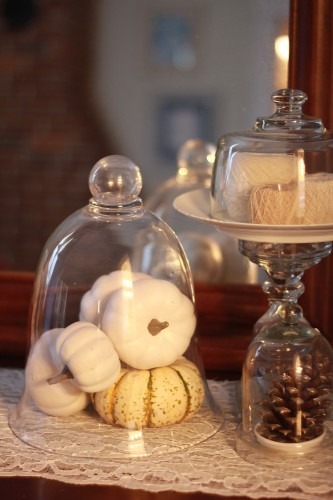
For the first time in seven years, I found heirloom pumpkins in my area!
My excitement was so high. :)

autumn dining room

[silver tray: thrifted
giant fork: yard sale
linen runner: my sister’s wedding
glittery gold pumpkins: fun little paint]

living room

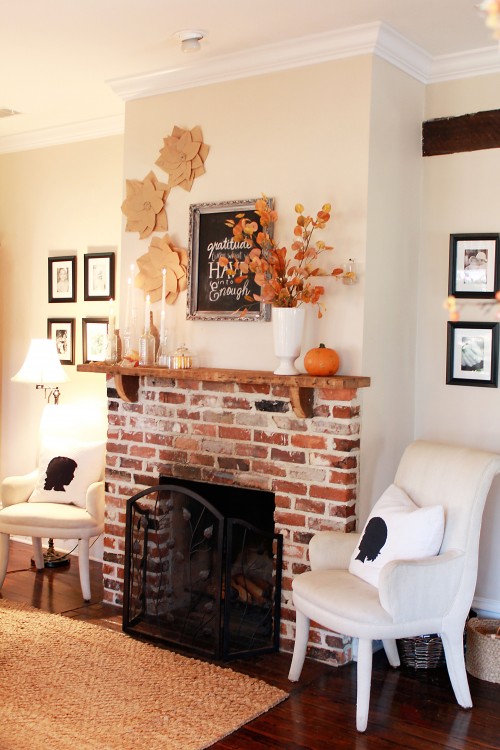
The living room receives the most seasonal change in any decor of the cottage.
It’s a challenge to keep it fresh and new, without just repeating last year’s design!
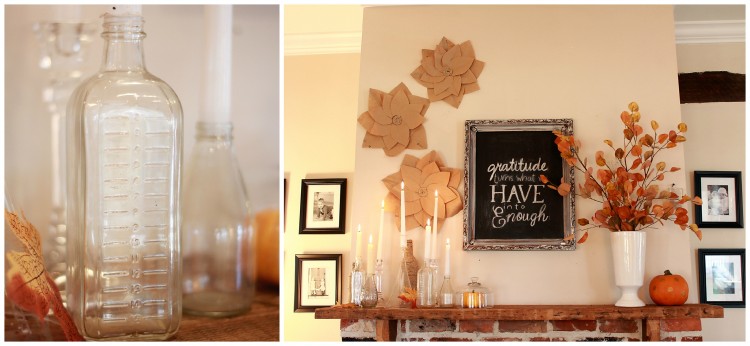
But I do love how a new look on only the mantel can change the entire look of the room.

Also, the living room is very neutral in color, so the mantel can handle a fun pop that isn’t throughout the entire room.

Delicious Autumn 091


We have very high ceilings, so sometimes it can be hard to do justice to the space.
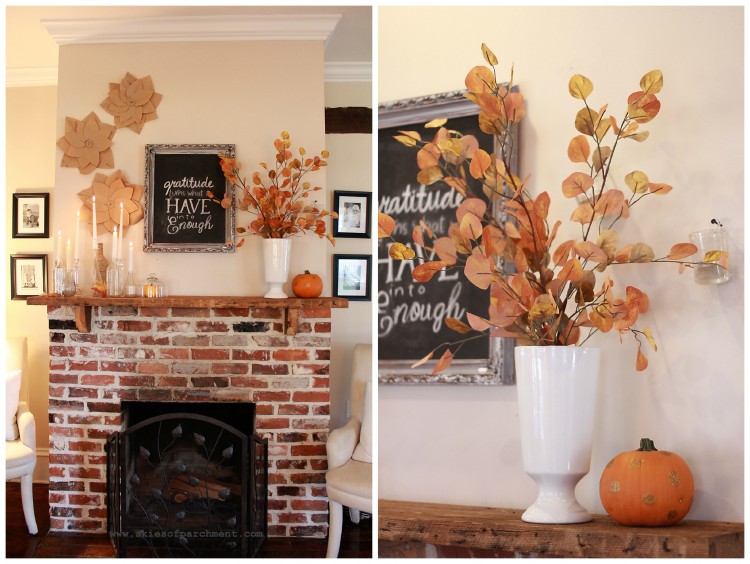
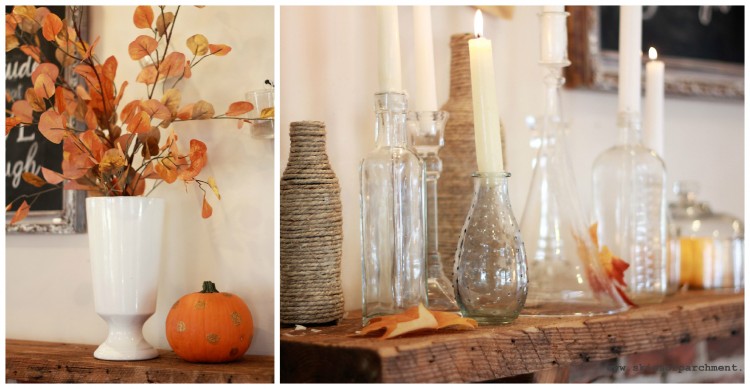
This year I pulled out the paper flowers from last year – they add texture & create height well.

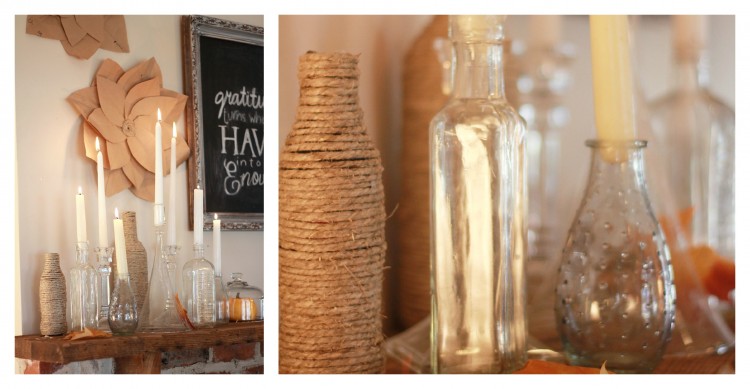
And I searched throughout the house and found glass candlesticks & little jars with small openings, and twisted taper candles into them. It gives a bit of a primitive look, but I like the collective look of them all together.

autumn mantel 4

Because of the number of things on the left side, I kept it very simple on the right side.

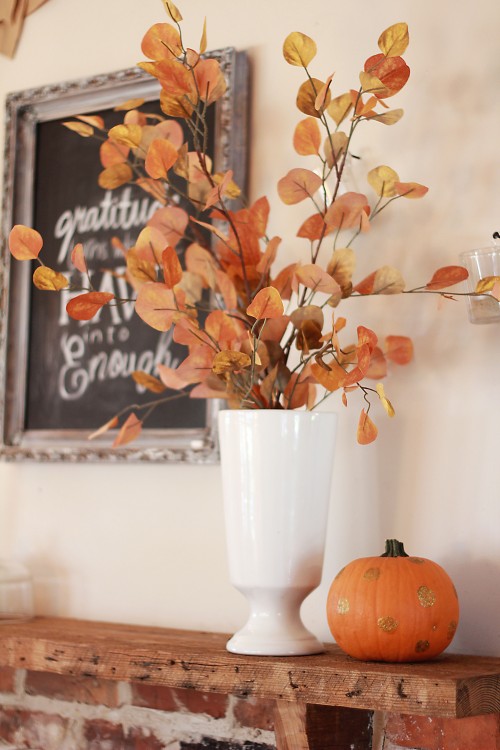
I’m not normally a fan of fake foliage, but ya know, I was a little bit desperate for autumn leaves!! :) Hobby Lobby had these springs of autumn-looking-somethings on sale, so for $15 I had my leaves. Other than real pumpkins, it was the only purchase I made for decor.

autumn mantel

[old frame: thrifted & dry-brushed
chalkboard: canvas, chalkboard painted
tall white vase: clearance at Target
collection of vases & jars: thrifted & gifted
fire place: yes, um, we are hoping for a cold day, and until then, pretending]

autumn mantel 3


Delicious Autumn 051 autumn mantel 4

“Gratitude turns what we have into enough”

autumn mantel 2

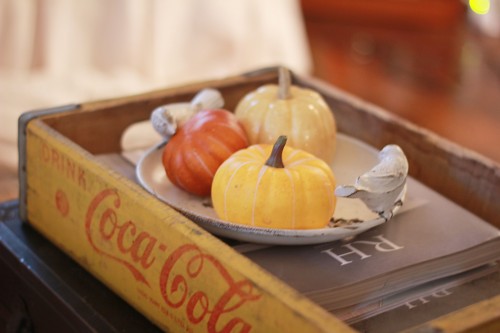
I put a few little pumpkins on the coffee table, which makes my 17-month old son shout
“Ba(ll)!” and he fires away at his big sisters. One day ball-throwing will be off-limits in the house, but for now, he’s just too cute.

Delicious Autumn 104

master bedroom

Just a little touch of autumn. A mixture of real and fake spray-painted-white pumpkins.

Delicious Autumn 034

hallway

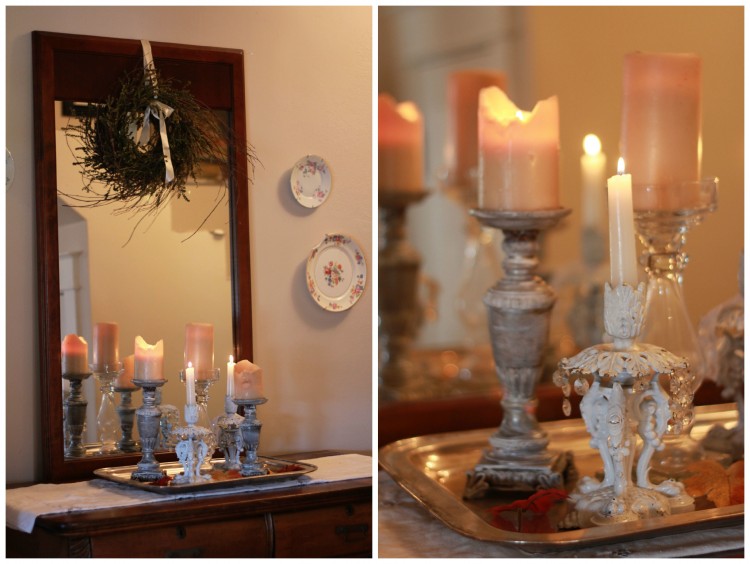
I’m kind of into candles this fall. And silver trays [this one thrifted also].

autumn hallway

the front porch

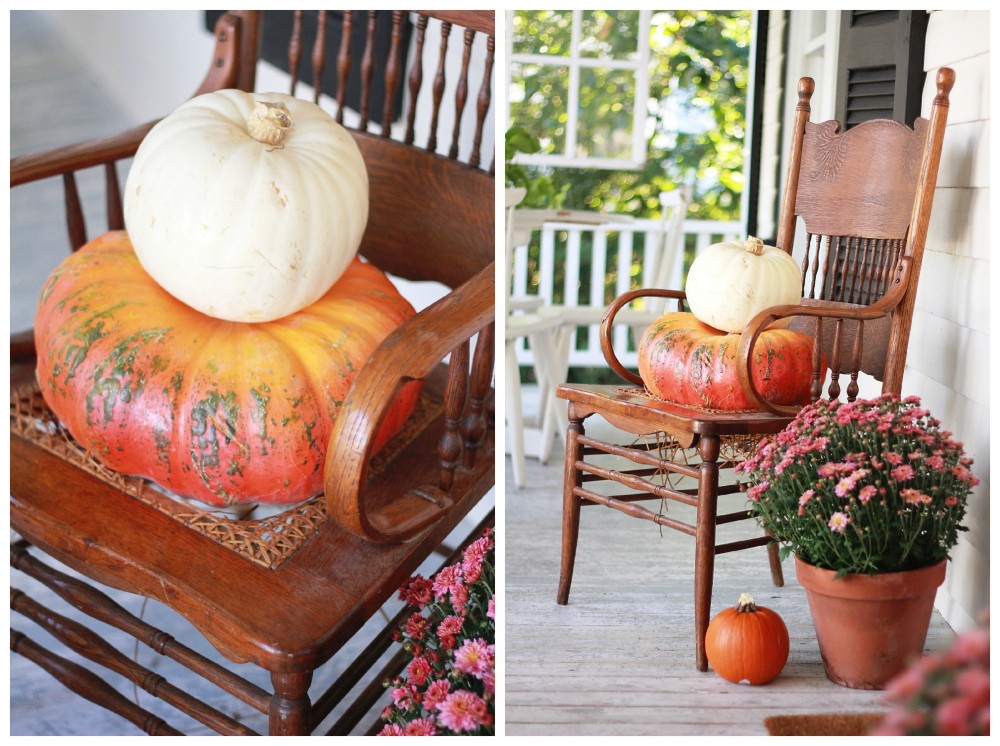
These pictures I showed before, but not much has changed since then. :)

The chair was marked “free!” at a yard sale because of a busted seat [which I thought I’d get fixed and never did] and I loved the design and thought I’d paint it white [and never did] and it’s sat up in our attic for 3 years.

I very nearly sold it gave it away at our yard sale this fall, but wanted a change for the front porch and it worked perfectly.

First White Pumpkin

Delicious Autumn 094

I love Anne’s quote from L.M. Montgomery, and I’m just a little sad to see it end.

I'm so glad I live in a world where there are octobers - anne of green gables

Thanks for visiting, and enjoy the last little sip of October!

Image3

Personalized Silhouette Shirts


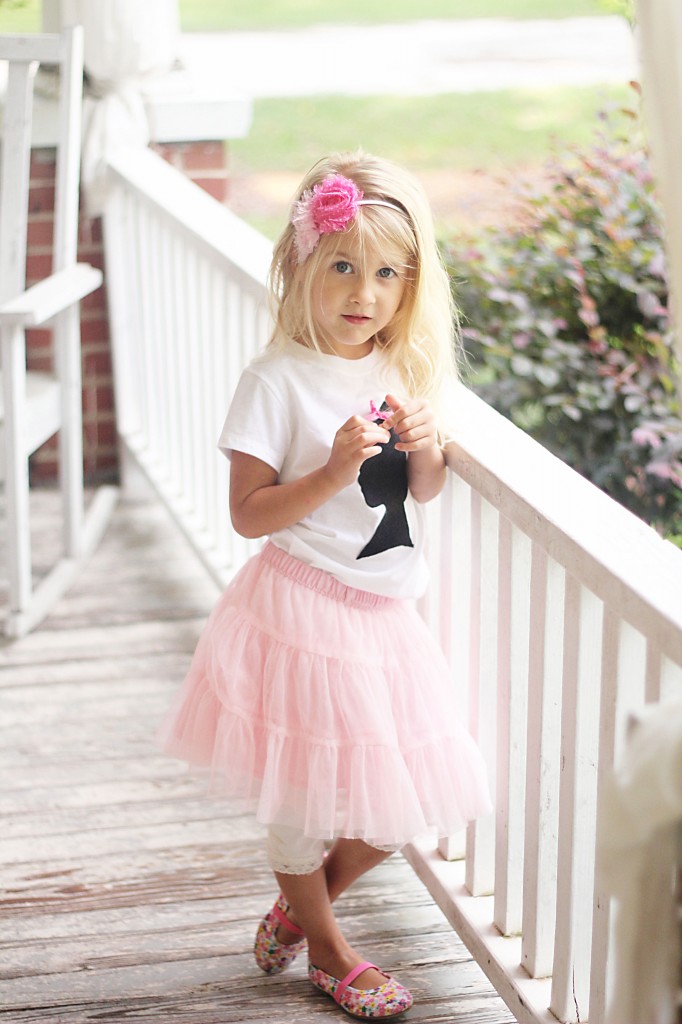
silhouette shirts 023 silhouette shirts 019

About three years ago I was on a silhouette-kick.

Now I’m back on it. :) In the form of personalized shirts!

This was a fun little afternoon project. I love quick and easy projects, and this was one. I made a shirt for each of my daughters, but with a few changes it could be boy-friendly as well.

Here’s a little tutorial.


Supplies needed:

~ white t-shirts
~ black felt ( as used in example) or your choice of colored fabric)
~ iron-on adhesive
~ picture on a computer
~paper & pencil & scissors
~ iron
~ sewing machine


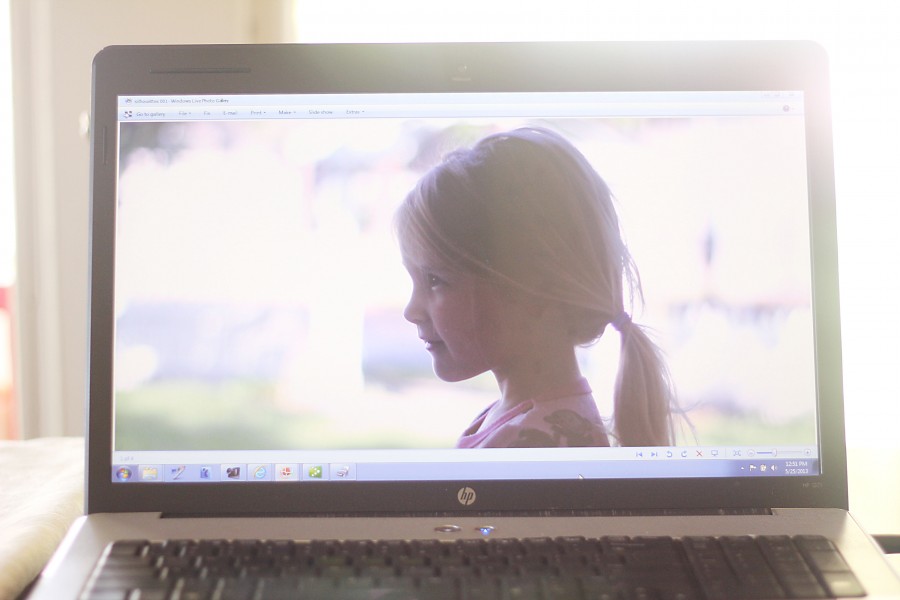
1. Take a side-profile picture against a bright background, such as outside your front door.

This will be the look of your silhouette, so if you want a high up-do, make sure you do that before the picture unless you like to free-hand it later.

silhouette shirts 001

2. Hold a piece of printer paper, or other very lightweight paper, against the computer screen and trace.

You can choose the size of your silhouette at this point – very large, very small, depending on how much you enlarge/zoom the picture on your computer.

3. Cut out the picture, and trace onto iron-on adhesive. Cut out the adhesive in a square-ish size, then iron the adhesive onto the fabric. Cut out your silhouette.

4. Center the silhouette and iron onto the shirt, following the directions on your iron-on adhesive package.

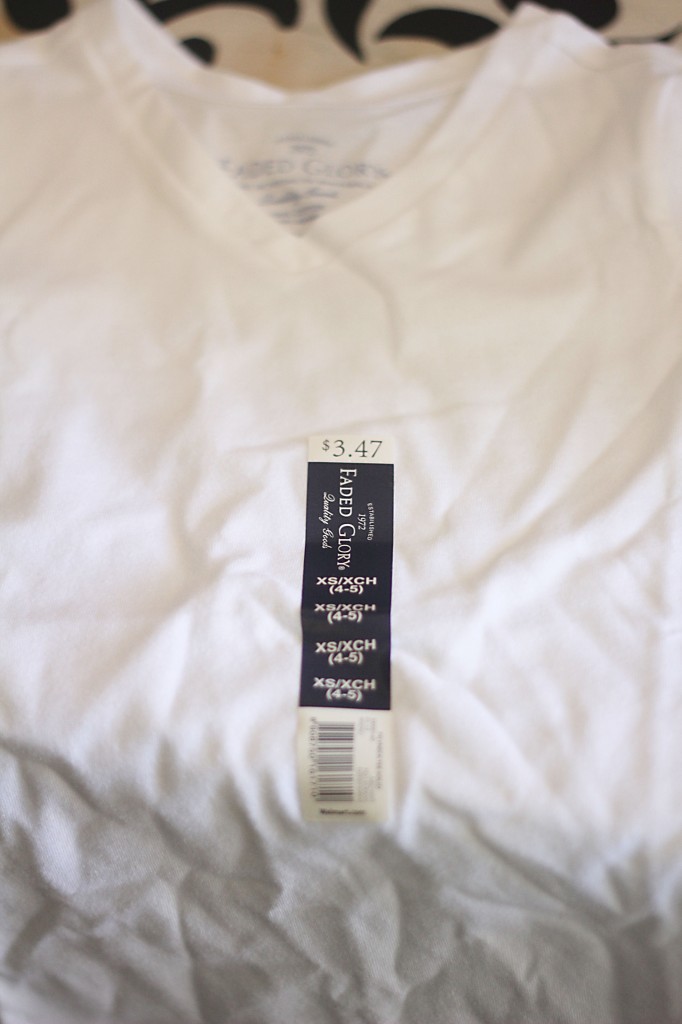
I bought shirts at Walmart, for a cheap $3.47.  If you’d want a better quality then go elsewhere, but these are great and cheap. :)

silhouette shirts 005

silhouette shirts 008

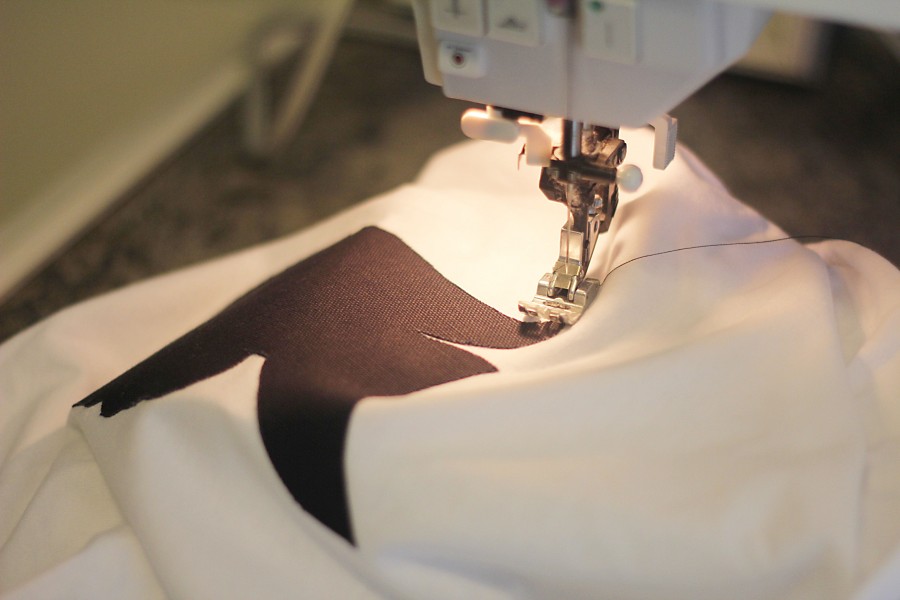
5. Top-stitch the silhouettes for a clean finish, using black thread on the top AND bottom.

Normally I use a white thread on the bottom so it’s a clean look underneath, but with the black fabric it will show the white thread if you do.

silhouette shirts 015

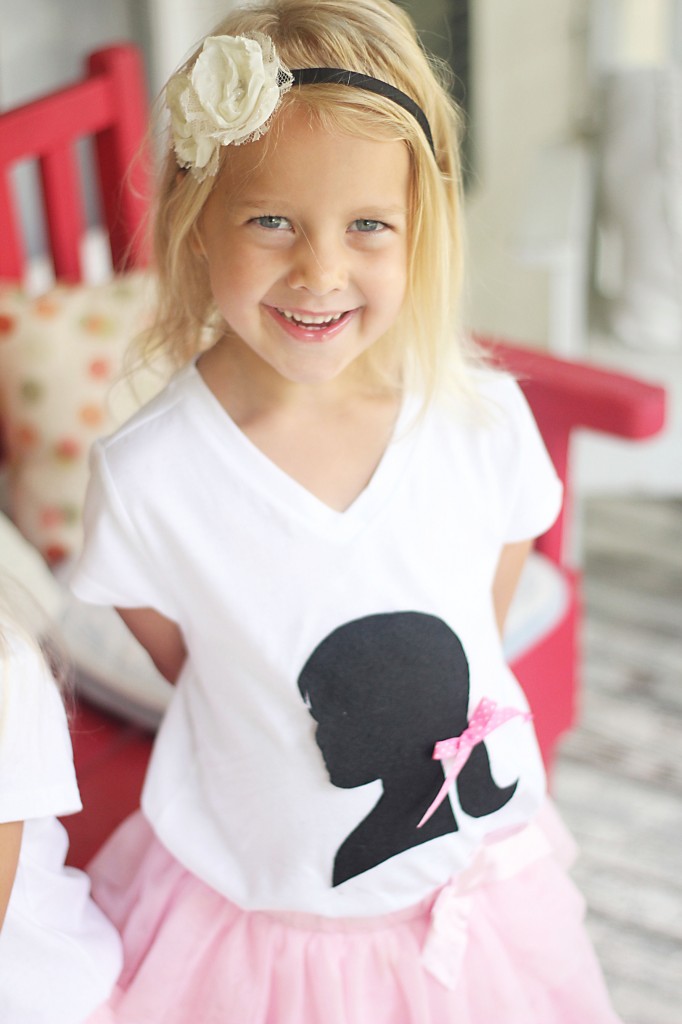
If you want to add a little embellishment, you may! I made a bow with ribbon I already had, and hand-stitched it in place.

And the finished project! It’s just so fun when it turns out well, and I’m not the only one happy. :) My girls were delighted too, and we’ve paired them with light pink tutus for a fun outfit.

I think this would also be super cute in a hot-pink fabric for girls, or aqua for boys, for a modern take on the silhouette. A solid color works better to show the details on the silhouette; a patterned fabric would hide those cute little noses or other small things quite a bit. :)

silhouette shirts 018

Happy projecting! :)


signature

DIY: Oversized Measuring Stick


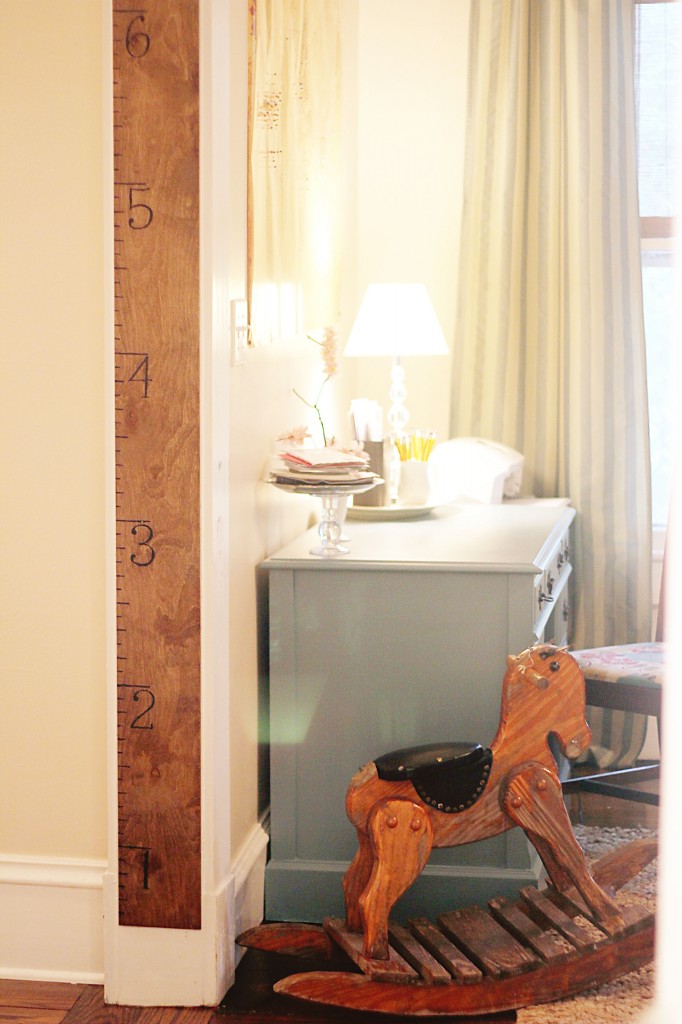
big yardstick 102

The Project Bug has bit me.

I hear other women happily say that they’ve just finished their spring cleaning, and I think, “Oh goodness! I forgot all about that!”
I’m just crafting. Priorities, priorities. I’ll at least try to fall clean. :)

One of the latest projects has been an oversized measuring stick. To measure the children’s growth and all that. We’ve just been pencil-marking on a wall, and that doesn’t look so great, so this is something that {maybe} will even be a family heirloom. Ha! :)

I just realized that I have a lot of oversized or large objects in my home. I’m not sure why I have such a fascination with them, but I know a few reasons why I like them…

One: we have very high ceilings, ten foot I think, and small objects are lost on walls around here.

Two: I am not a minimalist by a long shot, but larger objects also mean lesser objects, which I do like. It’s décor without as much clutter.

Three: I find them fun and whimsical, and I like unexpected things.

So, here’s a little tutorial if you’d like to make one of these Kiddo Measuring Sticks. :)

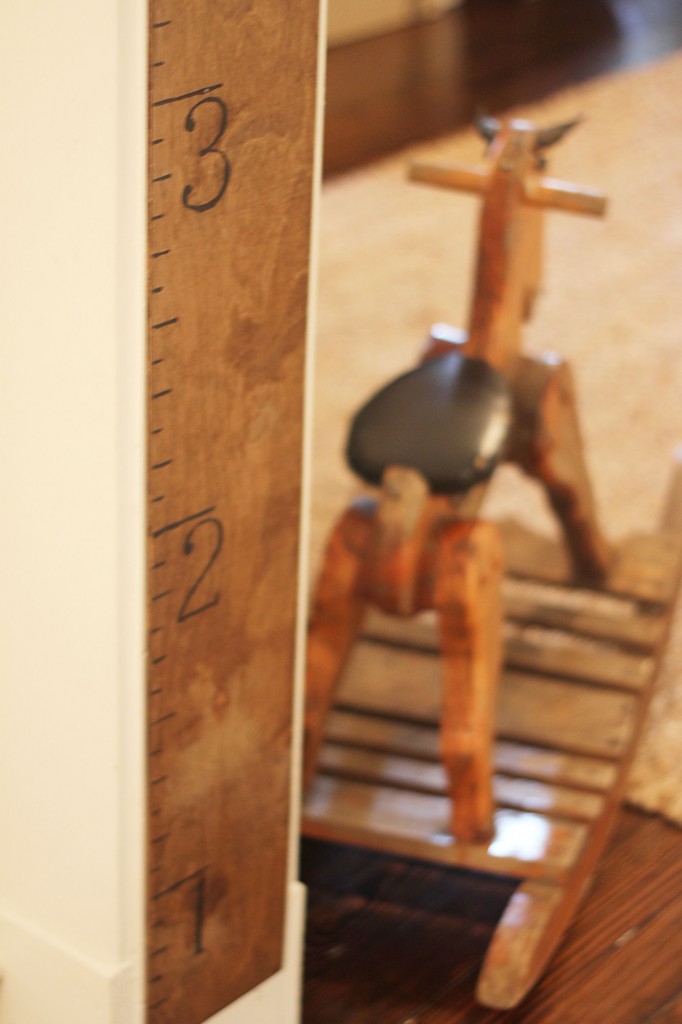
1. Begin with a LONG BOARD. Ours was a piece of luan board (yes, I had to google that spelling!), which is a very thin piece of board. You can also use a 1 X 8 or something, which would be thicker and hang well from a saw-tooth hanger. Our dimensions are 6 inches wide and 6 feet tall.

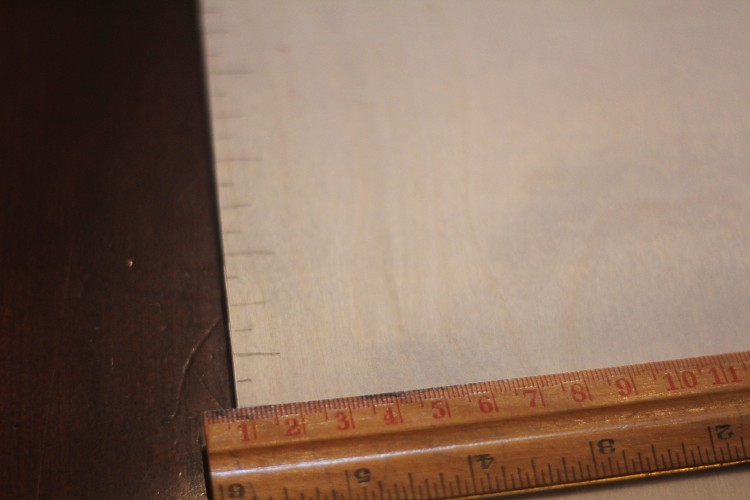
2. MARK THE INCHES with a pencil on the left side. We first marked all the quarter inches too, but it’s just too many markings. I began at 6 inches (because I didn’t want it directly on the floor), marked every inch, and went up to 6 and a half feet. I’d recommend a measuring tape for this rather than a ruler; if you use a ruler, in the end the dimensions will be slightly off.

big yardstick 016

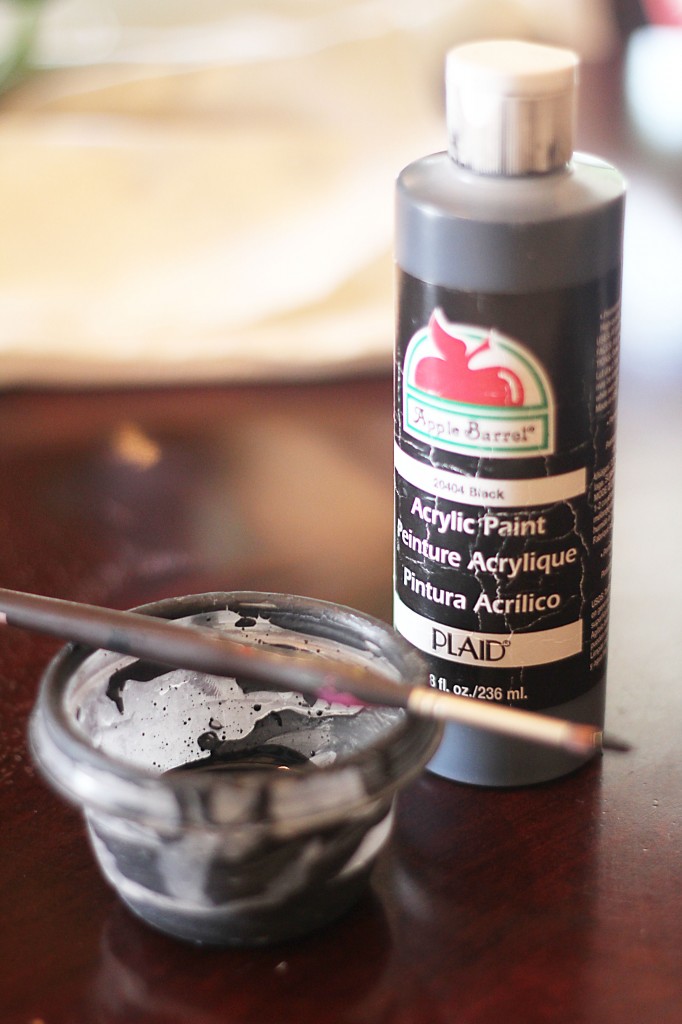
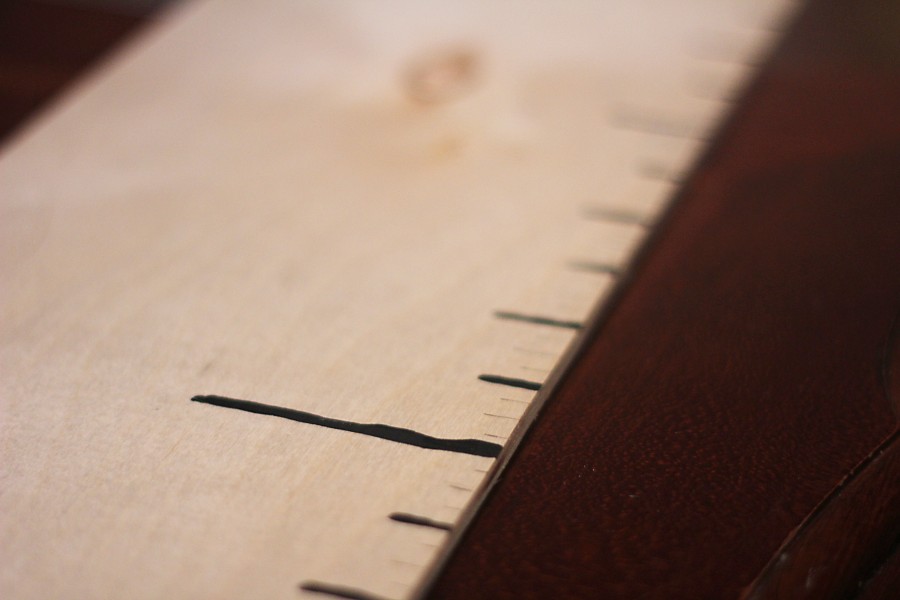
3. Take a FINE BRUSH and PAINT and paint over the markings.

big yardstick 018

I made the even marks just a bit longer than the odd, and the six-inch marks even longer. The foot-long marks were about 3 inches long.

big yardstick 017

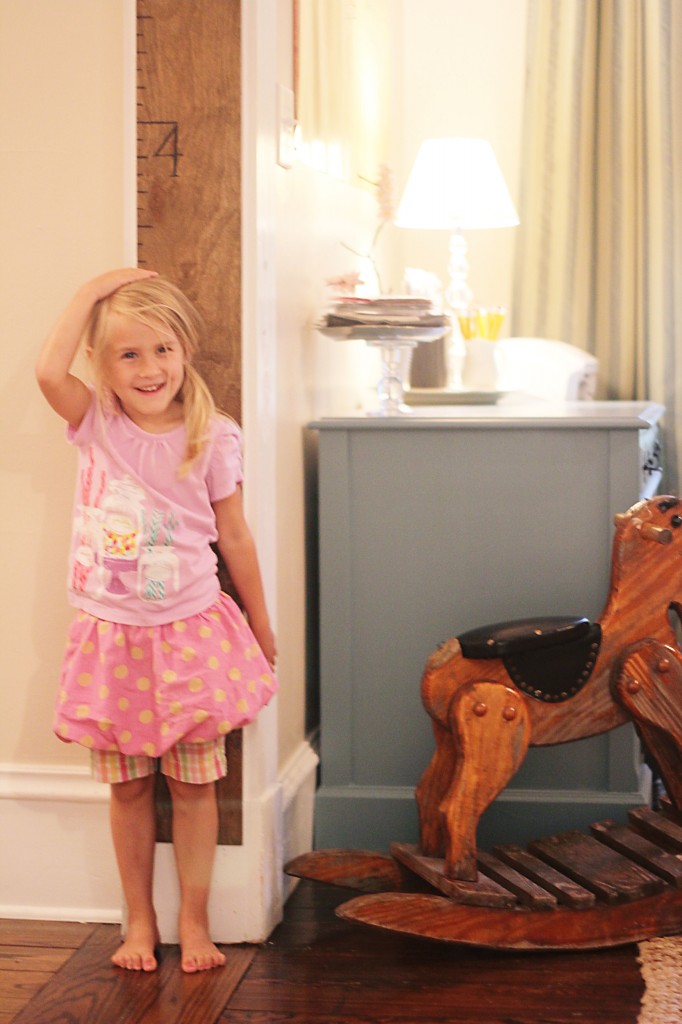
4. Look down and smile at the little man cheesing up at me.

big yardstick 025

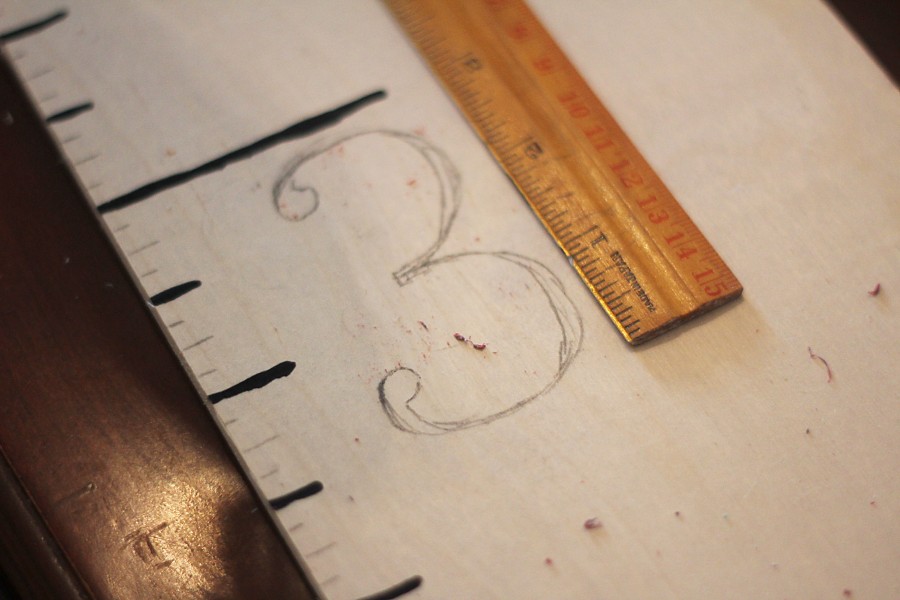
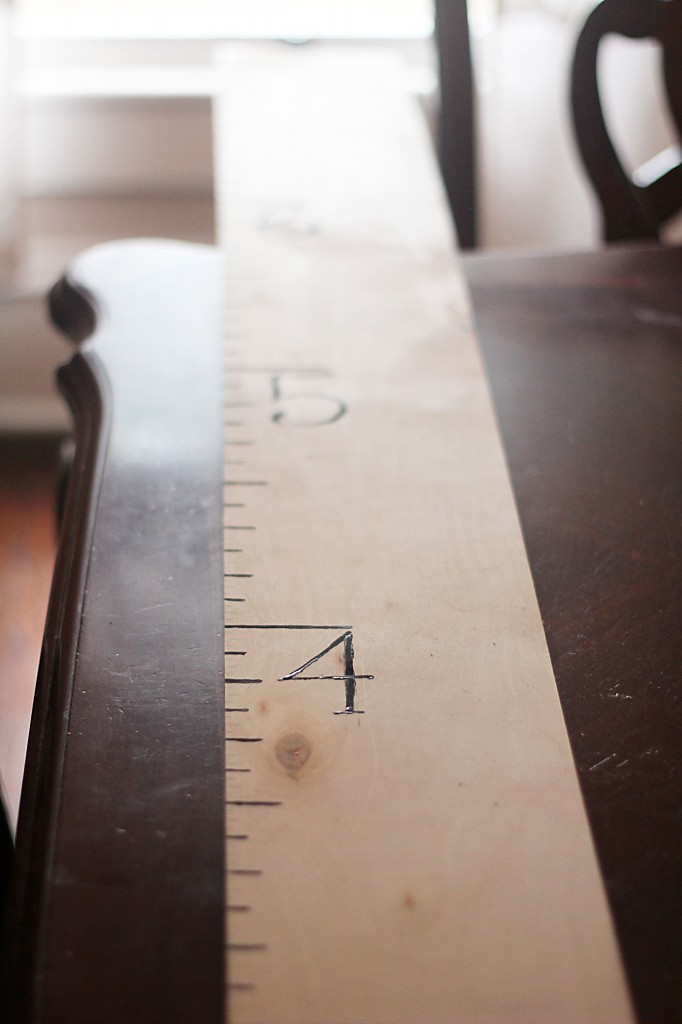
5. ADD THE NUMBERS. You can do this freehand, if you enjoy drawing, or you could trace a stencil, or buy numbers at a craft store or hardware store for a wide variation of looks. I made my numbers 3 inches long and drew them vertically. You could also make them horizontal with the big line and that would be fun too.

big yardstick 028

big yardstick 032

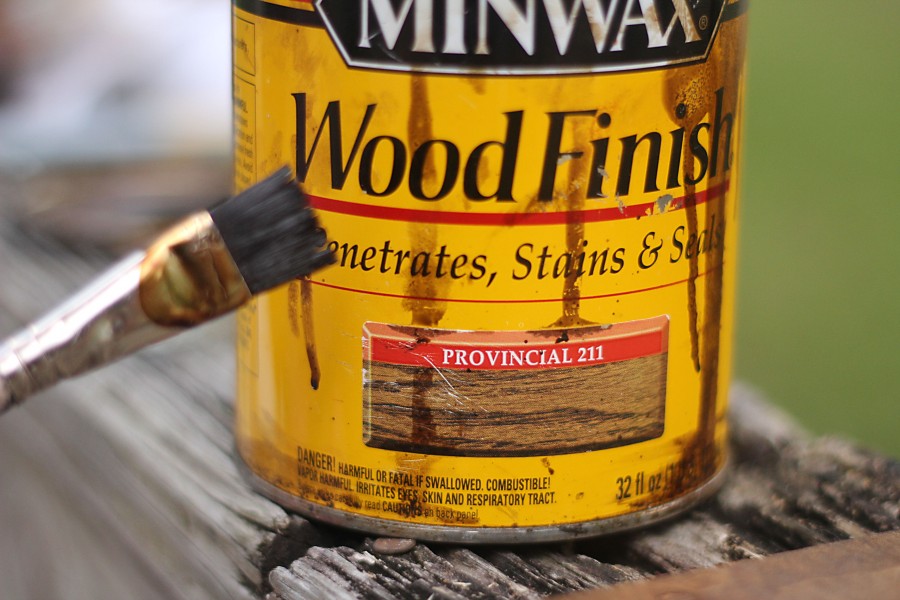
6. Finish with WOOD STAIN. You could do any color: I found this one in the shed and used it. Provincial by Minwax.

big yardstick 043

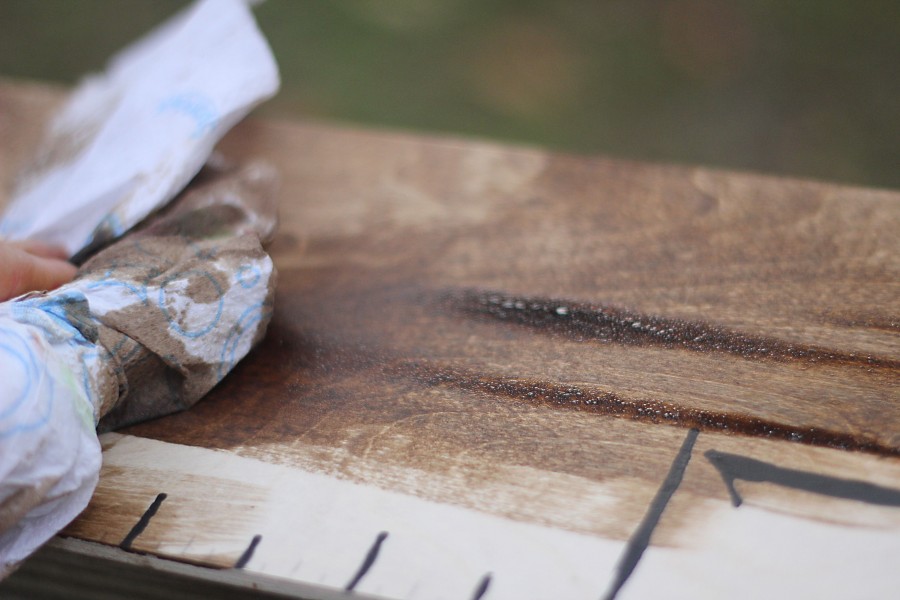
This was a bit darker than what I really wanted, so I wiped it down immediately with a paper towel after brushing it.

big yardstick 044

You could put a sealer on it, but we will write/pencil directly onto the board and I didn’t want the sealer.

7. To HANG: you can nail directly on your wall (it makes it a bit more child-proof if it’s in a hot spot) or hang with a saw-tooth hanger to make it easily removable.

And there ya have it – a dapper measuring stick, to be enjoyed by kids of all ages!

Olivia was the most thrilled, and got to be in the picture in all her I-like-dressing-myself-in-a-rainbow glory. :)

big yardstick 108 big yardstick 110

___________________________________________________________________________

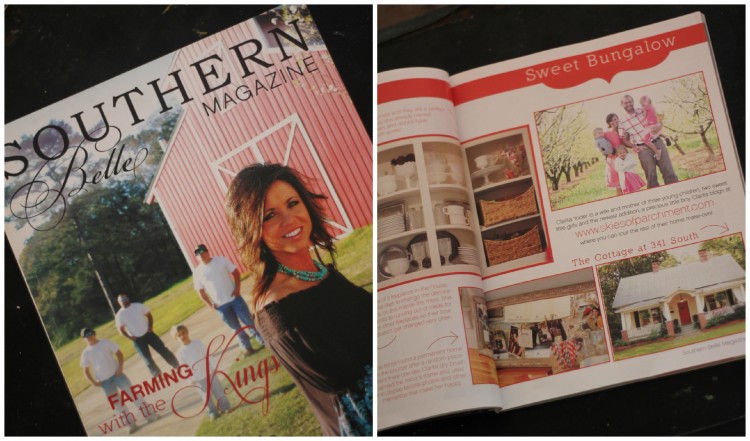
I’m super honored to have a few pictures from our kitchen featured in the first issue debut of the Southern Belle Magazine! You can’t even imagine how flabbergasted I was when they asked. You can see the first page in the online preview, but I ordered the magazine to have a for-real copy. :) It was a little funny to read the article – they wrote it up based on my kitchen post from nearly 3 years ago, so I didn’t know what was going to be written! :)

PicMonkey Collage

Also, Heather of Life Made Lovely is featuring our home on her lovely blog.  I was super honored. If you haven’t seen her weekly series, Home Made Lovely, you should. I only recently learned of her blog, and there is great inspiration found there, and so many fun styles and ideas and homes! Many of them on a budget too, which I like. ;)

Here is where I answered the question on this post, “What does a lovely home mean to you?” I LOVED reading all your responses… and your hearts for your homes! I am inspired and challenged and blessed by so many of you!

Have a lovely weekend!

signature

Cottage Newbies

[ sorry for those of you who received this twice: i was having technical difficulties! ]
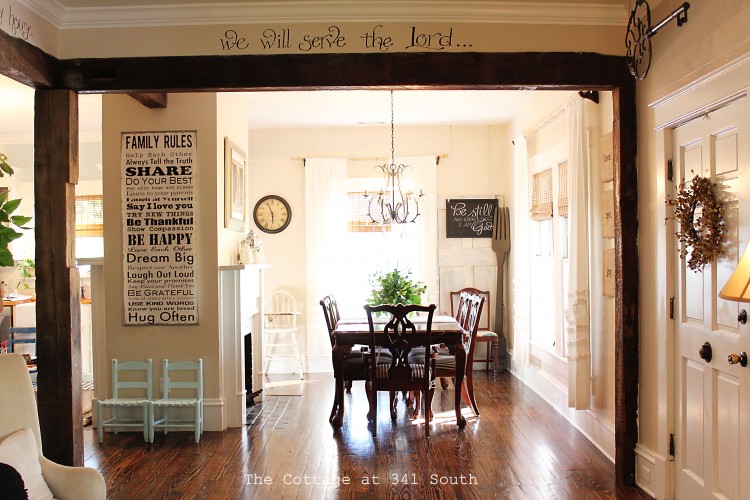
dining room 6

So, there are periods of time when I go about my days in my little cottage without the thought of a new addition or project.

Maybe I’m busy with My Faire Lady Designs orders and don’t have time for it.
Maybe it’s other things in the schedule.
Or maybe it’s that I just don’t even have a project in mind.

And THEN there are other days when I am FLOODED with ideas,
and with Type A personality in high gear, it simply MUST be done.
NOW. TODAY.
Tomorrow might be okay, but today is better.

So, here are just a few projects from the past months.

And I kind of laugh seeing these picture, because really, when does my house look ready for pictures except when I intentionally get it ready? Right now there is a big pile of laundry waiting to be folded on the sofa. There are kids’ papers piled on the table. The pillows are all askew on the living room floor. Just so you know, people! I don’t live in a perfect house either. :)

The Family Rules sign… This is a beautiful reminder of my friend Ruth. She had the same one in her home, and it so perfectly fit what she made their home to be. Since her passing, several family members and friends now have this in their homes as well. ♥
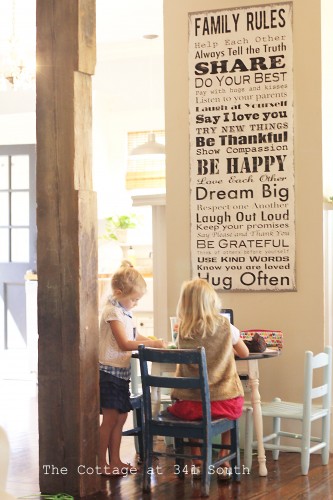
dining room 4

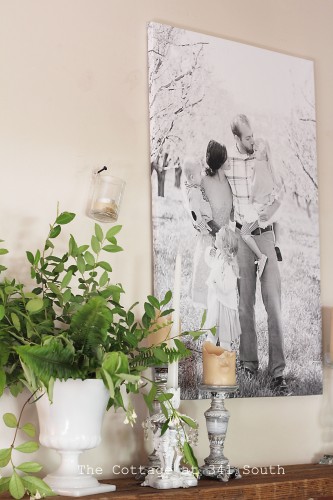
Oversized family picture in the living room. This is an idea I had seen around different blogs, but when my friend did a similar thing, I knew I wanted to do it! :) It’s the engineering print size (24 X 36) only available in black and white, at office supply stores. We wrapped it around a foam board to make it look like a canvas, and I may still go overtop of it with modpodge to make it look more canvas-y. Total cost: approximately $8. Crazy!!
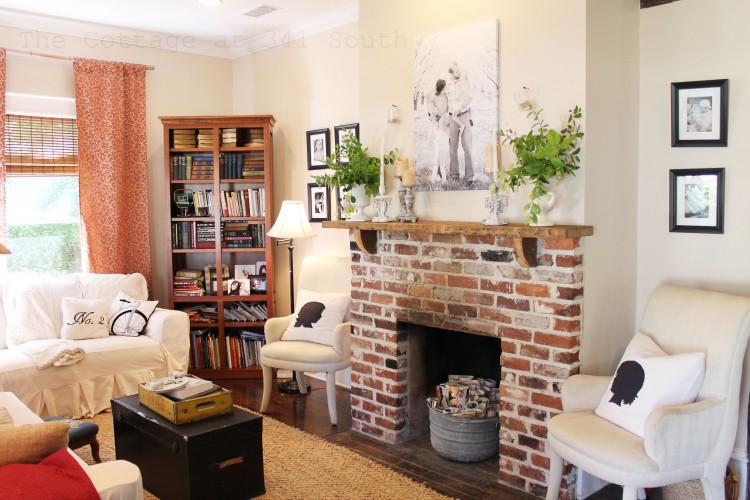
Living Room 2living room 8

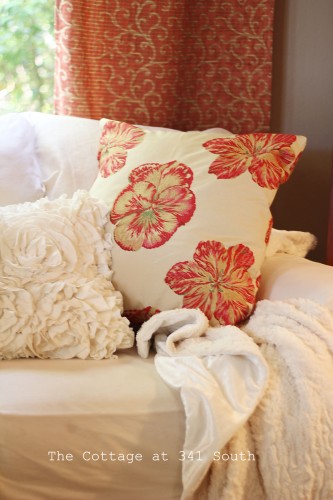
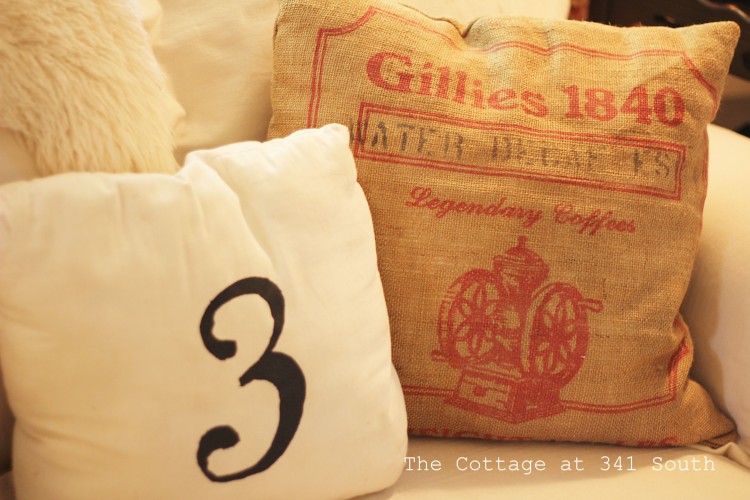
A few new pillows – they are so easy to make, and they change up the living room so cheaply. [ruffle pillow from Target, all others handmade]
living room 6living room 5

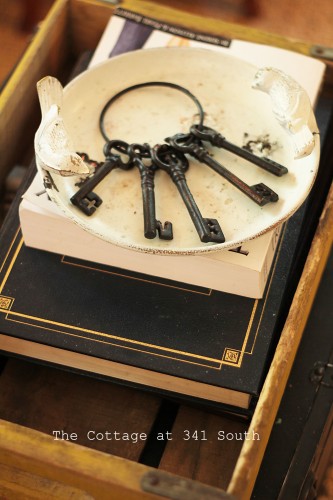
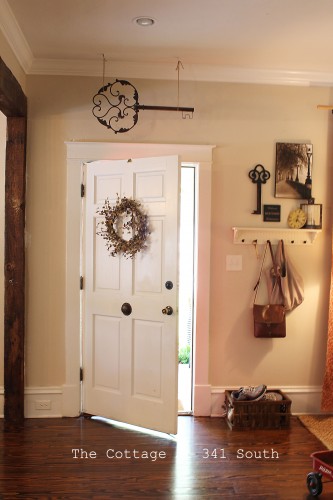
It’s the little things, folks. :) I found this key ring at Hobby Lobby for less than $5. It fits the key decor in the living room (I didn’t try to go with a theme, but I guess I collect keys!)
living room 4living room 3

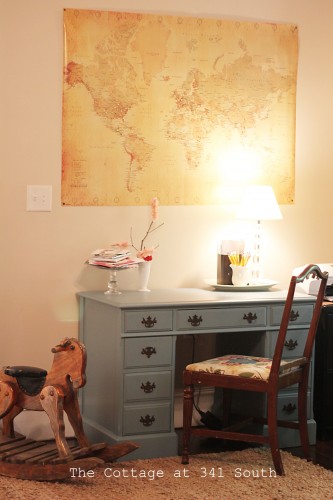
And since I’m into oversized things, here’s another new one: a large wall map above my newly-painted desk.

Amelia inspired me to repaint my black desk another color, so I used some leftover paint my husband had from a job… It was perfect, and my husband wondered why I waited years to do it!

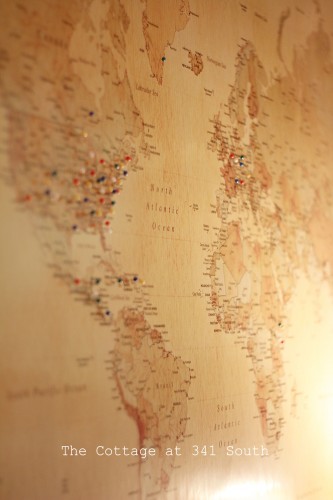
The map I bought off ebay for super cheap, but it’s not the color I was expecting. I was hoping for more blue-ish tones to coordinate with my desk. But, I can’t beat the price and find another one I like for the same deal, so it stays.

The idea was to use map pins to mark places in the world I’ve been. I had thought previously I’ve done a fair amount of traveling. When I was finished marking the countries, I was flooded with the realization that 20 + countries really isn’t very much in God’s huge creation! He is so vast, and varied, and so huge!
music room 7music room 6

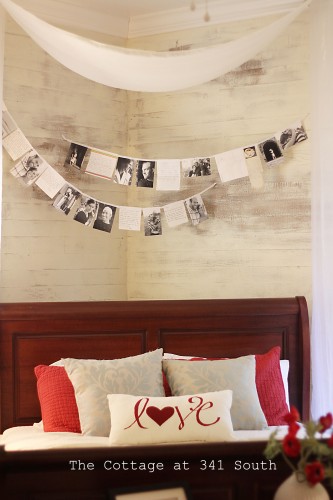
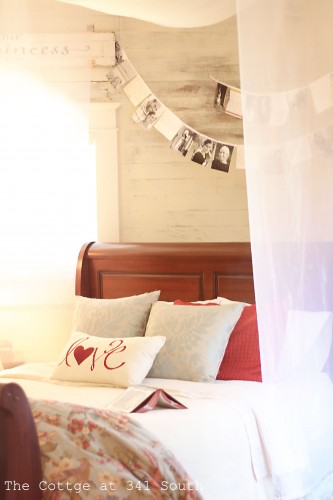
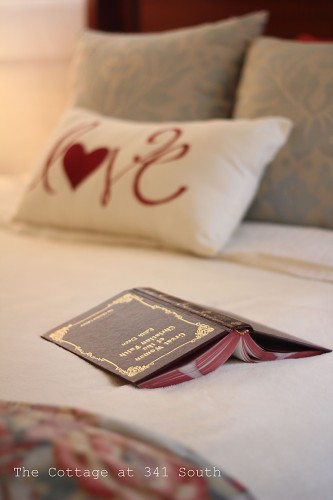
Love Note Banner: I used a thin ribbon and sewed on black & white pictures and love notes from my husband… “his banner over me is love…” ♥
master bedroom 2master bedroom 3 master bedroom 4

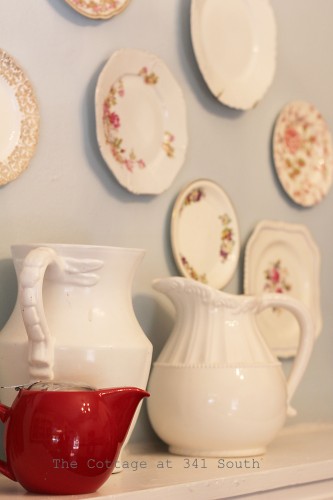
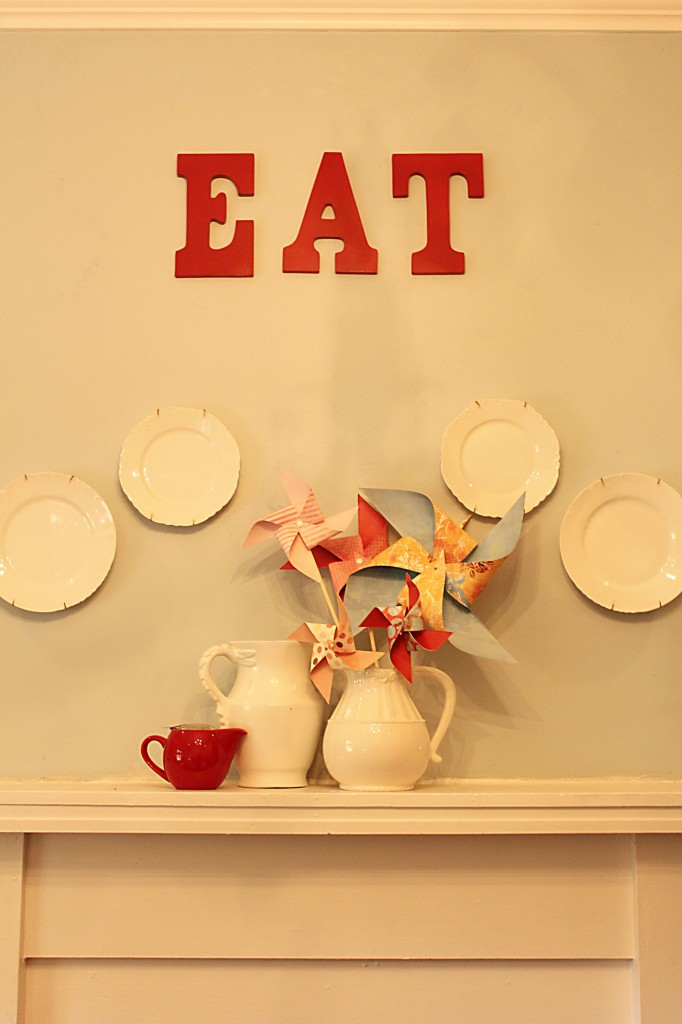
The kitchen. My sisters inspired me to do a plate wall… They had seen the idea on Ruche, so we all agreed that we would do one. Kidding. Actually, I said, “I’m going to do one too!!” :) I found a few plates at yard sales and the rest were ones given by my grandmother years ago.

At first, I just tried generous portions of stick & tack. BAD IDEA. There were crashing plates at all hours of the day, and finally one night at midnight I took them all down after hearing a darling one break. Ruche recommends museum putty, and they weren’t joking. They also recommend tea cup plates, and they weren’t joking about that either. I hung two larger plates using the official plate hangers with springs, but the rest are now secure and not one has fallen since using the museum putty.

I feel a little English with my tea plate collection. I LOVE it so.
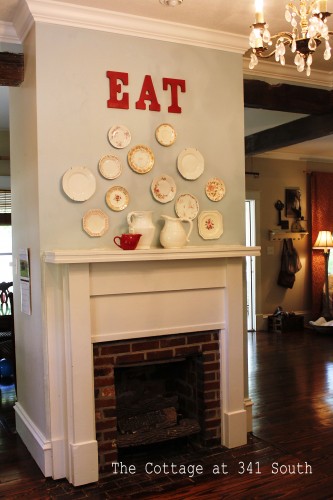
kitchen  5kitchen 5

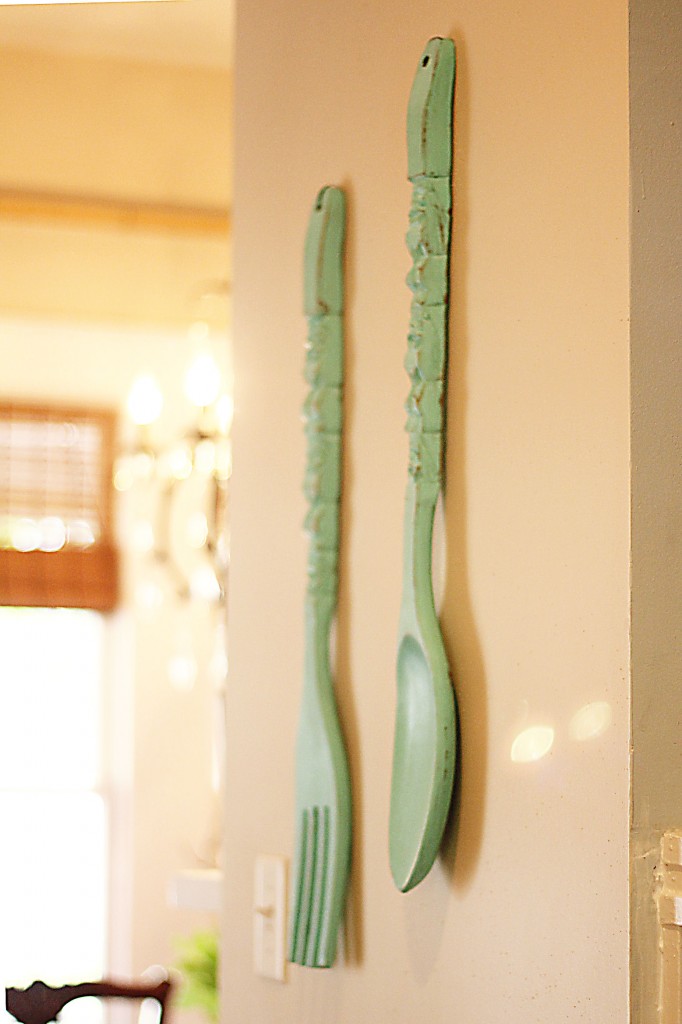
Since I added plates above the mantel, I took down the plates above the door and hung oversized (see, I told you I’m on a binge) silverware there instead.
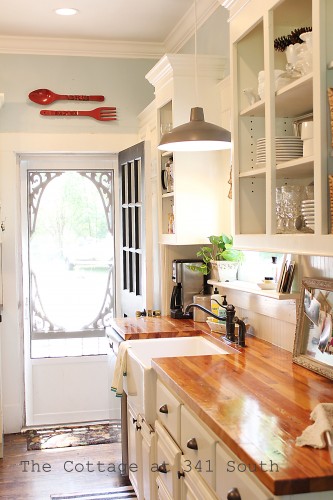
kitchen 1

I think I mentioned my free pendant light before? Well, here she is again. Hanging right over Audrey (I had to name my sink, she was so pretty).
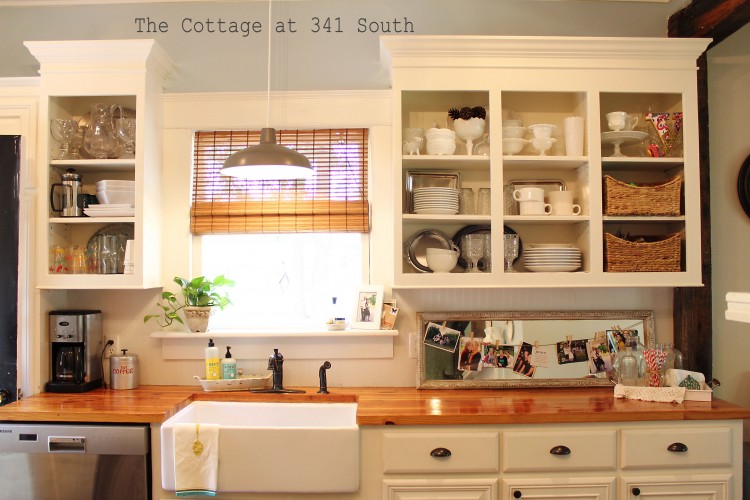
kitchen 4

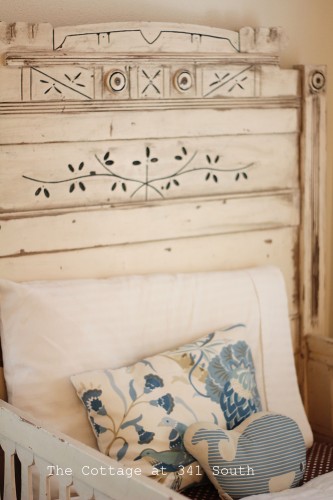
The second of our two bedrooms now holds all three kiddos. Until we finish out the upstairs, which isn’t too near in the future, I’m trying to figure out a way to creativity, cozily, and in a very organized manner hold two genders and three children in one small-ish room! It is the biggest challenge of our living quarters.

This is Hudson’s new corner.

My husband is worried the bed looks too girly. But we have no full-size crib. So we do a boyish sheet, and add the whale pillow gifted from Amber, and make a blue pillow from scrap cloth, and hopefully it’ll work for now. :) The large ‘H’ is from Hobby Lobby, and spray painted.
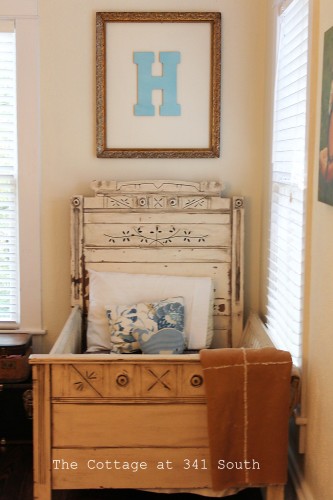
kiddo room 6kiddo room 3

I was asked the question recently, “What does creating a lovely home mean to you? Is it a creative outlet, a way to care for your family, a way to use your talents, is it because it makes you feel good? Anything goes!!! and there can be multiple reasons!”

It was a good question, and I answered back after a lot of thought. What are the motives behind doing what I do? The real reasons? It is because of what people will think if I don’t, or what they’ll think if I do? It is because it’s fun? Why is it important to me? And how does Jesus be glorified in it all?

Before I give my answer, I’d love to hear your thoughts! What does creating a lovely home mean to you?

signature

Make a Pinwheel

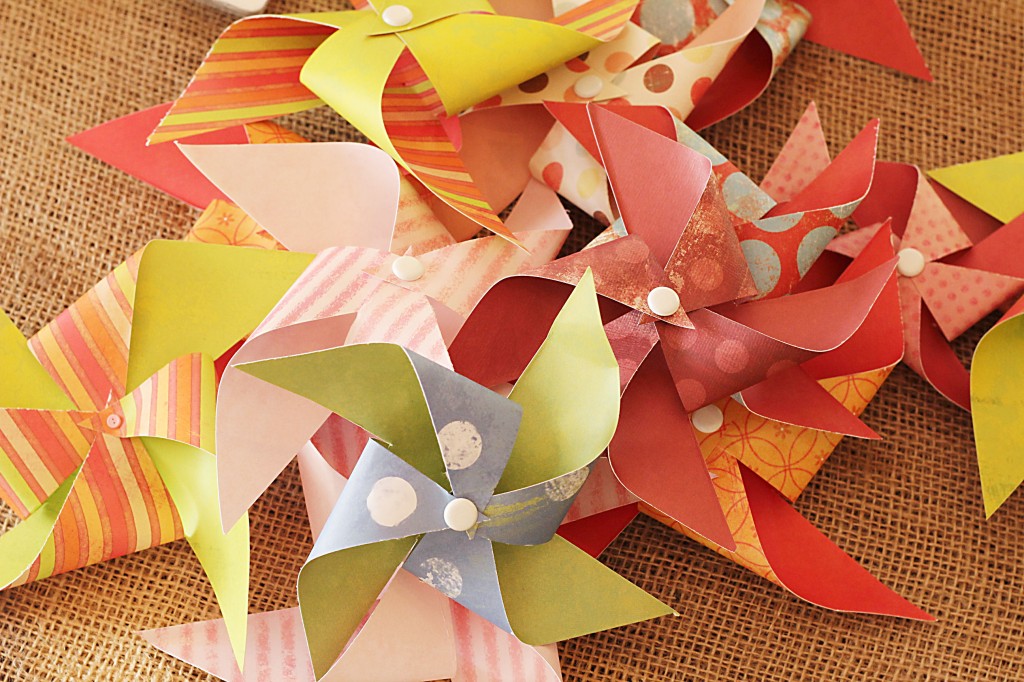
Pinwheels! 173

For quite some time I have thought to myself,

“I have GOT to learn how to make those pinwheels! But they seem really hard…”

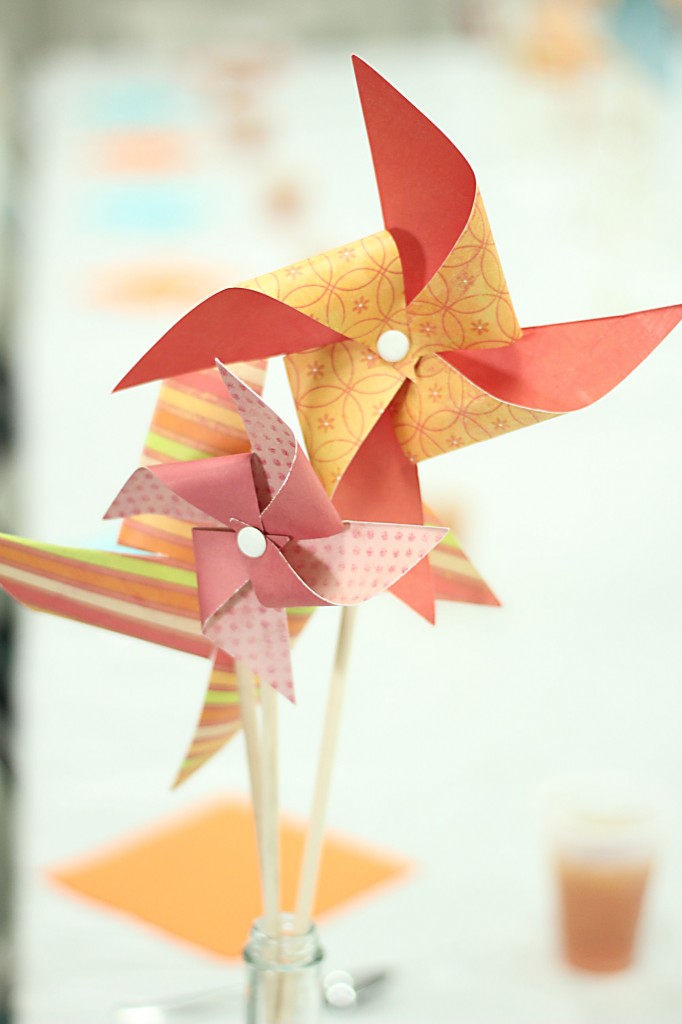
Pinwheels look so fun and festive and happy,
but they seemed very tricky to me.
I had no idea how they worked, until one day, not very long ago, I went online and researched all the pinwheel-making sites I could find.
And what do you know, but I thought to myself,
“That’s it?! I can make those!”

So I dug in the bottom of my old chest for scrapbooking paper (that has sat dormant for years) and whipped up a few. Was it ever fun! :)

And I was sooo excited that I thought someone else might like to make these too!

What follows is a little tutorial on
How to Make a Pinwheel.

Pinwheels! 116

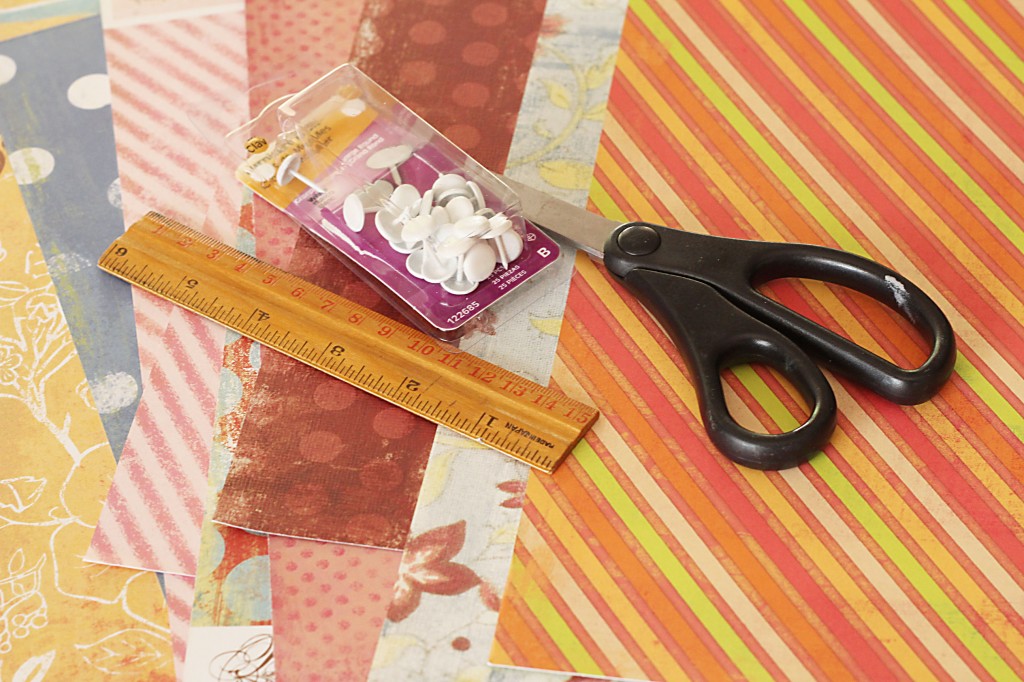
Supplies Needed:
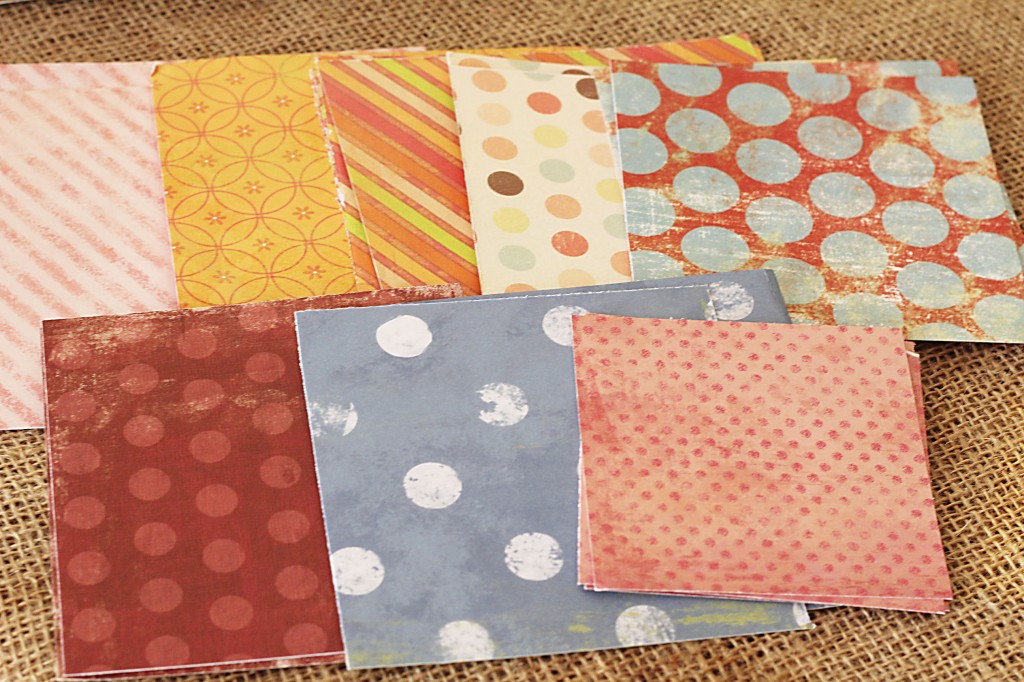
~ assorted paper (it’s pretty if it’s double-sided)
~ furniture nails or long pins with decorative ends or thumb tacks
~ scissors and/or cutter
~ ruler
~ pencil
~ dowel rods (I used the ones with the blue end from the hardware store, and cut them in thirds)
~ hammer

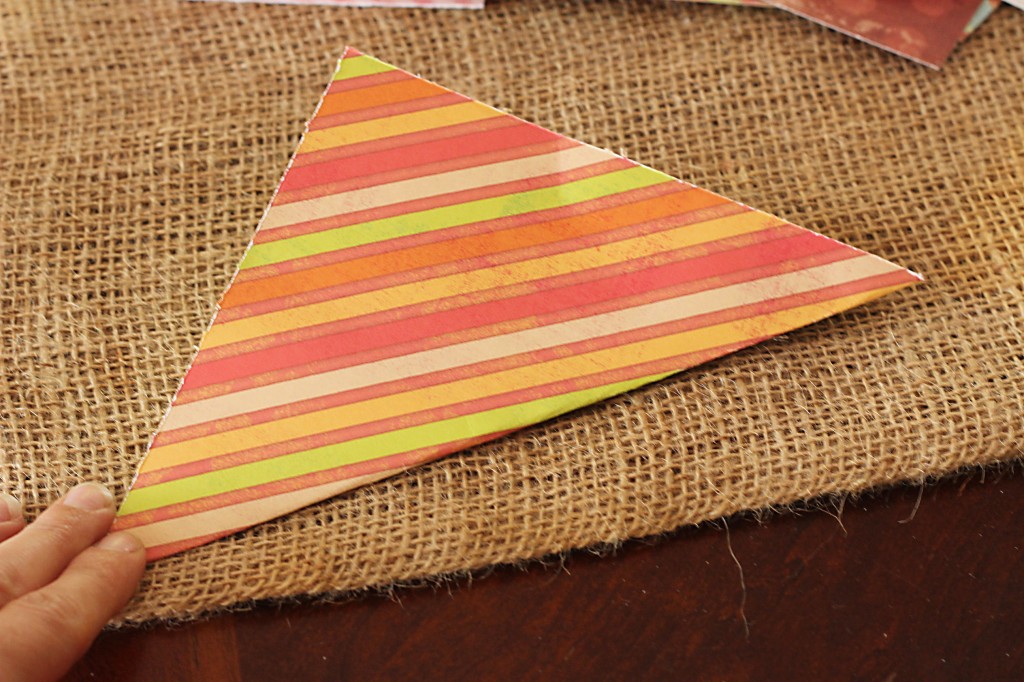
1.  Select papers and colors of your choice, and cut them to the desired size. They must be square.

I used an assortment of sizes, anywhere from 3 inches to 12 inches, with most of them being around 5 inches.
Your finished width will be the largest diameter.

Pinwheels! 118

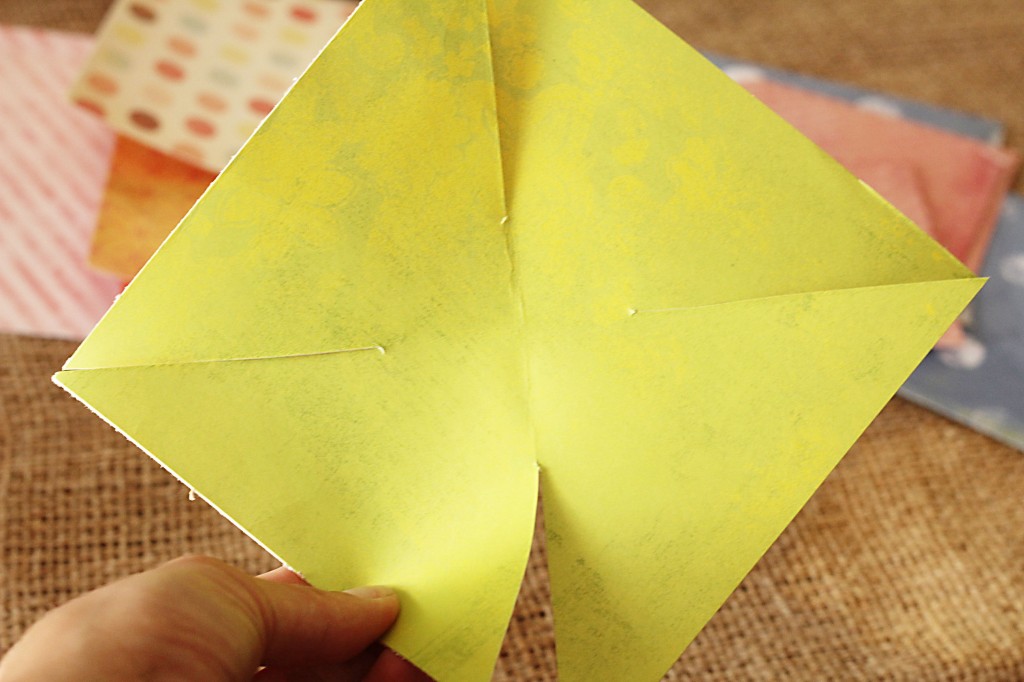
2. Fold squares into a triangle, open up, and fold the opposite corners. You want there to be a X crease in the center.

Pinwheels! 122

3. Take the scissors and cut along the X crease toward the center, leaving 1/3 uncut in the center.

Pinwheels! 124

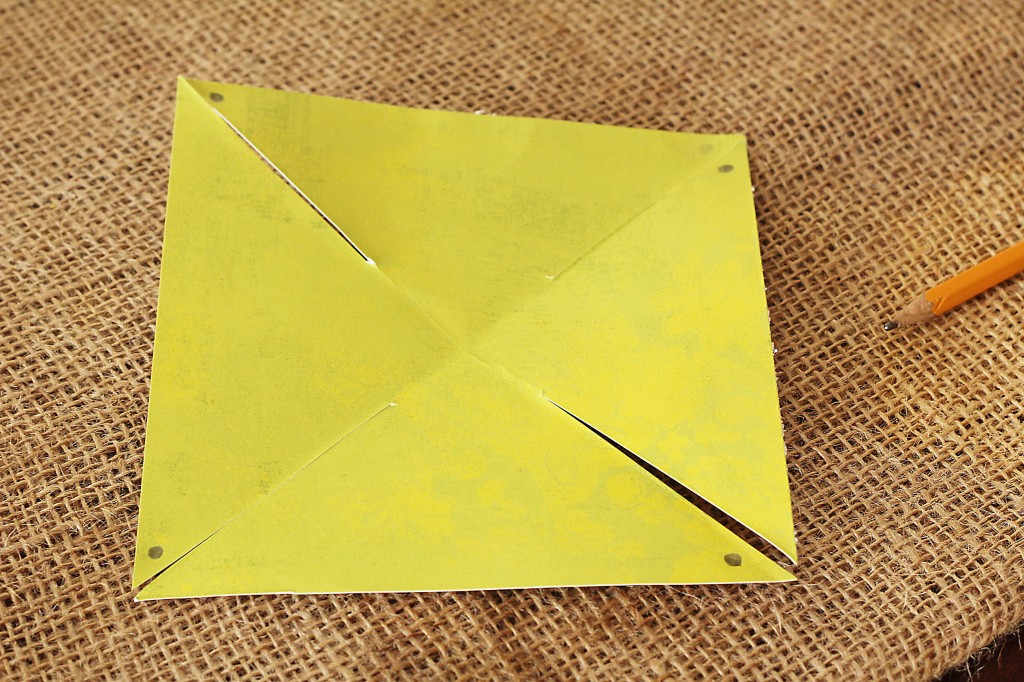
4. Mark EVERY OTHER corner with a pencil dot.

Pinwheels! 125

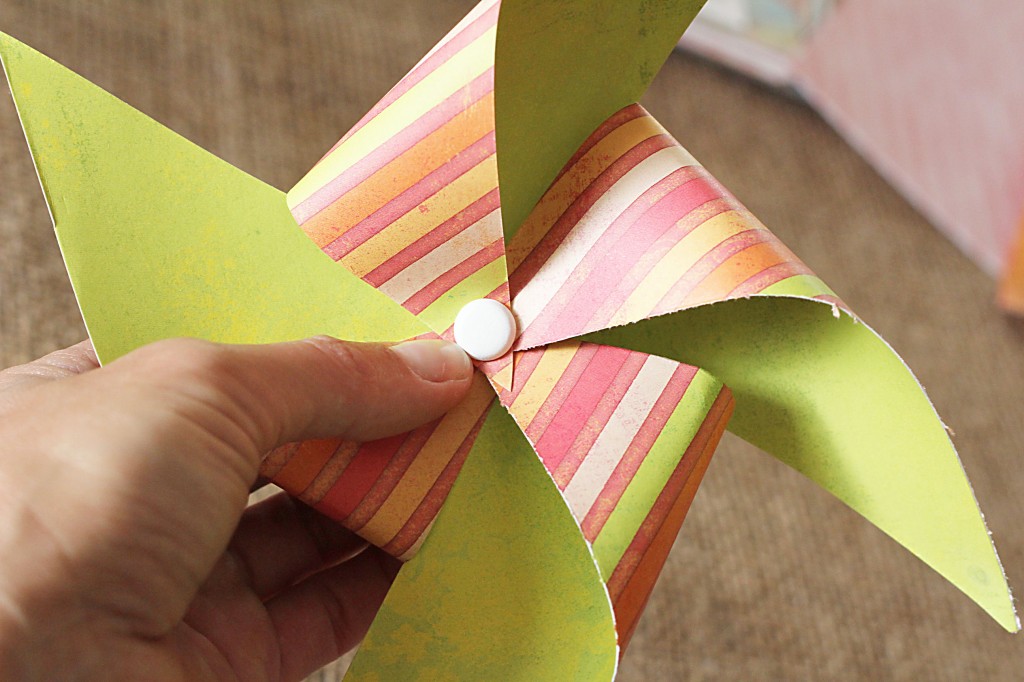
5. Pull only the marked dotted corners toward the center, overlapping generously, and push a pin [or furniture nail or brad] through all four points and through the back.

Pinwheels! 126

6. The trickiest part: fastening it onto the dowel rod.

The sewing pins with a ball on the end worked best, in my opinion, and it also allows enough of room for the pinwheel to spin when blown. Otherwise, it’s fastened securely but cannot spin well and is merely ornamental,  which is fine too. The option is yours.

The furniture pins look pretty because of the wide head; however, they are more tricky to mount onto the dowel rod. A larger nail than this will cause the rod to split and splinter.

Which ever way you choose, tap the head gently with a hammer while holding it secure, or push in firmly with your thumb. The key is to hold the dowel rod tight so it doesn’t roll.

Pinwheels! 144

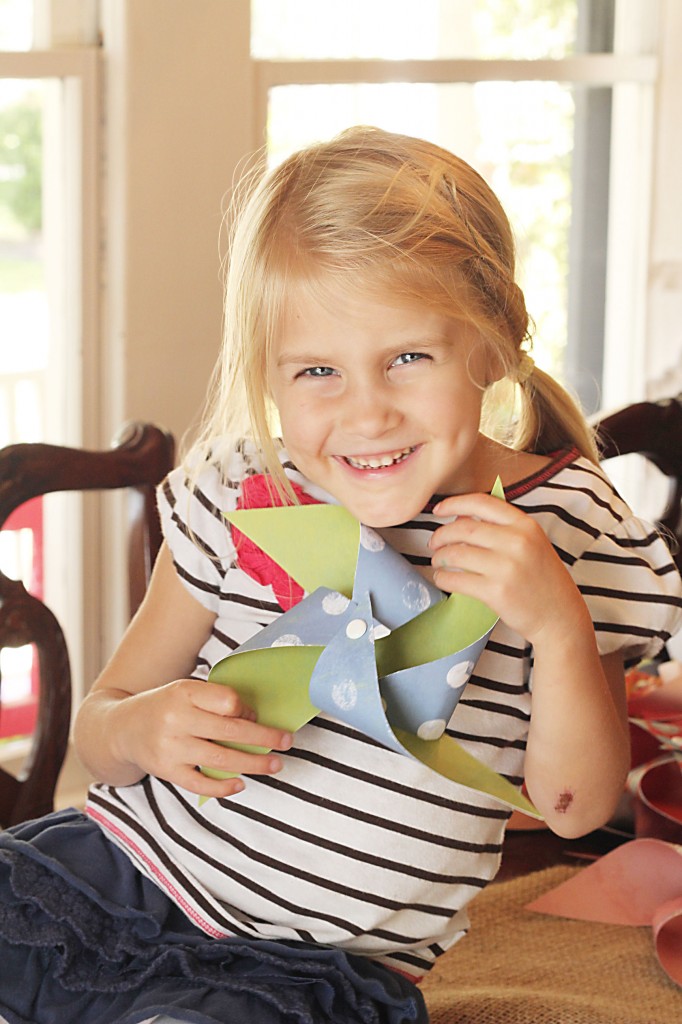
Even my little kiddos have fun with this.

Pinwheels! 155

Ta-da! You’re done!
Average cost: no more than 25- 50 cents per wheel, depending on paper

Now the other fun part ~ using them to decorate, letting kids play with them… They look so festive!

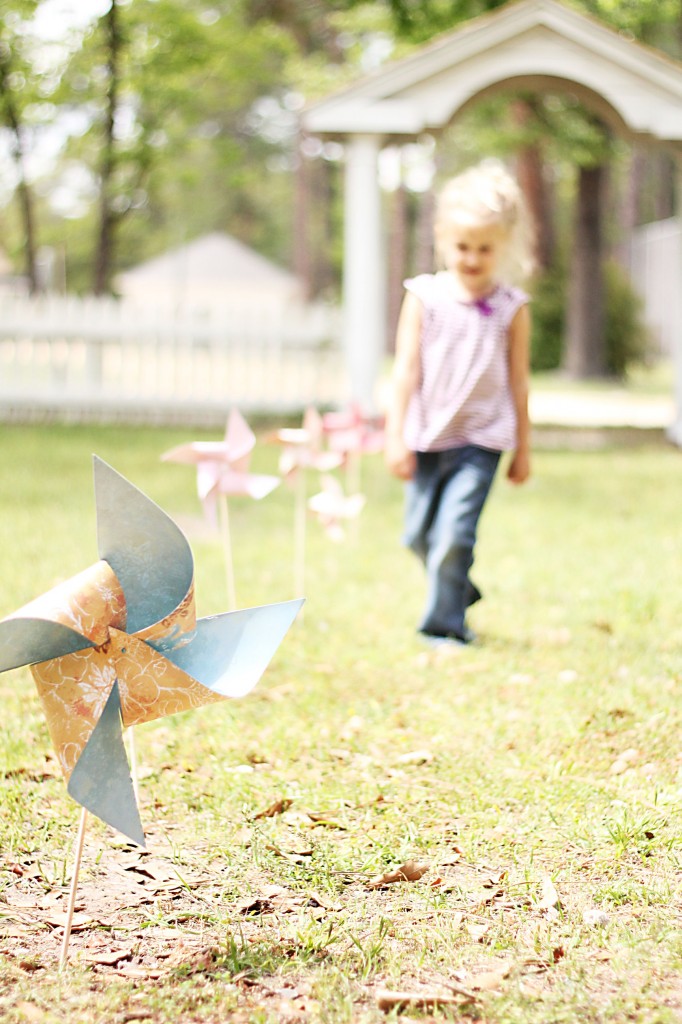
You can use them to create a pathway in your lawn…

Pinwheels! 243

… or to add a bright touch in your children’s bedroom…

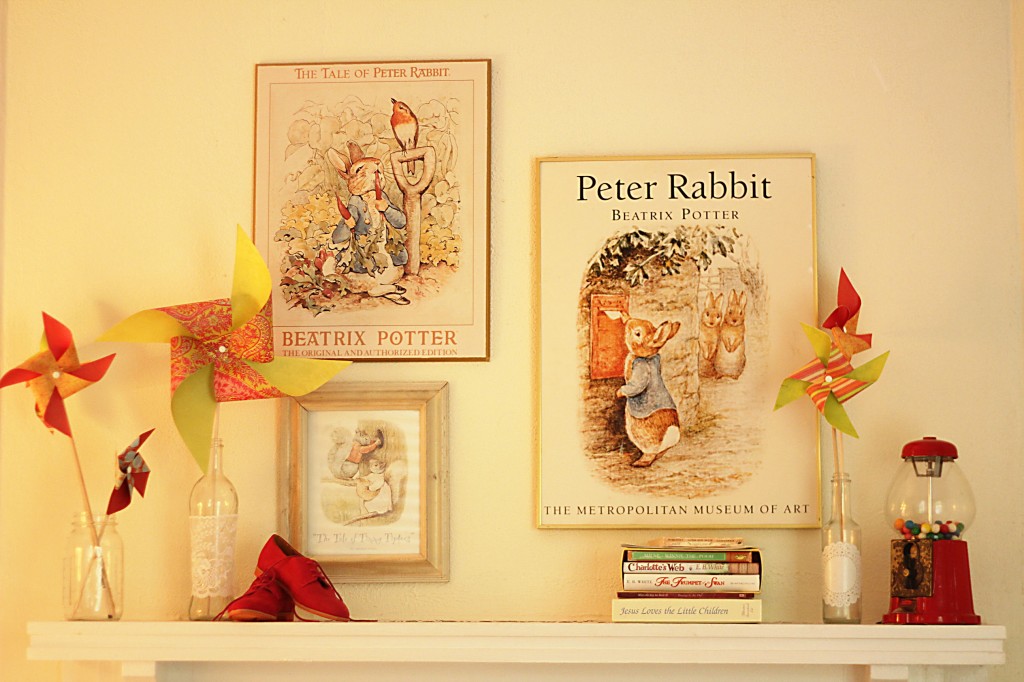
Pinwheels! 193
Pinwheels! 198

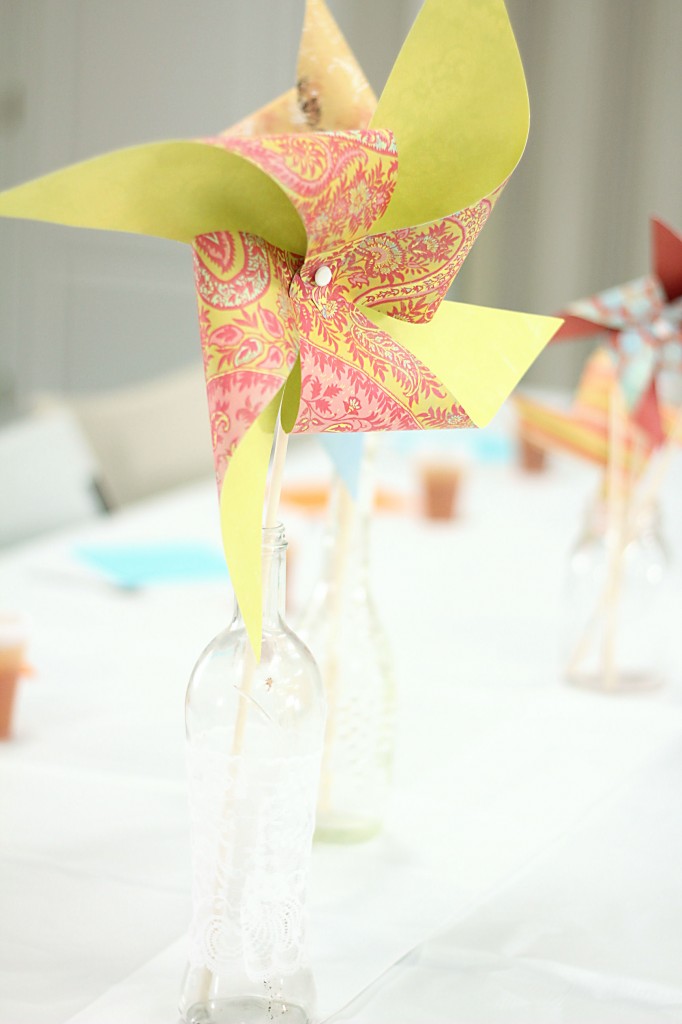
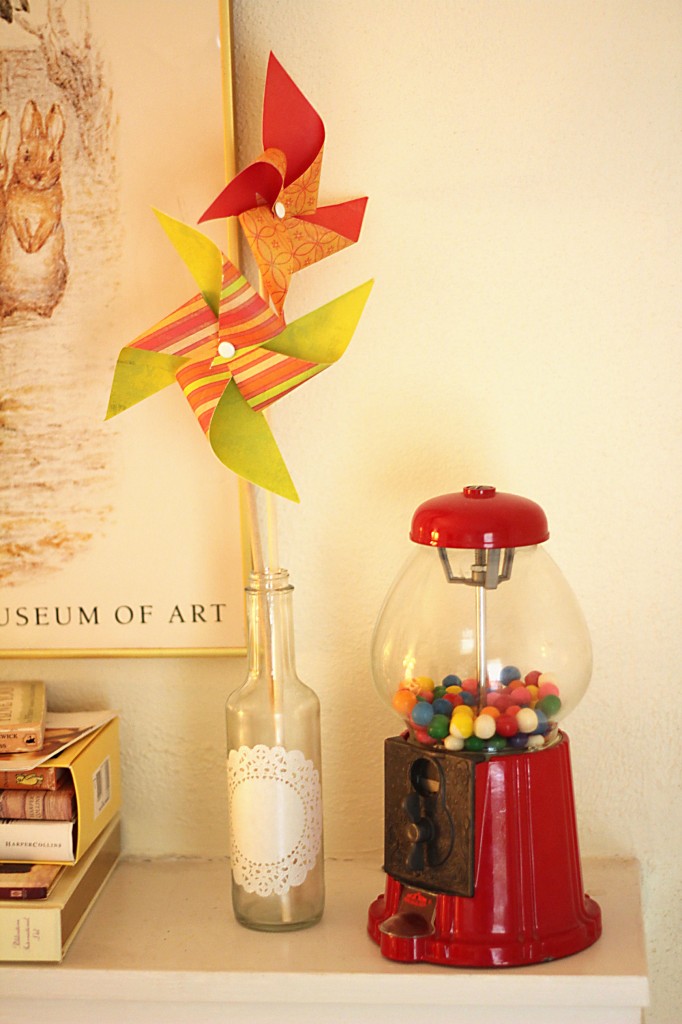
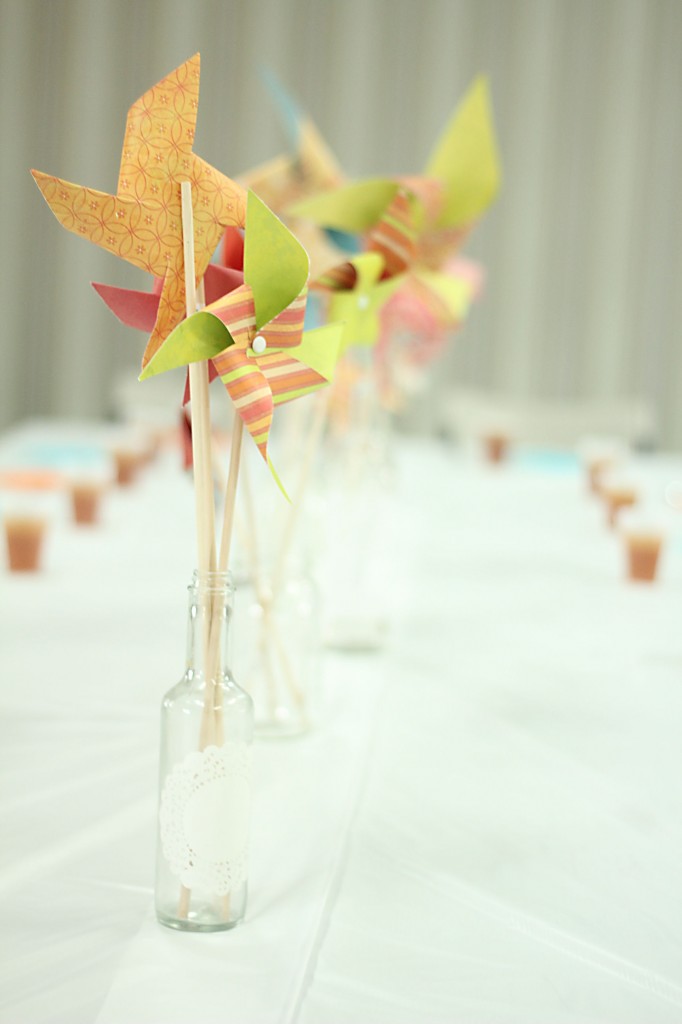
… or to create a happy centerpiece….

{it looks so pretty with a row of them in jars and bottles}

Pinwheels! 171 Pinwheels! 167

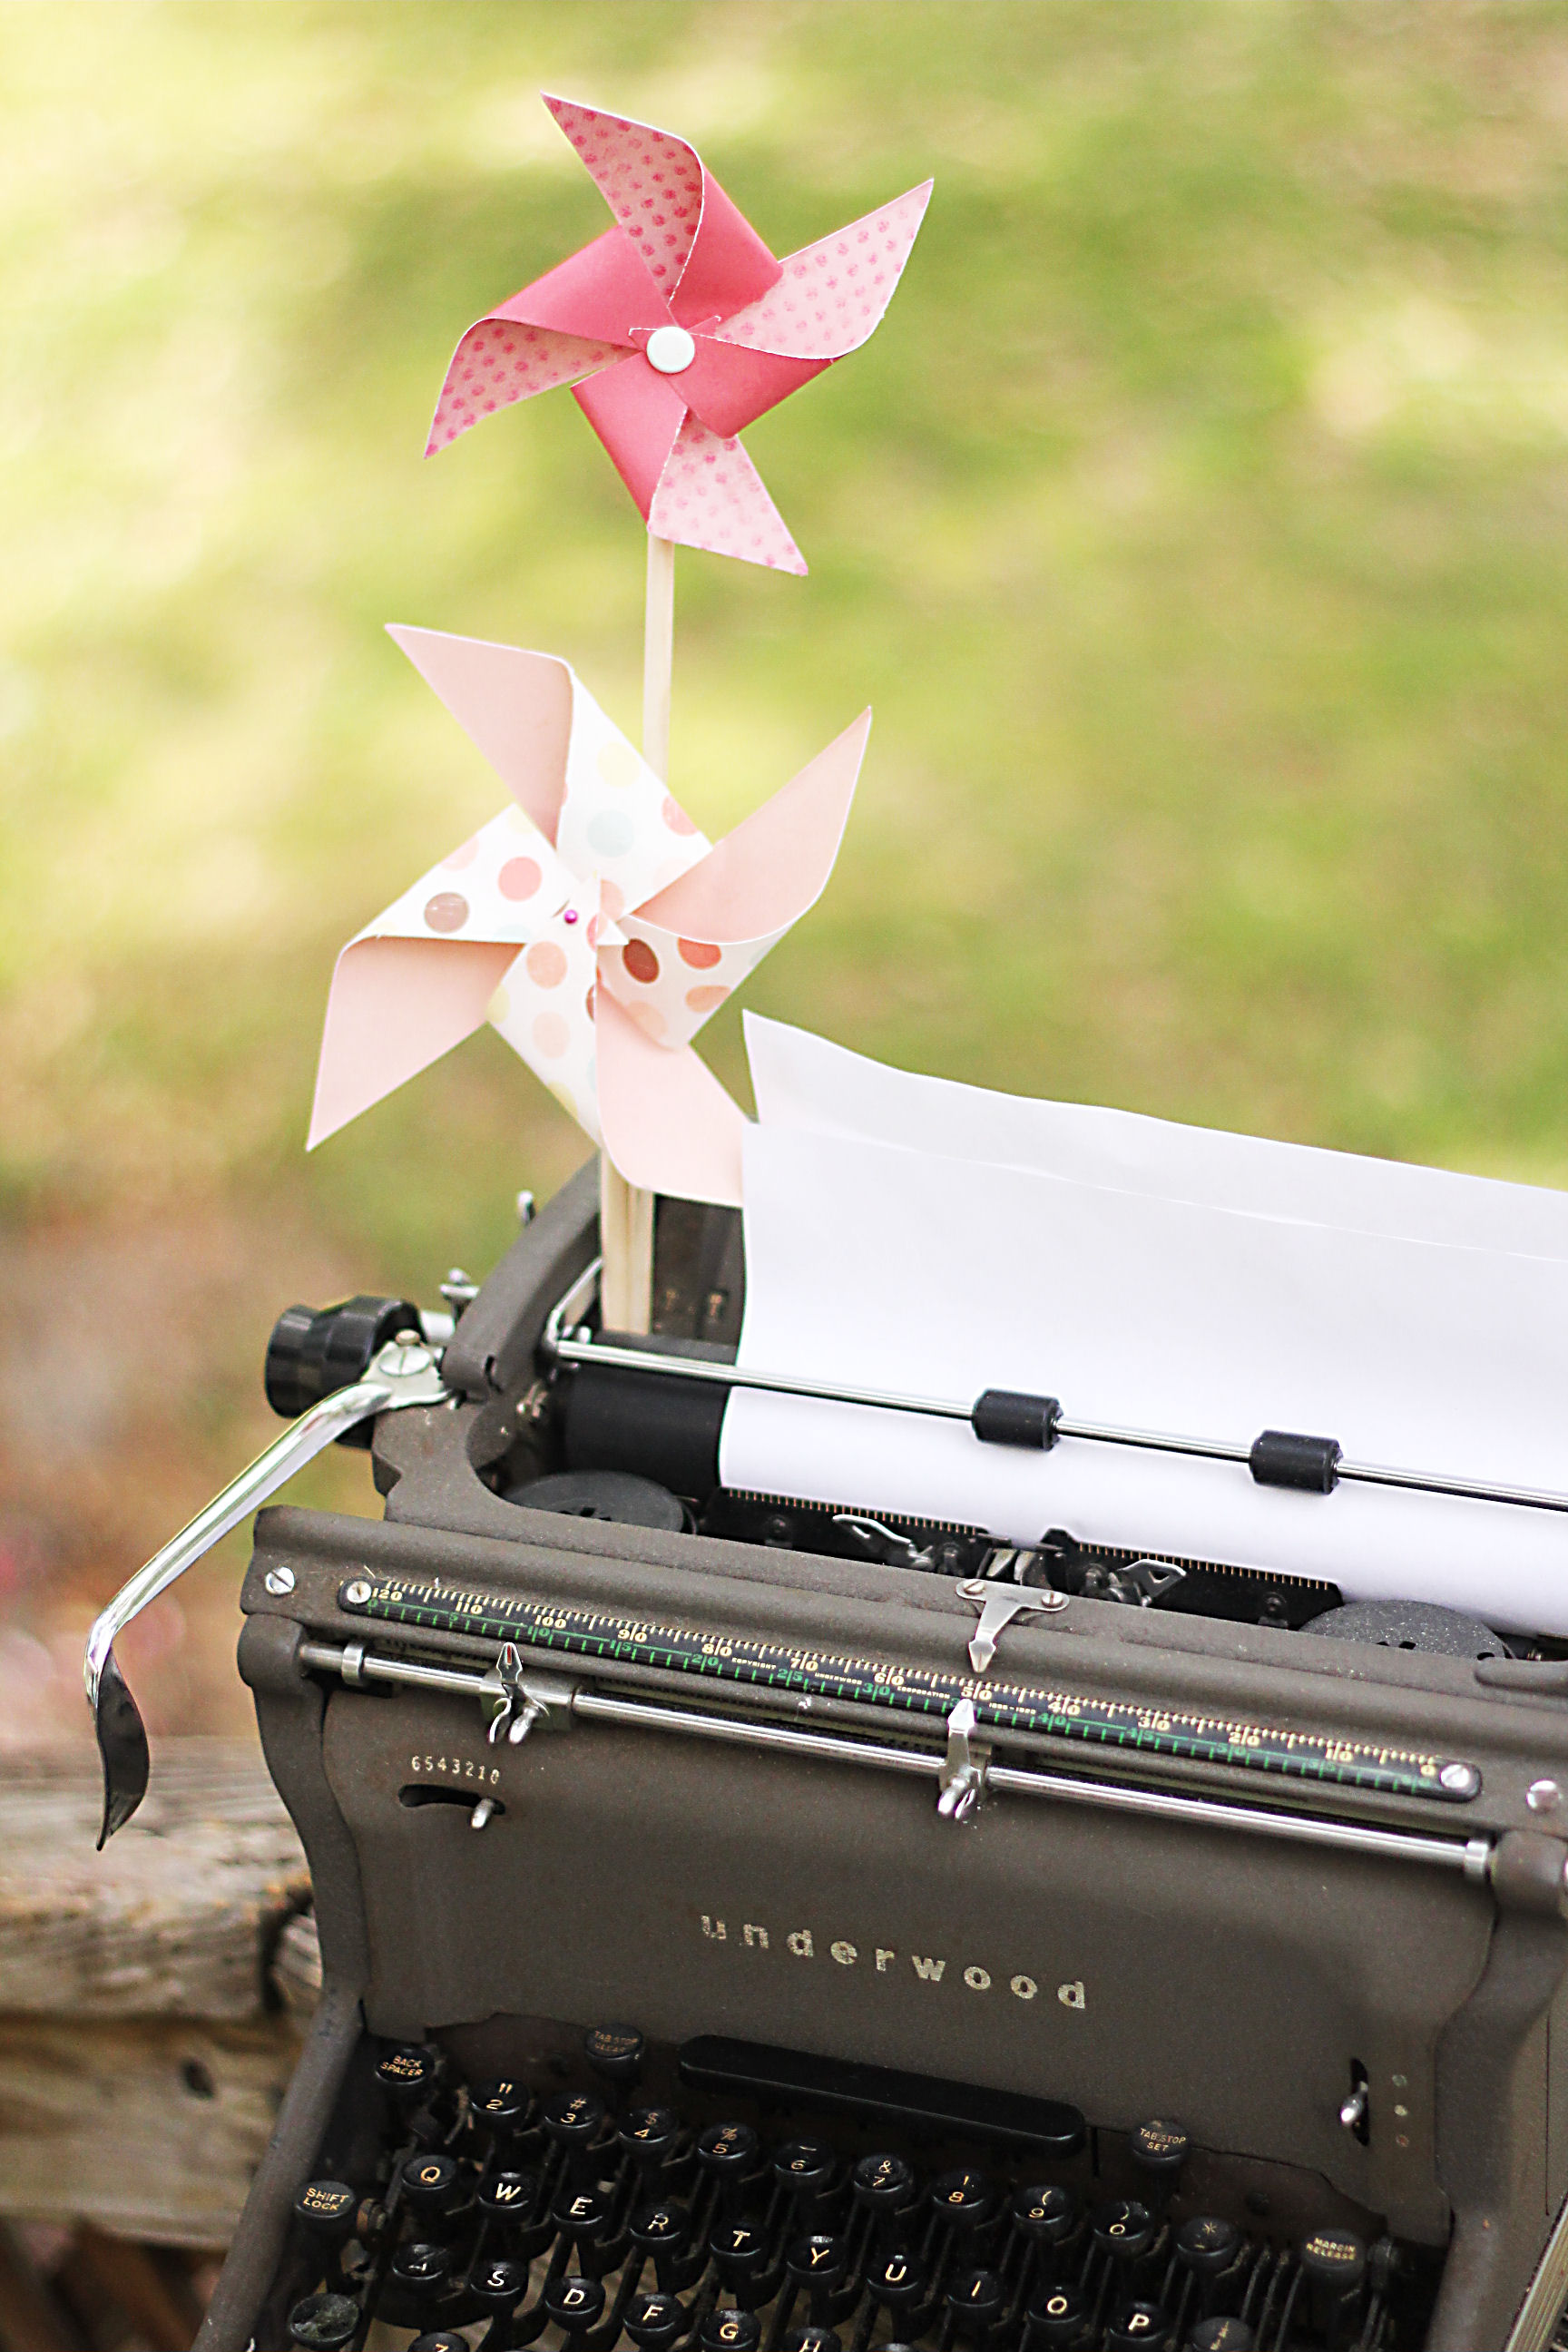
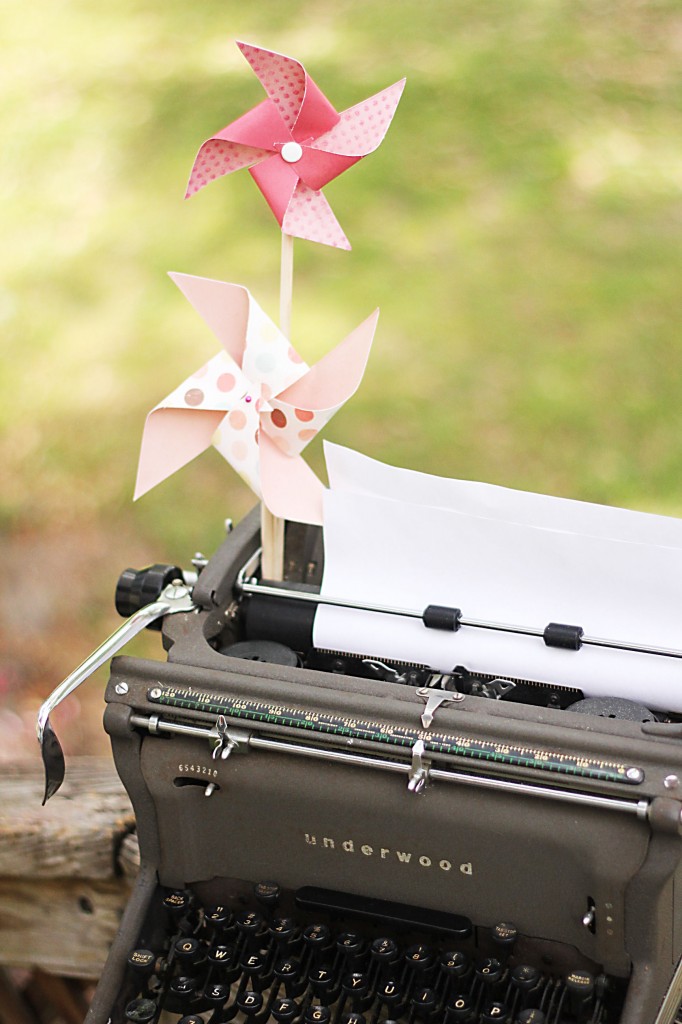
… or to have a photoshoot with your typewriter…

Pinwheels! 223

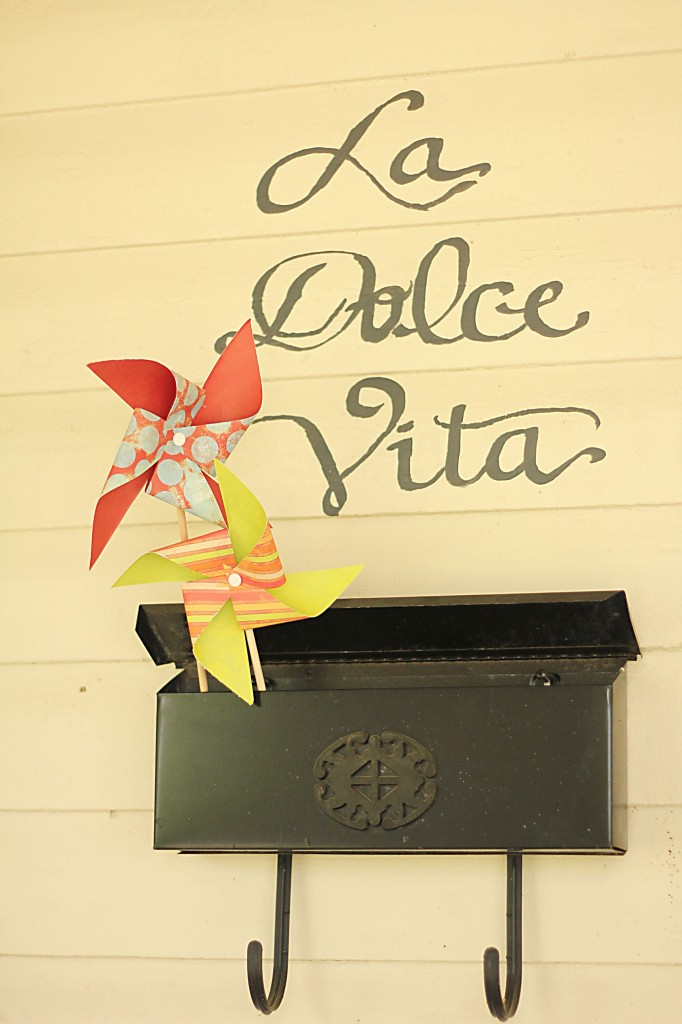
… or to place outside your door…

Pinwheels! 249


Other ideas:

~ Make tiny ones and use as cupcake toppers, using brads and striped straws instead of nails and dowel rods
~ Make large assorted sizes and use without the dowel rod to make a wall arrangement for a girls’ room
~ Give as party favors
~ Use glue instead of pins/nails
~ Use a pencil and use pin into the eraser
~ you give me ideas!

Create and enjoy!

~ Clarita